How to restore Apple Music library on Mac or iPhone
So, you want to know how to restore the Apple Music library on your MacBook or iPhone?
There's something quite special about a personally curated collection of music — songs from times and moments in your life painstakingly collected over the years, so there's nothing worse when you discover certain songs or your entire library is missing.
Luckily, we've got the tips you need to restore your precious music and get you back to the soundtrack of your life. Let's start.
Reasons for a lost Apple music library
Before we head into how to get your Apple Music library back troubleshooting tips, we first need to understand why we run into issues with missing music files, so here's a quick look at the most common causes:
-
Unsynced or partially synced music library
-
Accidental file deletion or change to file location
-
Issues with the Apple Music server
-
Outdated iOS or macOS
-
iCloud is not enabled on your devices
Although the reasons don't stop there, these are the most likely culprits, but it's good to also rule out storage issues and file corruption.
Now, let's dive into the fixes.
How to restore Apple Music library on Mac
Before we get started, rule out the obvious by ensuring you're logged into the correct iCloud account on your Mac. If you're logged into different accounts, this could be why music is missing or not syncing correctly across devices.
Select System Settings > Select your name from the top > iCloud.
If you don't see your name, click Sign in with your Apple ID to log in correctly.
1. Update your macOS
The first step is to ensure you are running the latest available system updates. This will not only keep your Mac working efficiently, but it will also fix Apple Music app glitches that could be causing missing music files. Here's a quick reminder of how to update macOS:
-
Access the main Apple menu > System Settings > General > Software Update.
-
Check what's available and follow the steps displayed on your screen to complete the install.

Did you know? macOS built-in apps usually work just fine. Sometimes, though, they misbehave. One app known for all kinds of issues is Apple Mail. Updating macOS is one way to fix it, but there are more tips that can help with Mail app not working.
2. Check the Apple servers
Apple is undeniably great, but they're not invincible; sometimes, they suffer from network issues, too. You can quickly check the system status of the Apple Music servers here.
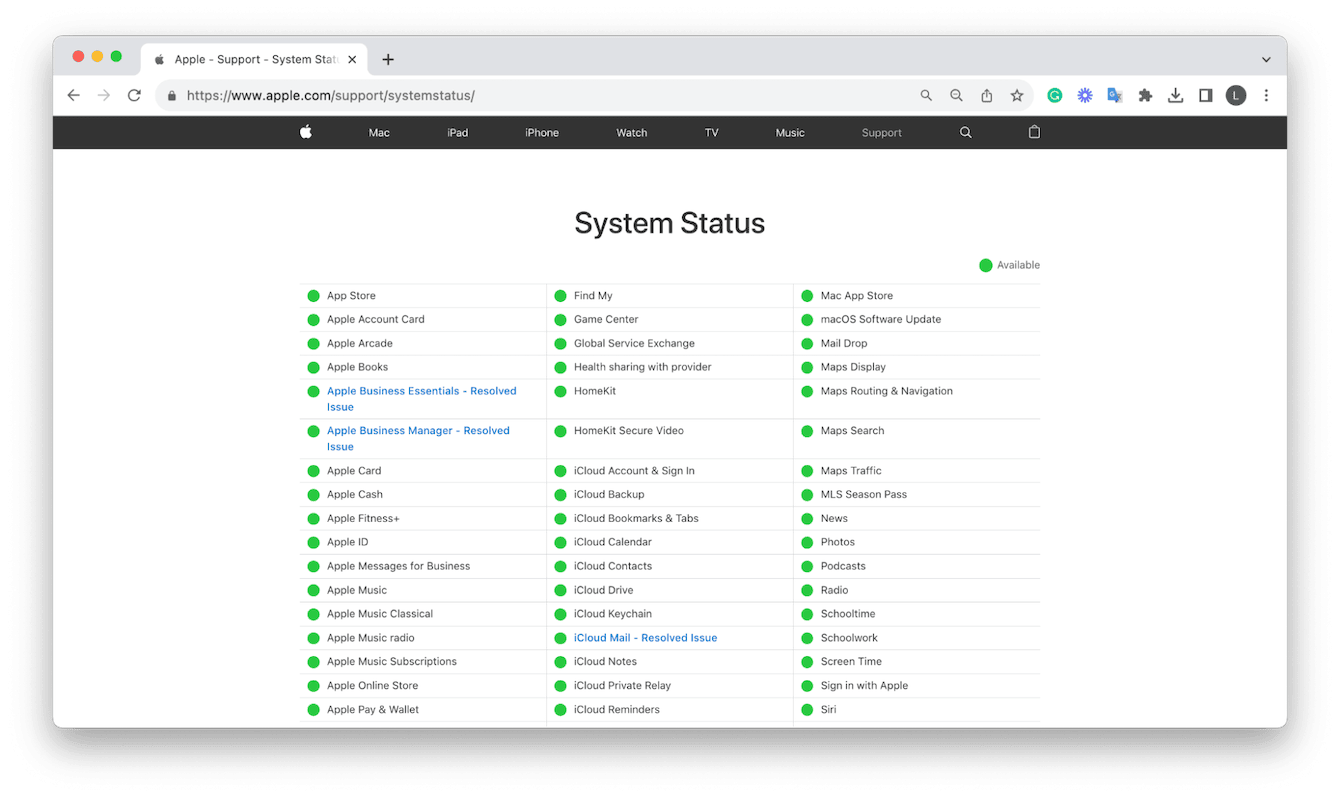
A green light indicates everything is working fine and there are no reported or known issues.
3. View your purchased music
You can reinstate missing, previously purchased music by viewing your purchased files and redownloading them within the Music app; here's how:
- Open the Apple Music app on your Mac.
- Ensure you're logged in with your Apple ID. Select Account from the top menu bar to check.
- Next, under the Accounts top menu bar, select Purchased.
- Now you can individually download missing purchased songs or albums or click Download All.
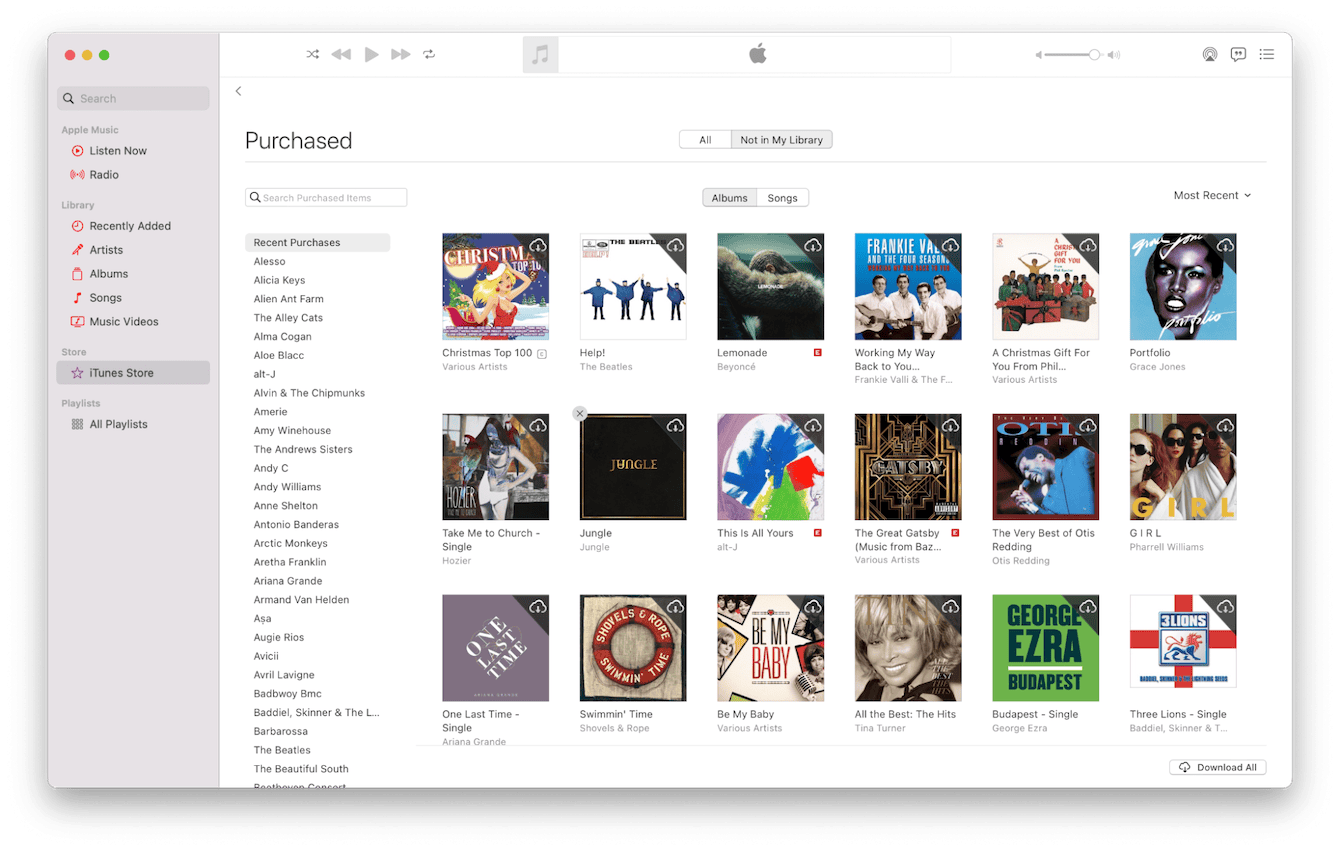
If you encounter an error alert message saying that you need to authorize this computer before downloading, follow these steps:
- From the top menu bar in the Apple Music App, click Account > Authorize This Computer.
- Next, simply enter your Apple ID and password and press Authorize.
- Attempt to Download your purchased music again.
4. Check your Mac isn't out of storage
If your MacBook is low on storage space, you will begin to notice glitches; certain files may no longer appear as they're unable to sync.
Here's how to check your storage capacity: select the Apple menu > System Settings > General > Storage.

Low on space? Jump to the section below and learn how to quickly free up storage.
How to remove unneeded files from Mac
The quickest way to free up space on your Mac is to remove old, large, or forgotten files. The Large & Old Files tool from CleanMyMac is the perfect app for the job.
Built to quickly scan the entire contents of your Mac and catalog your contents by last accessed date, file type, and size. You can then browse and remove files at your leisure.
Here's how:

-
Open the app or install the free version to get started.
-
Click Large & Old Files and hit Scan.
-
Sort through your files and select items you want to delete.
-
Finally, choose the removal type and click Remove.
Tip: No Apple device is perfect, but glitches are fixable. If you've ever had issues with Apple mouse, here's how to deal with them.
How to recover Apple Music Library on iPhone
Before you try the steps below, ensure you're signed in with the correct iCloud account on your iPhone to rule out syncing and missing file issues.
Select the Settings app, press your name at the top, and select iCloud to check.
1. Update your iOS
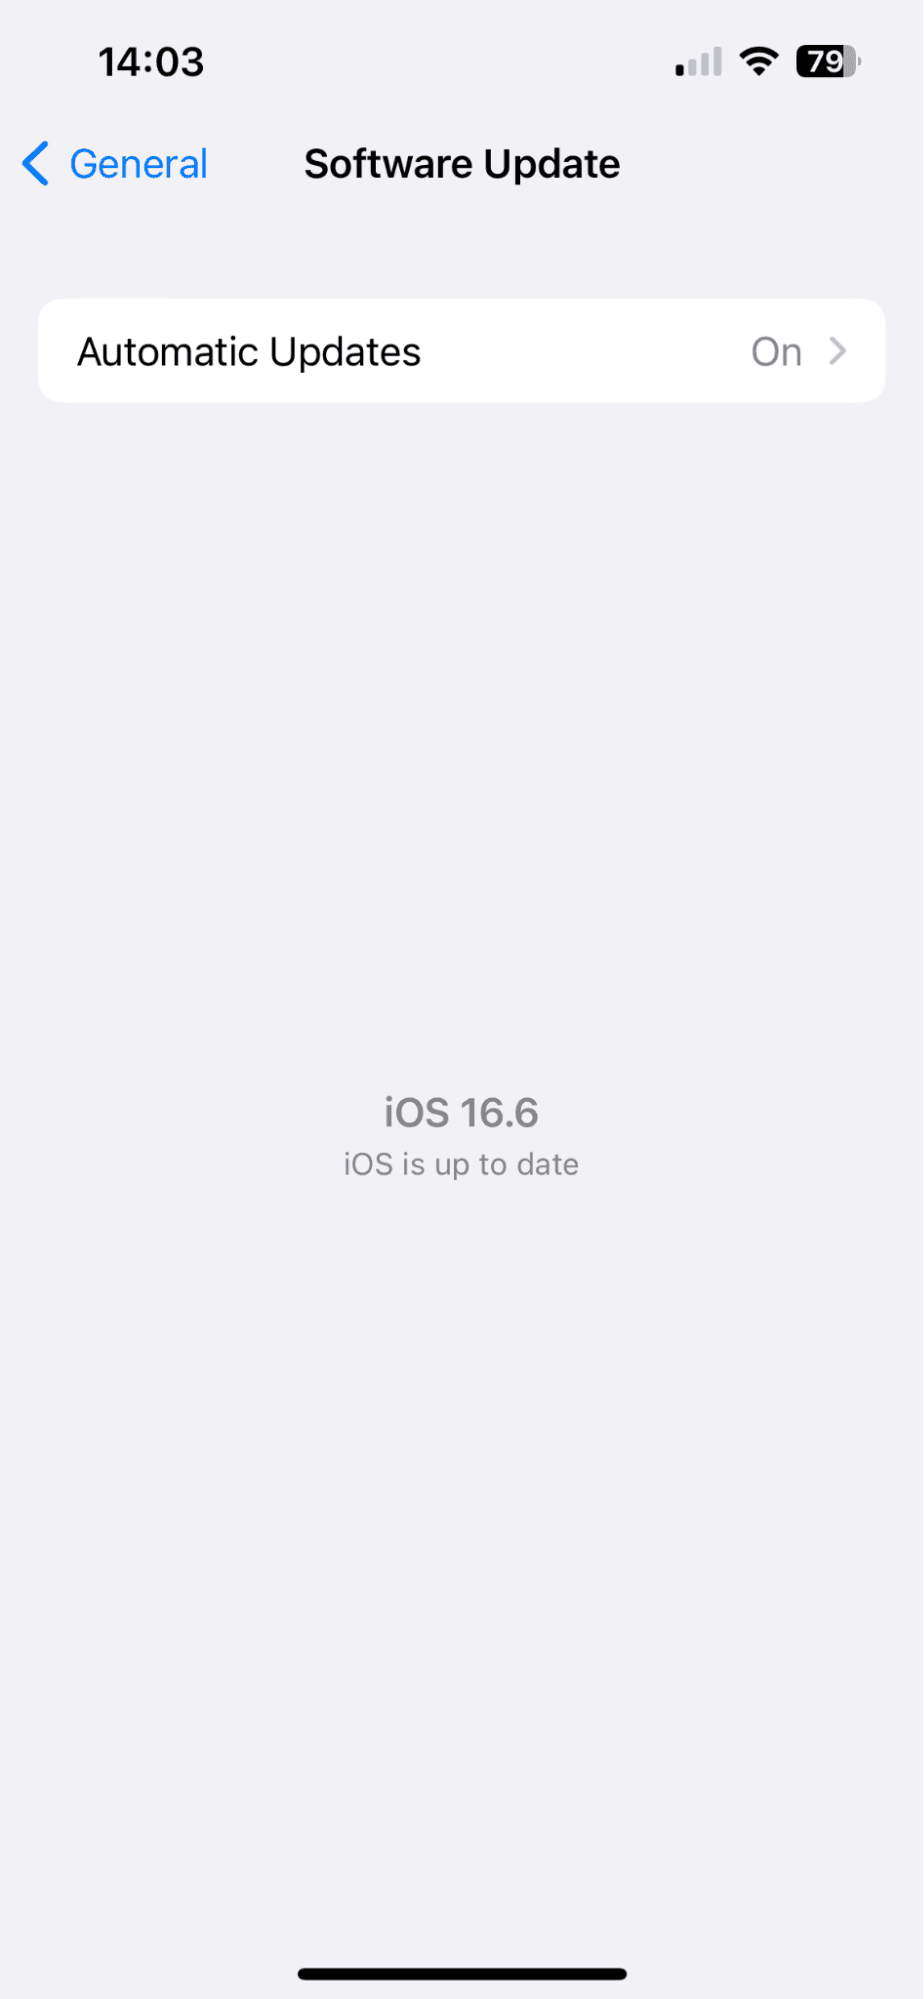
Obvious to some but ignored by many, keeping your iPhone's software up to date can solve many issues and application glitches. Take a moment to check, here's how:
- Open your Settings app > General > Software Update.
- Follow the steps displayed if an update is ready.
2. Check your Music Settings
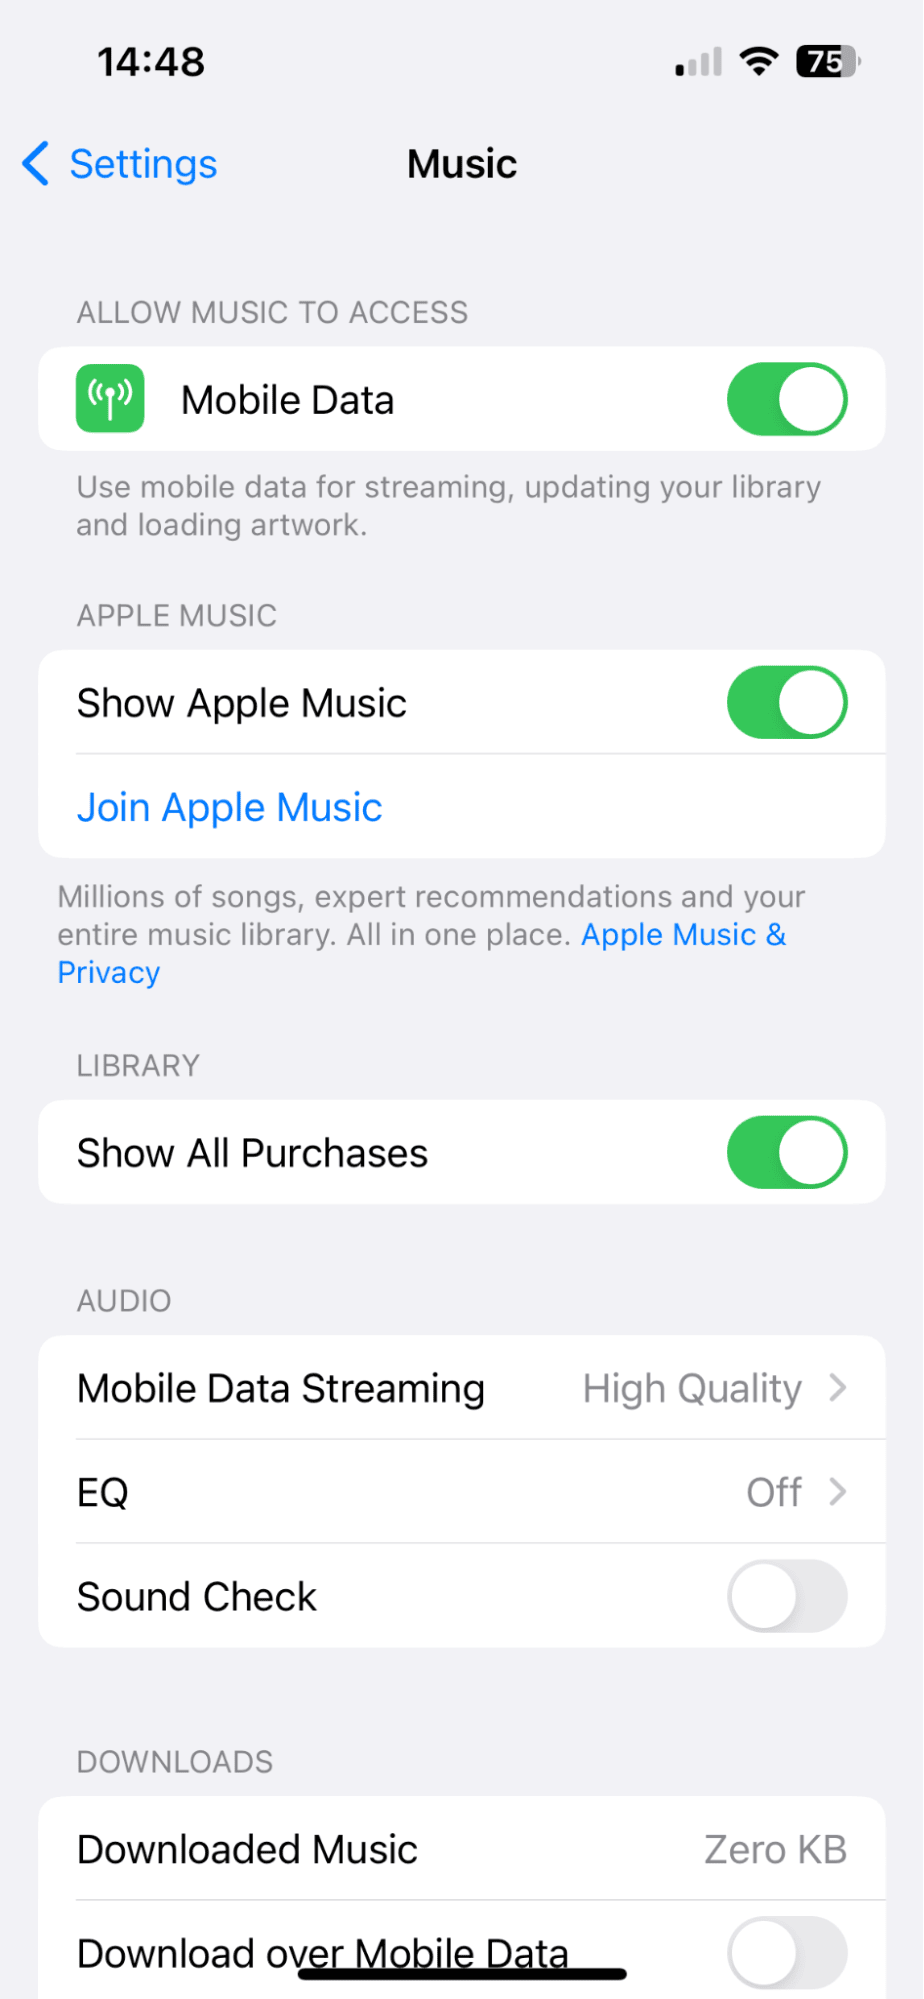
- Open the Settings App > Music.
- First, scroll down and make sure you're logged in; do so if you discover you're not.
- Next, under Library, ensure Show All Purchases is toggled on.
3. Redownload music from the iTunes Store app
- Open up the iTunes Store app on your device.
- Press More > Purchased > Music.
- Scroll through your purchased history, select an item, and press the download icon to redownload it.
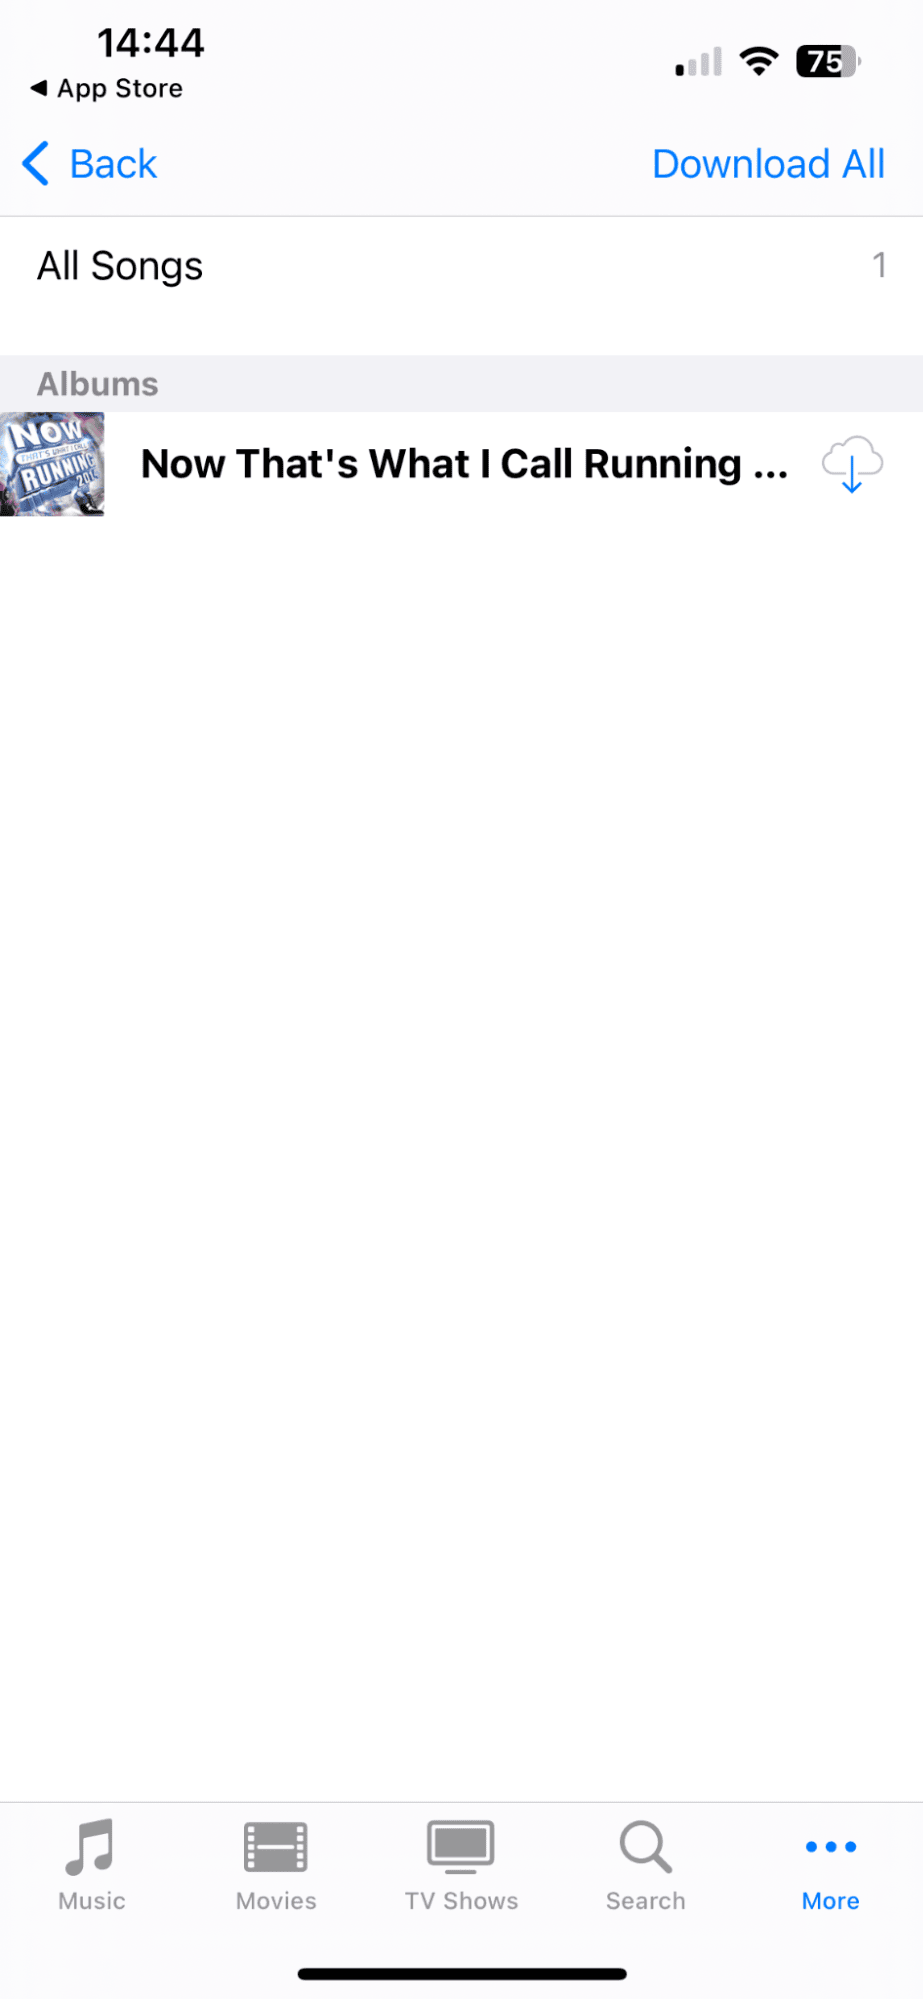
If you ask yourself, "how do I restore my Apple Music library after the subscription ends?" the same tip is the answer.
4. Restore your Music from an iCloud backup
If the above methods haven't worked on your iPhone and you're running into other annoying problems, it might be worth restoring to an old iCloud backup before your music went missing and you started encountering glitches.
You can read the full how-to help article from Apple here.
So there we have it. Now you've reached the end, and you know how to get your music back on Apple Music on your Mac and iPhone.

