How to share photo album on iPhone
Ever wondered how to share photo album on iPhone with friends and family? Apple's Shared Albums feature makes it easy to privately share photos and videos with others, allowing them to view, comment, and even add their own pictures to the album.
In this guide, we'll explain what Shared Albums are, how to create and manage them, and how to stop sharing when needed. So, let's get to it.
What is a Shared Album, and how does it work?
Inside your Apple Photos app, you can create a Shared Album with all your photos, from maybe a recent trip or family vacation, and invite others to view and contribute.
So, Instead of sending pictures one by one, this feature creates a private space in your iCloud where selected users can add comments, like photos, and even upload their own media.
Here's a couple of Shared Album facts:
-
You can invite up to 100 people to view and add photos.
-
No extra iCloud storage is needed—shared albums don't count against your iCloud storage limit.
-
You can add and remove photos anytime without affecting your main library.
-
You can download shared photos to keep them in your personal collection.
Ok, so we've covered the basics; let's walk through how to create and manage a Shared Album on your iPhone.
How to create a shared album on iPhone?
Setting up a Shared Album only takes a few steps:

-
Open the Photos app on your iPhone.
-
Find and select Shared Albums.
-
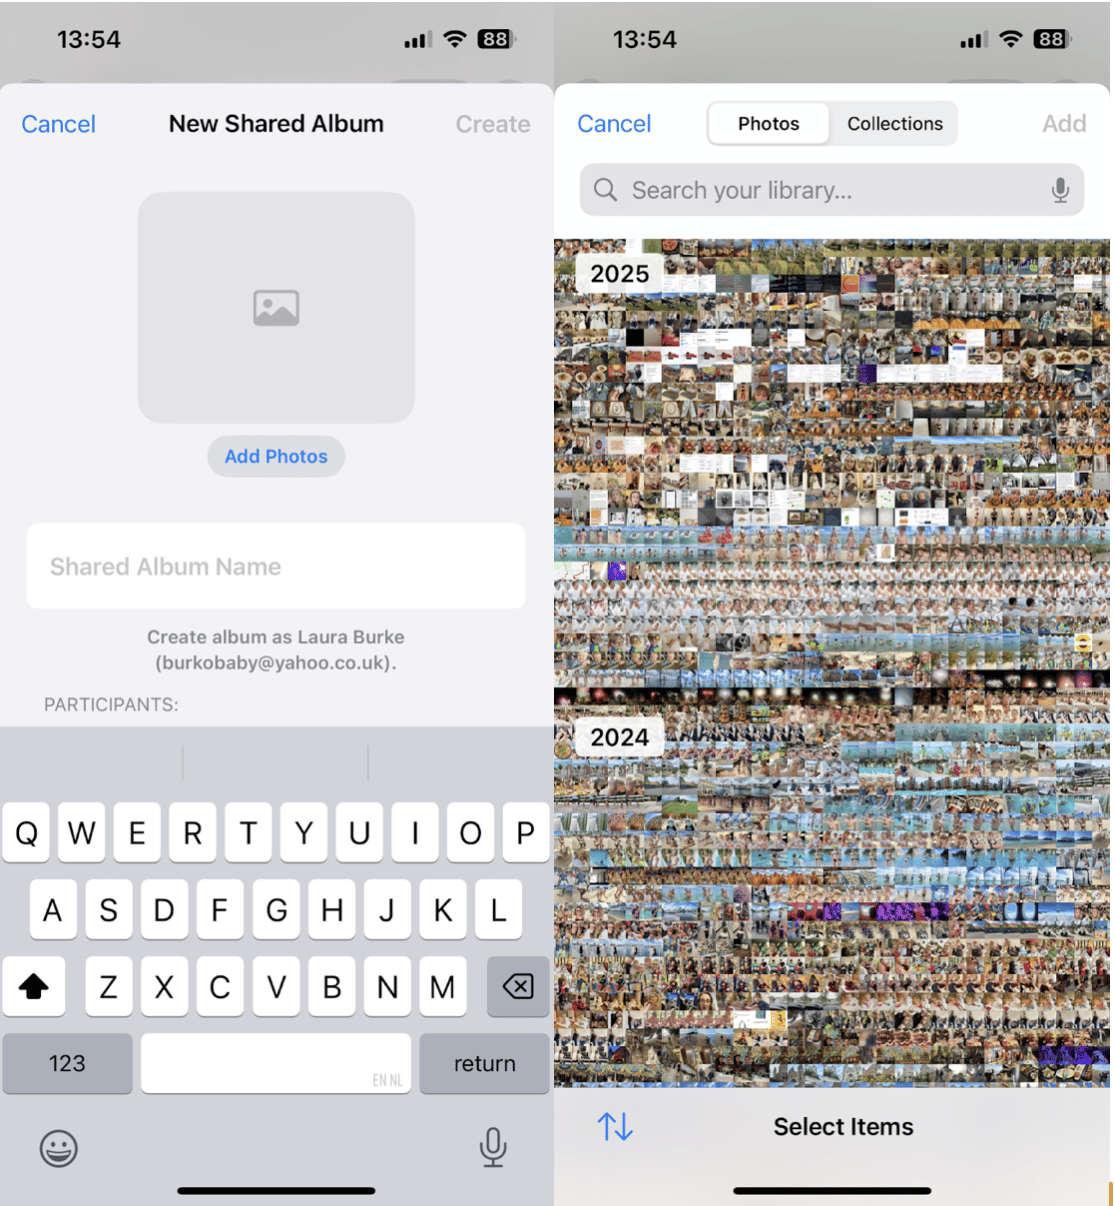
Press Create > New Shared Album.
-
Add all the images you want by pressing Add Photos.
-
When you’re finished, press Create.
Once your Shared Album is set up, you can start adding photos and videos immediately.
Organize your photos before sharing albums
Before sharing an album with friends, why not organize your photos to remove duplicates and clutter? It might sound obvious, but this ensures there are no duds in the album, and it looks polished and pro.
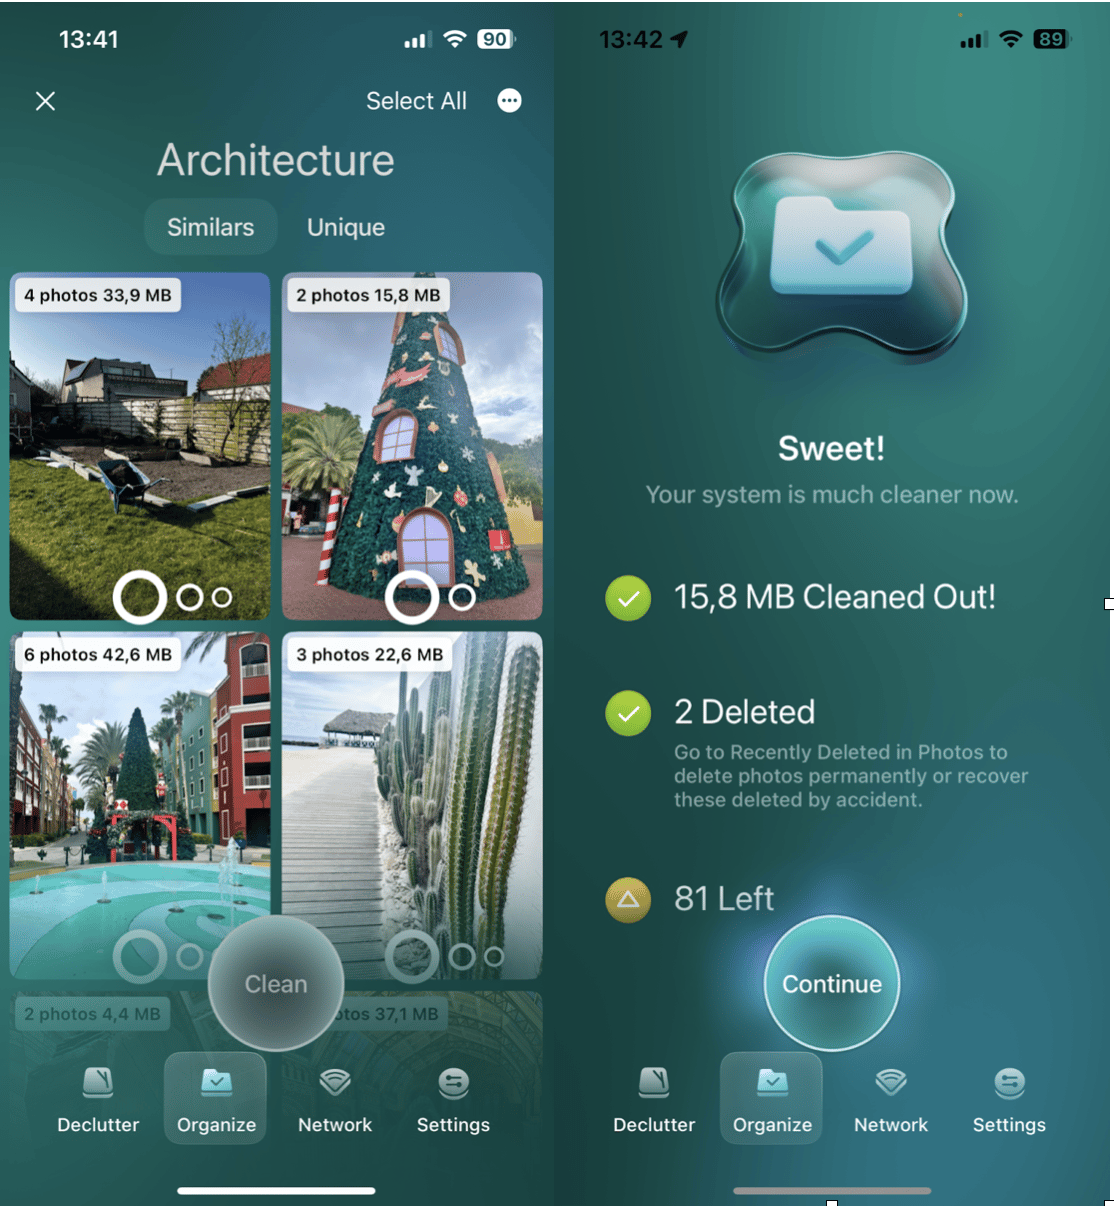
Instead of manually scrolling through thousands of images (a job nobody wants to do), use a tool like CleanMy®Phone to do the hard work for you. It has a pretty powerful Organize module that finds and deletes duplicate photos, blurry or low-quality images, and groups and organizes all your similar-looking shots, making removal quick and painless; here's how:
How to use CleanMyPhone's Organize Module:
-
Install CleanMy®Phone and open the app.
-
Select Organize from the main menu.
-
Take a look at all the categories displayed in the overview.
-
Review the suggestions and select Remove to clear up space.
This helps you share only the best photos while keeping your iPhone storage clean.
How to share photo albums on iPhone?
Ok, so you know how to create a Shared Album, but what about sharing it with your friends and family? Let's take a look.

-
Open your Photos app and scroll down the Shared Albums.
-
Select your Shared Album.
-
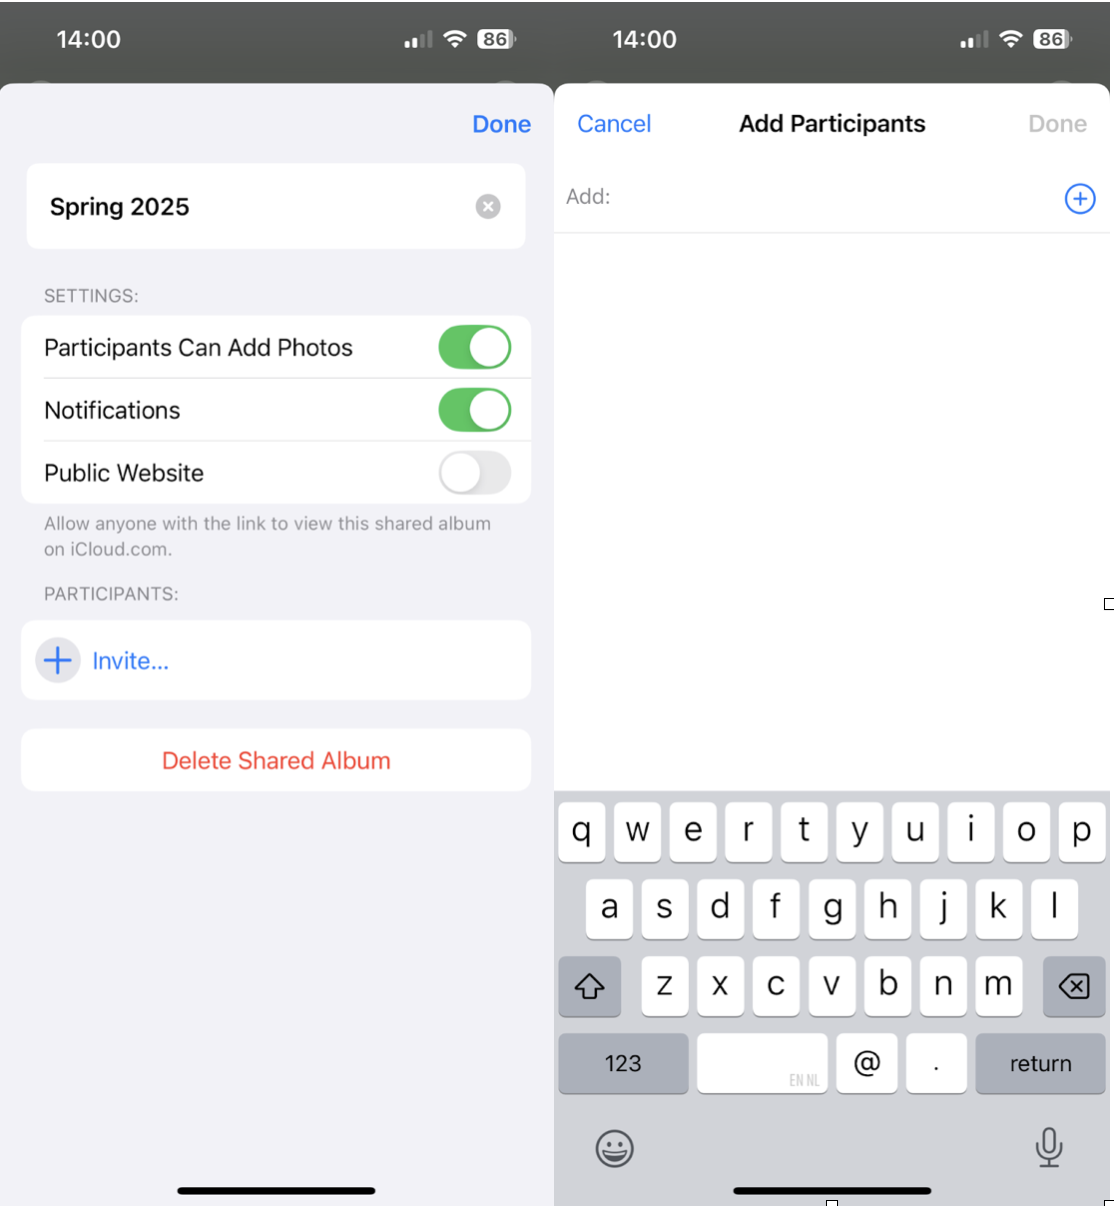
Tap the More menu (top-right) > Shared Album Details.
-
Toggle on Public Website (optional): If you want to generate a link for non-iPhone users, or select Invite and enter add your contacts.
-
Click done—your friends and family will get an invitation.
Tip: You can also remove people from a Shared Album at any time if needed; we’ll show you how below.
What are the pros and cons of Shared Albums?
While shared albums are a great way to easily share memories, they're not for everyone, so let's break it down.
Pros of Apple Shared Albums
-
Free to use (doesn't count against iCloud storage).
-
Friends can contribute their own photos.
-
Works across iPhone, iPad, and Mac.
-
Easy to comment and like photos.
Cons of Apple Shared Albums
-
Limited to 5,000 photos per album.
-
Video length is capped at 5 minutes.
-
Photos are stored in lower resolution (not full-quality).
If you need higher-quality sharing, consider using iCloud Drive or AirDrop instead.
How to stop sharing an album?
If you no longer want to share an album, you can remove people or delete the album entirely; here's how:
Remove people from a Shared Album
-
Open Photos and go to Shared Albums.
-
Select your album and tap the More menu > Shared Album Details.
-
Tap the person's name and select Remove Subscriber.
Delete a Shared Album

-
Open Photos and tap Albums.
-
Go to Shared Albums and select the album you want to delete.
-
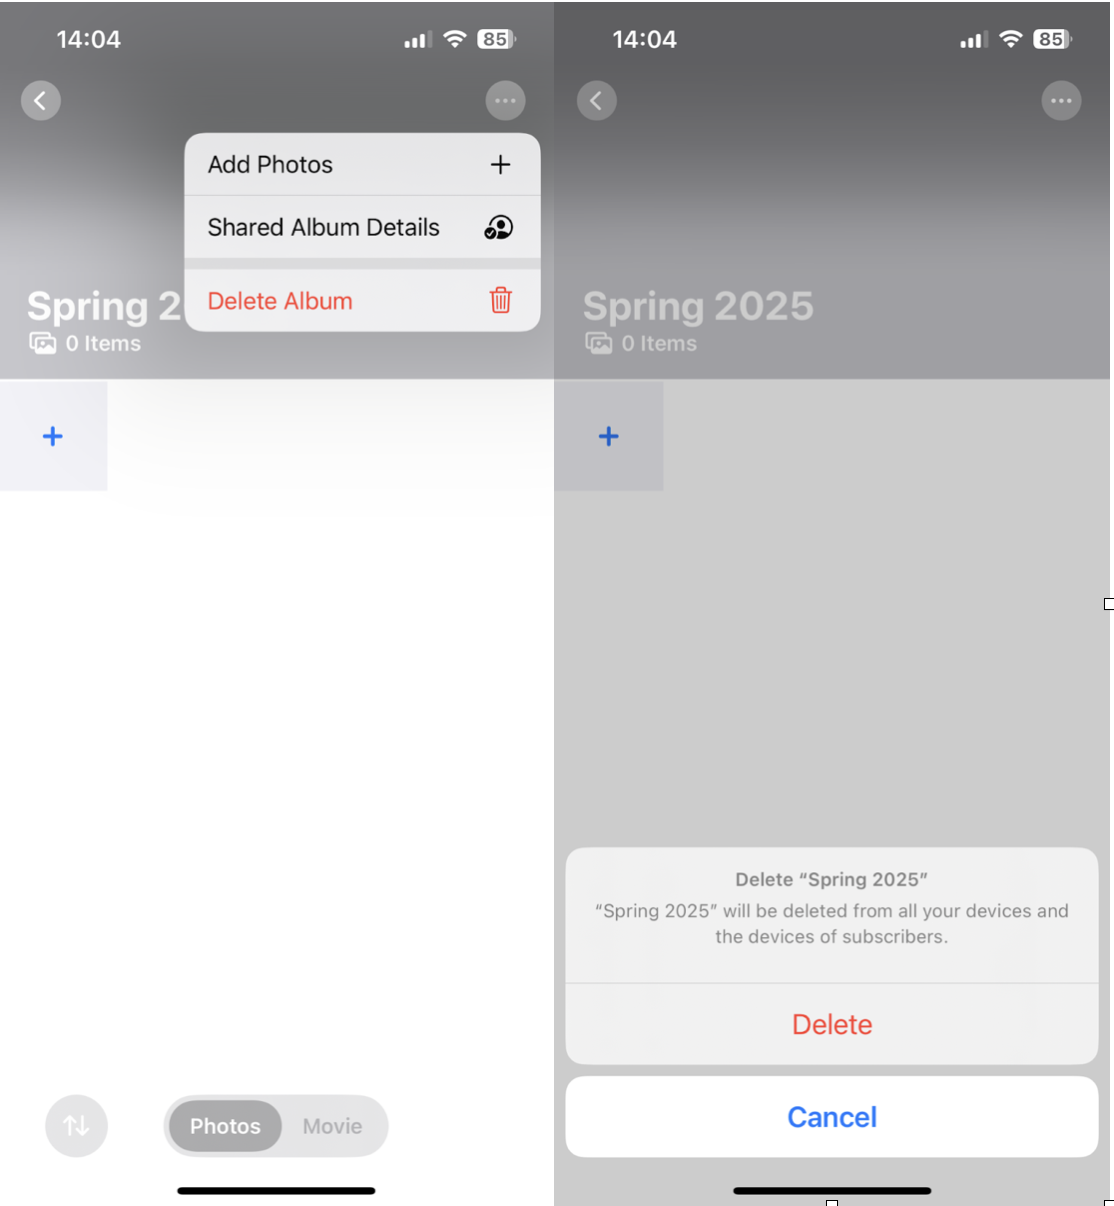
Tap the More button and choose Delete Album.
This removes the album for all subscribers, so be sure to save any photos you want to keep.
Final Thoughts: How to share photo album on iPhone
Well, we've covered all there is on how to share photo albums on iPhone. Don't forget to organize your photo library—to improve your albums before sending them out. For more iPhone photo management tips, check out this guide on deleting duplicate photos.


