VPN not working on Mac: 9 fixes
It's easy to get frustrated when your VPN is not connecting, especially when you rely on it for security or privacy.
VPN issues are pretty common, and although there are loads of different reasons why users encounter them, the good news is they can usually be quickly resolved with some simple troubleshooting.
We've put together all the tips you could possibly need to fix your VPN issues. So, let's not waste any time; let's get started.
Why is my VPN not working?
If your VPN is not connecting, there could be several reasons, including:
-
Network connection issues — A weak or unstable internet connection can prevent the VPN from establishing a secure link.
-
Incorrect VPN settings — Misconfigured VPN settings may block the connection.
-
Firewall or security software interference — macOS firewalls or third-party security software can block VPN access.
-
Outdated VPN software — An outdated VPN client may be incompatible with your macOS version.
-
Server congestion — Some VPN servers can become overloaded, causing connection failures.
Don't worry too much if you're not entirely sure what's causing your issues; work through our troubleshooting tips below to fix it.
How to fix a VPN not working on Mac
1. Check your internet connection
Before assuming that your VPN is the issue, make sure your Mac is connected to the internet:
-
Try opening a website in Safari or Chrome to make sure your internet is working.
-
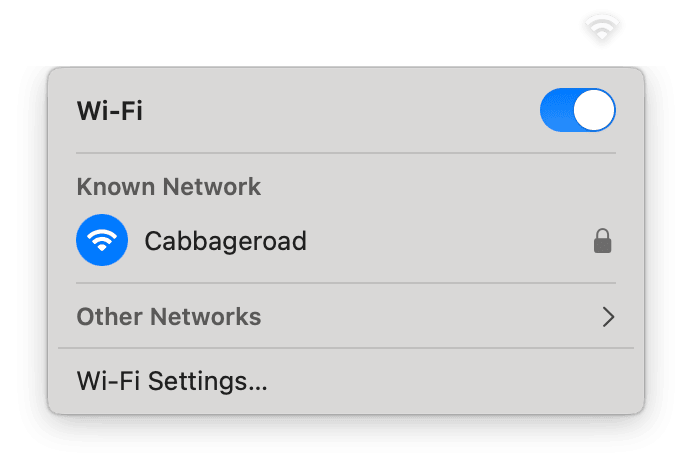
If your Wi-Fi connection is unstable, toggle off and on your Wi-Fi from the Wi-Fi icon top menu bar.
-
If you're connected to public Wi-Fi, try switching to a different network or using a mobile hotspot.
-
Restart your router.
If your MacBook struggles with Wi-Fi connectivity regularly, follow this guide on how to fix Mac not connecting to Wi-Fi.
2. Restart your VPN client
Sometimes, the easiest fix is simply closing and reopening your VPN app; here's how:
- Quit your VPN application completely.
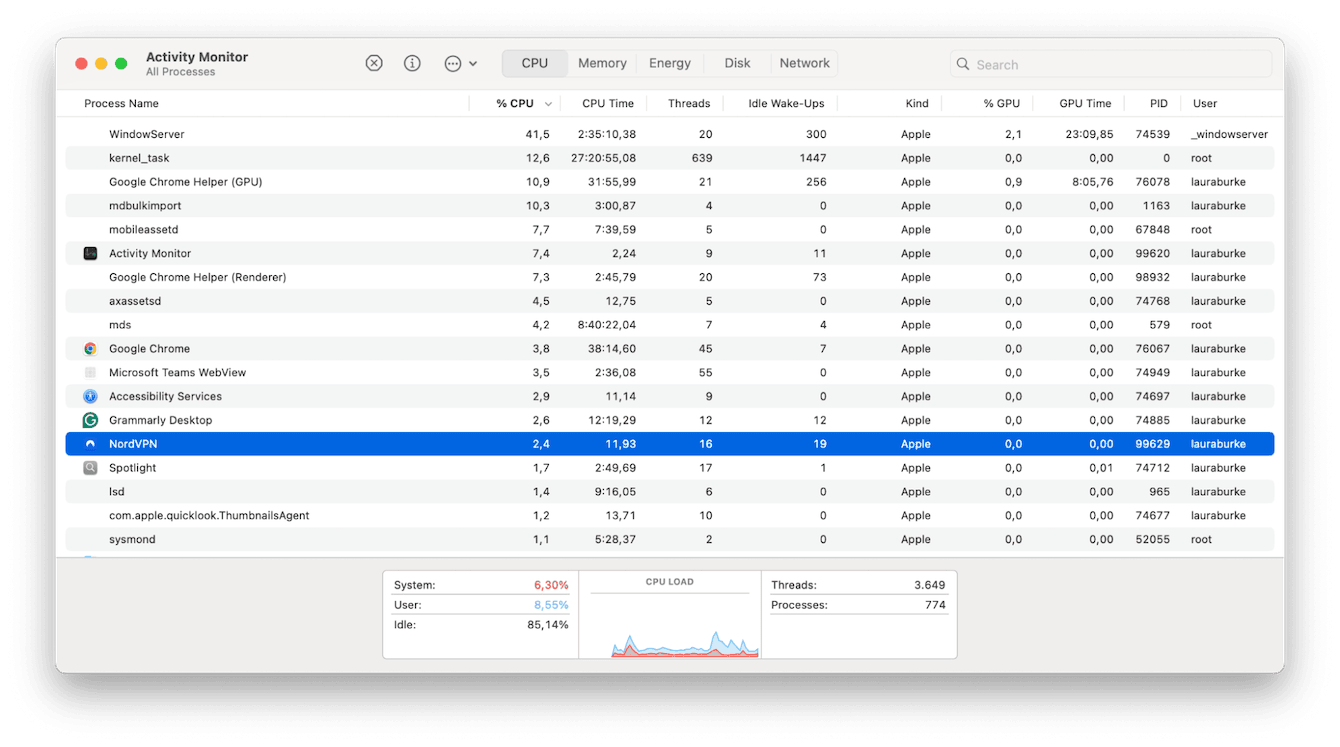
- Open Activity Monitor (Applications > Utilities) and force quit any VPN-related processes.
- Relaunch the VPN app and try connecting again.
3. Verify VPN credentials and subscription
Make sure you've checked if these items are all correct and up-to-date; any one of these can cause your VPN to stop working:
-
Make sure your VPN subscription is active and hasn't expired.
-
Double-check your username and password if using a manual VPN setup.
-
If your VPN requires a license key, ensure it's still valid.
-
Some VPNs limit the amount of simultaneous connections, so log out from other devices and try again.
4. Check Firewall and security settings
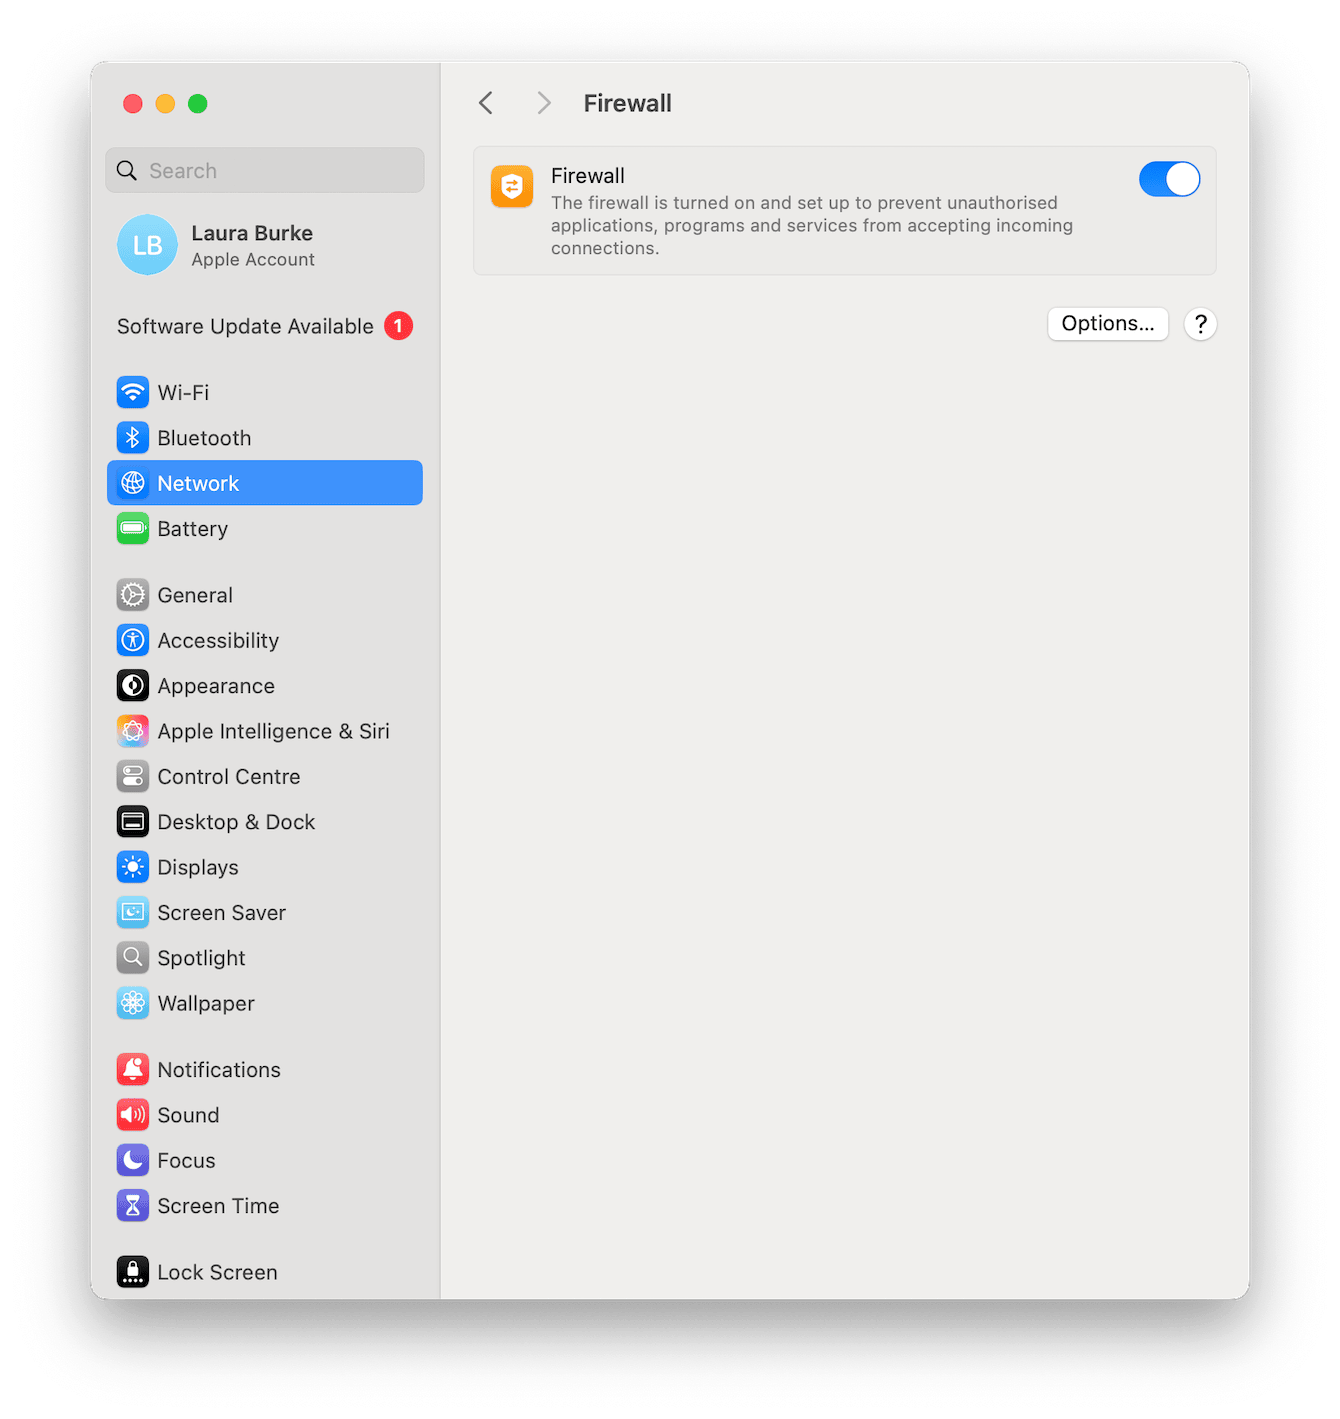
Your macOS has built-in firewall protections that may block VPN connections; you can temporarily disable this to see if that's the issue; here is how:
-
From the main Apple menu, go to System Settings > Network > Firewall.
-
Toggle off the firewall and try reconnecting your VPN.
5. Run maintenance tasks to fix VPN problems
Surprising to some but obvious to others, system clutter or outdated configurations could be the cause of your VPN connectivity problems. Maintenance tasks can go a long way on your Mac, and thanks to tools like CleanMyMac, this is now pretty simple to do.

This app comes with a powerful Performance feature that can run different maintenance tasks; here's a quick look at what this app can do:
-
Flush DNS cache to clear outdated network data that could interfere with your VPN connection
-
Reindex Spotlight to make sure your system searches run smoothly, preventing unnecessary background slowdowns
-
Repair disk permissions to solve any file access issues that could impact your VPN settings
While CleanMyMac doesn't directly manage VPN connections, keeping your Mac optimized and free of network clutter can help prevent VPN connection failures and improve overall performance; here's how to use it:
-
Open the app and click Performance> Scan.
-
View All Tasks to choose what to perform or Run Tasks to initiate recommended ones.

6. Update your VPN and macOS
Check for VPN updates; if it's been a while since you've installed any, it may no longer be compatible with the macOS version you're running.
If you downloaded your VPN from the App Store, here's how to check:
-
Open the App Store.
-
Make sure you're signed in and go to Updates from the sidebar.
-
If your VPN is waiting for an update, install this.

If you downloaded your VPN directly from a developer's website, check there for updates and the latest releases.
It's also worth checking if your Mac is updated; here's a quick reminder of how:
-
Go to the main Apple menu > System Settings > General > Software Update.
-
If an update is available, install it.

7. Reset your VPN configuration
If your VPN is still not working, you can try resetting your VPN settings, here's how:
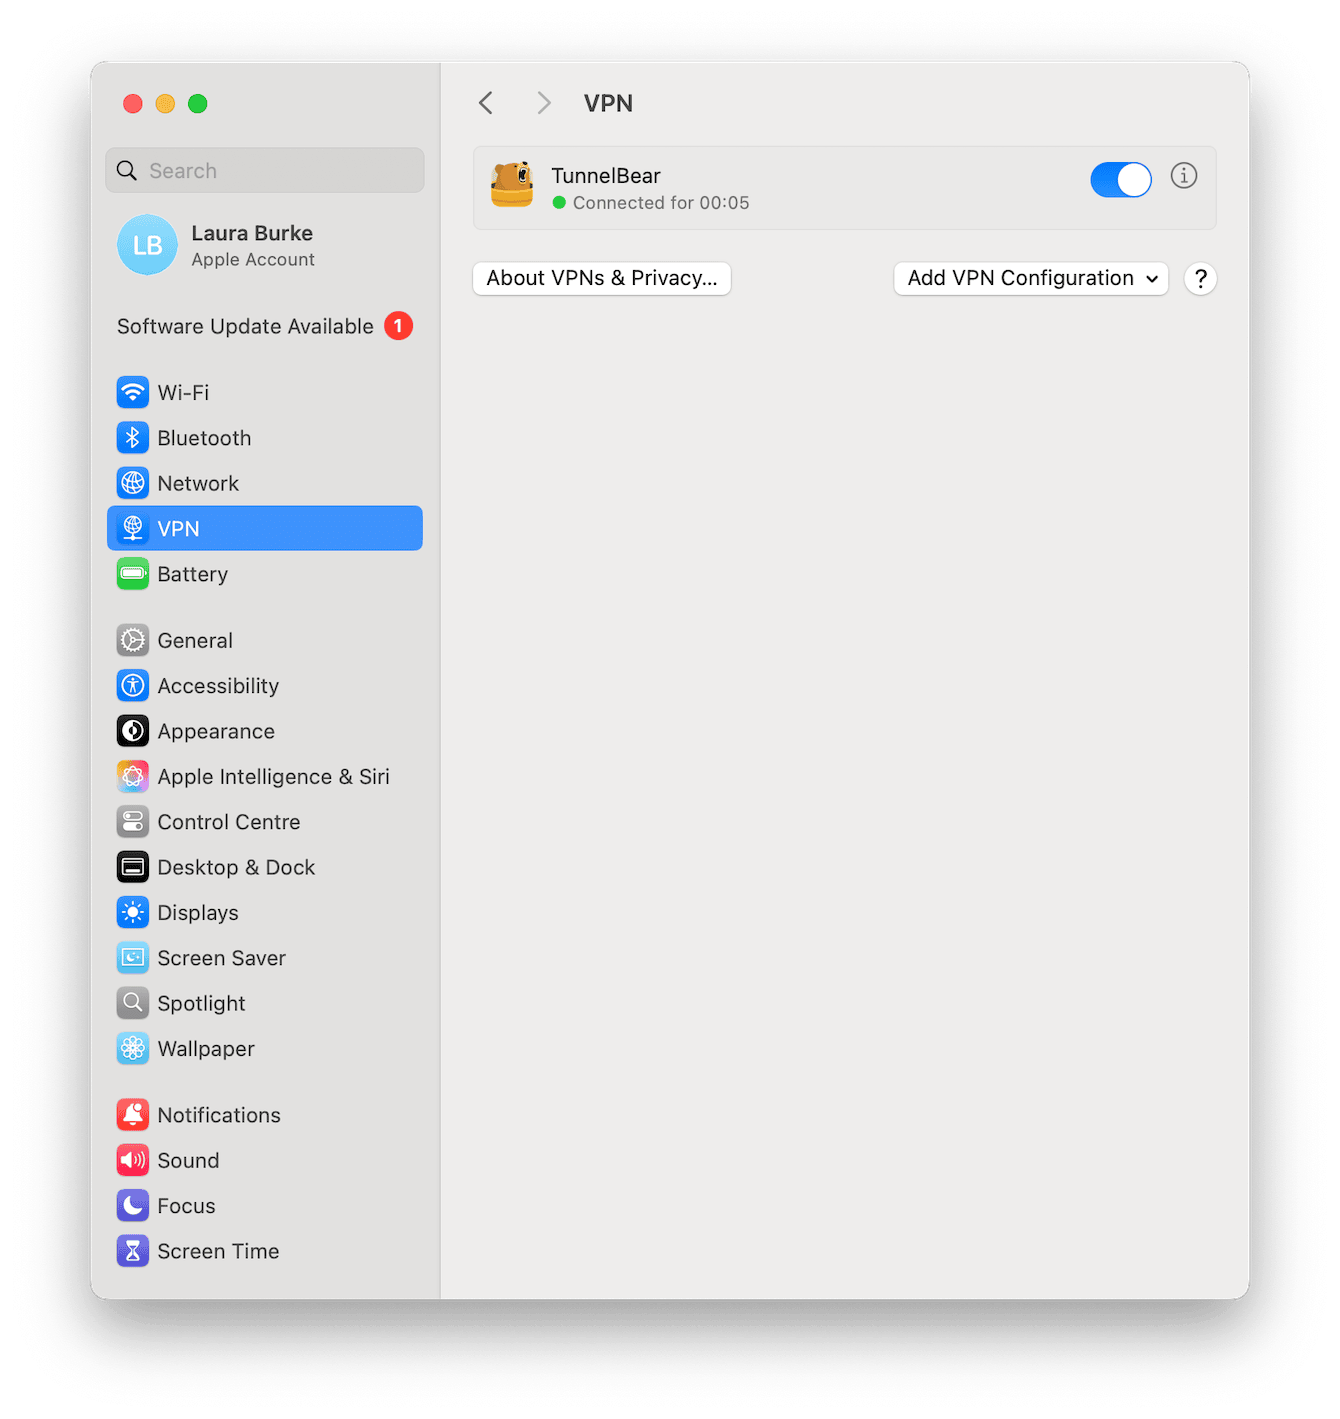
- From the main Apple menu, go to System Settings > VPN.
- Press the Information button next to your VPN connection and click Remove Configuration.
- Reinstall or reconfigure the VPN from scratch.
For more information on network settings, check out this article called, how to reset network settings on Mac.
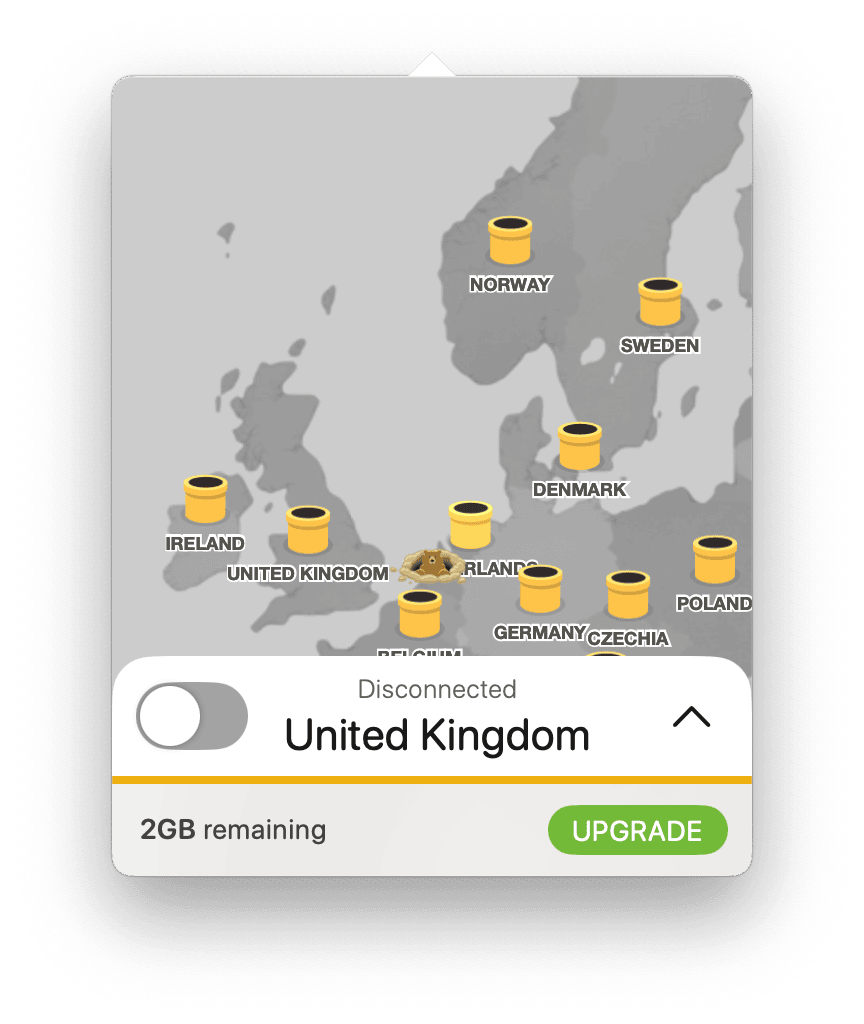
8. Switch VPN Server locations
If you haven't already, make sure you try switching server locations to see if that fixes your connection issue; here' show:
-
Open your VPN app and select a different country or city.
-
If you're using a manual setup, you'll need to check your VPN provider's website for updated server addresses.
9. Adjust your VPN protocol settings
VPNs use different protocols to establish secure connections. Some providers let you manually adjust these settings; it's worth switching between them to see if that works; you'll need to head into the Settings section of the VPN provider you use and look for either connection type or protocol:
-
IKEv2 — Reliable and fast, but some networks block it
-
OpenVPN (UDP or TCP) — More secure but may be slower
-
WireGuard — A newer protocol that offers speed and security
Hopefully, after working your way through this article, you're no longer asking what caused your VPN connection glitches. As you can see, issues vary from network-related to misconfiguration or software conflict, but now you've got all the tips to troubleshoot.

