Solved: Why is Google Chrome slow on Mac
There's nothing worse than a sluggish browser, so if Chrome is slow on your Mac, don't get frustrated; try these seven troubleshooting tips instead.
Used by billions of people worldwide since its release in 2008, today, Google Chrome dominates the internet browser market with a share of 63.58%.
Despite its popularity, it's far from being problem-free, and slow performance is a relatively common issue for users, which hinders productivity. So, what causes it? Well, here are a few possible reasons:
-
Corrupt extensions or properties
-
Build up of cache and cookies
-
Outdated browser
-
Outdated macOS
Thankfully, bringing Chrome back up to speed is pretty simple; it just takes some troubleshooting — and that's where we come in.
Fixes for Google Chrome slow
Get Chrome back up to optimal performance by following these seven simple troubleshooting tips.
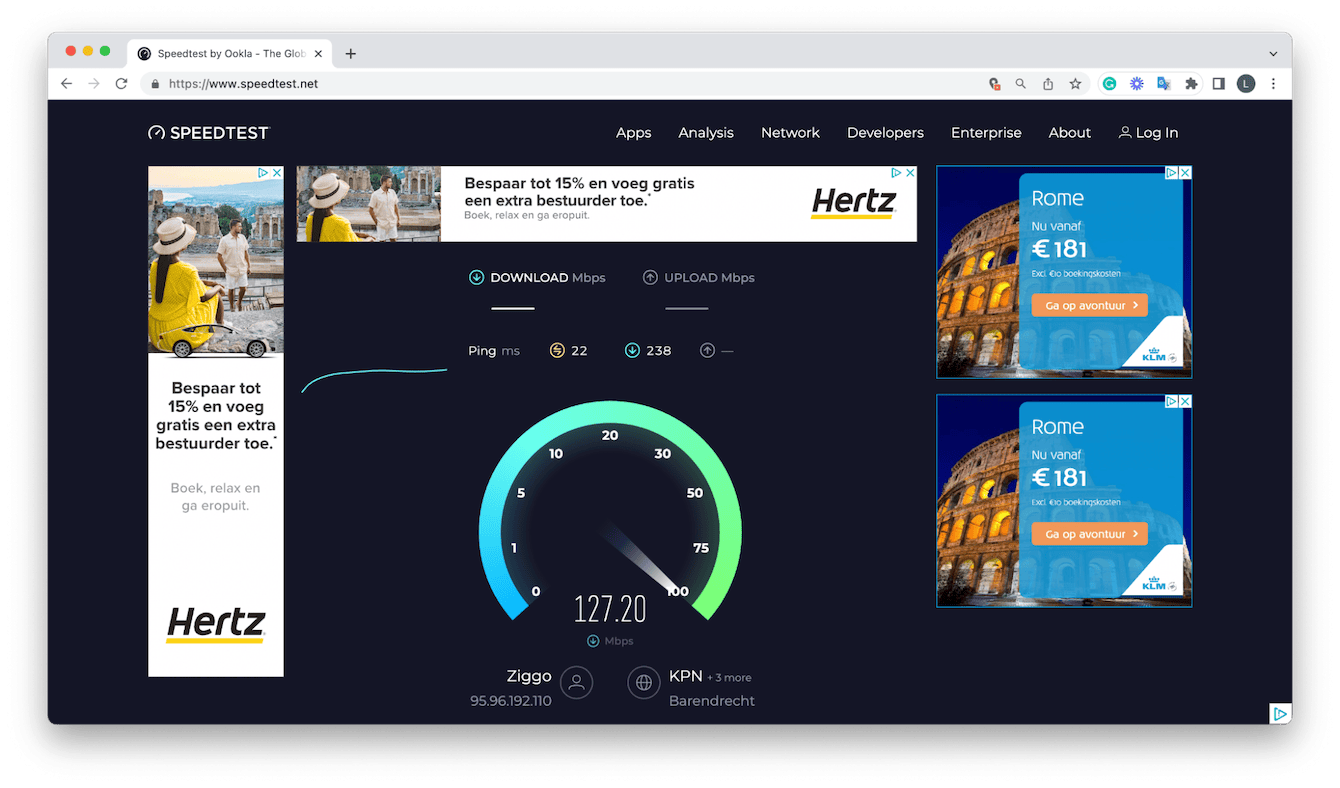
But before we dive in, first, it's a good idea to run a quick speed test. This will help you to rule out issues with your internet provider. If your provider is experiencing local network outages or problems, then the tips in this article won't help. But if your network is running as it should, let's get started and try out the tips below one by one.
1. Update your macOS
If you don't regularly keep your MacBook updated, then outdated software could actually be the reason why Chrome is so slow on your Mac. You'll likely be encountering other performance issues if you haven't updated your MacBook operating system in a while. But it's a quick fix. Here's how to update your macOS:

- Go to System Settings from the top bar Apple menu and click Software Update Available from the sidebar. Alternatively, navigate to System Settings > General > Software Update.
- Click Restart Now to get started and follow the on-screen instructions to install the update.
Now that your Mac is running the latest software, head to the next troubleshooting tip.
2. Update Chrome
Chrome should update automatically in the background, but things go wrong, and often updates don't happen, meaning Chrome can become outdated, glitchy, and problematic. Again, it's easy to check for updates; here's how:
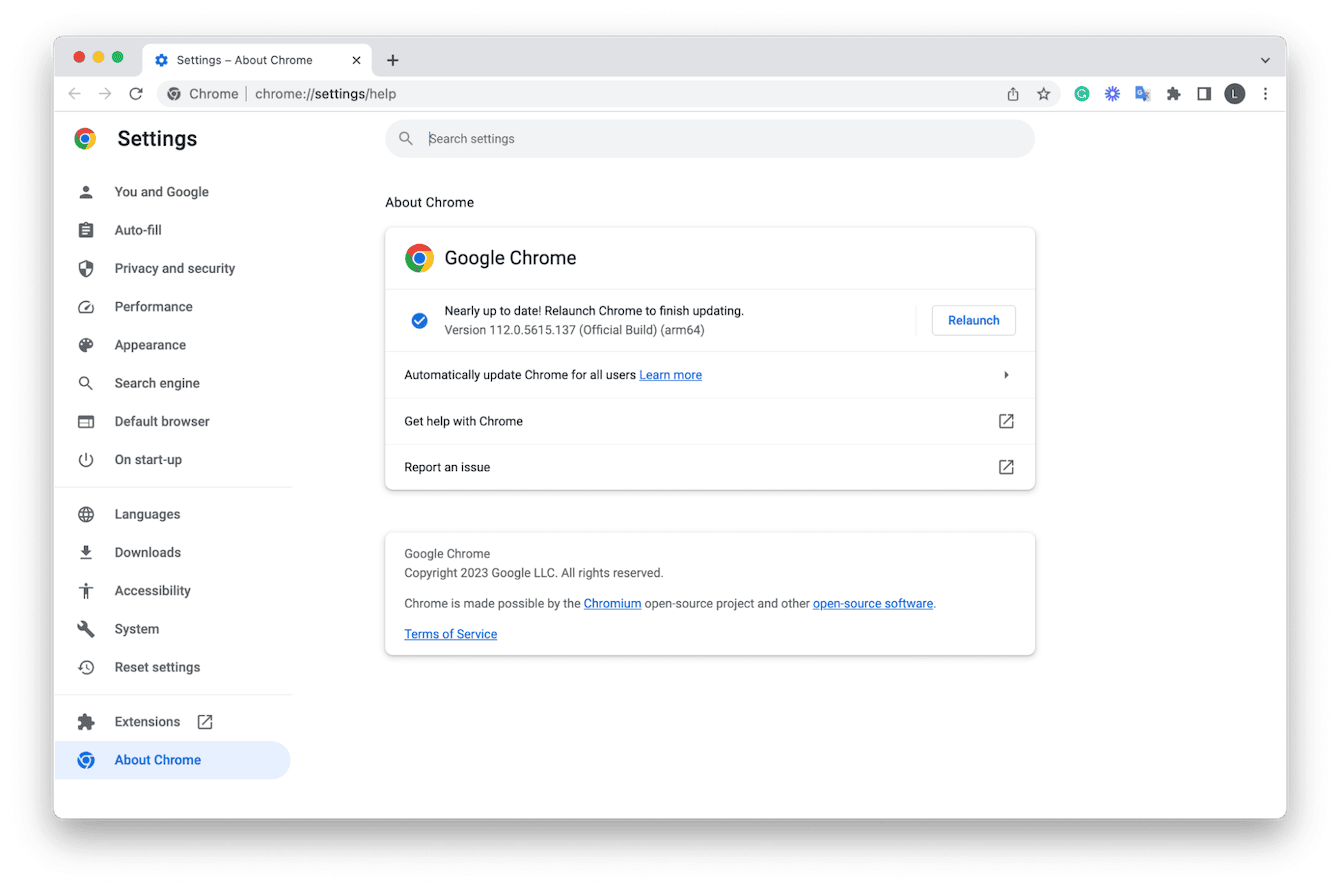
- Open Chrome and select the main Chrome menu > About Google Chrome.
- Under About Chrome, check for updates.
- Once installed, you'll need to restart Chrome.
If Chrome still feels slow after a relaunch, try the next tip.
3. Clear cache and cookies
Chrome stores masses of data; the more you use it, the more information it stores. Cache, cookies, and site data build up over time, slowing down Chrome. Here's how to remove it all and give Chrome some space to breathe:
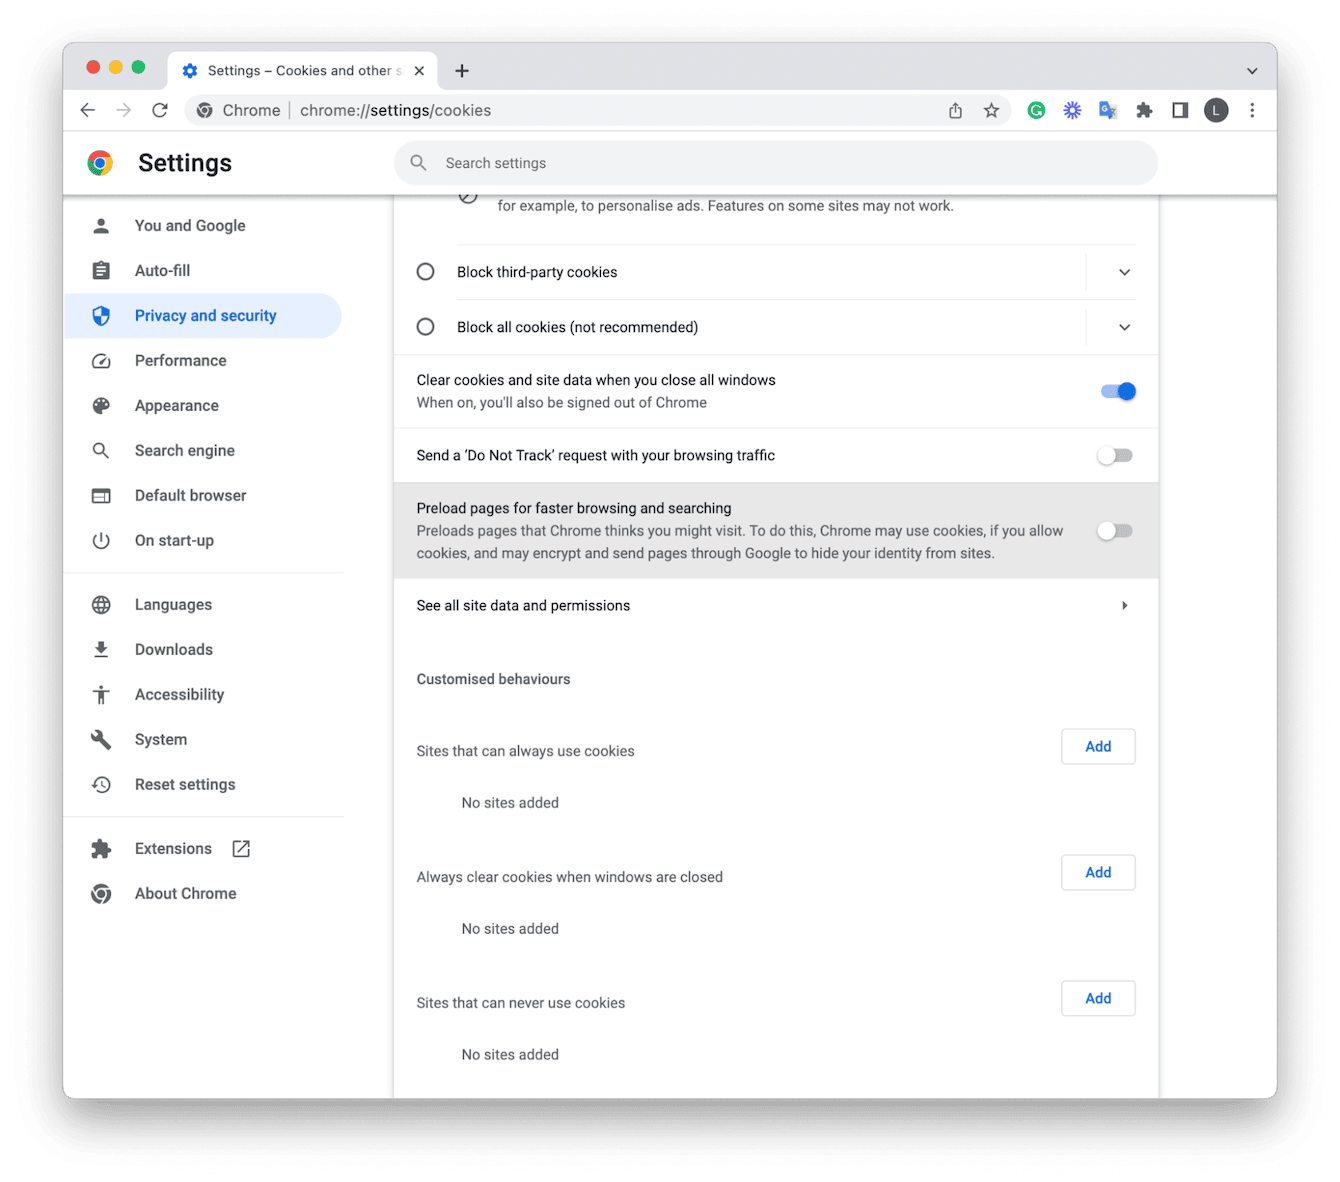
- Open Chrome and select the main Chrome menu > Settings > Privacy and Security.
- First, select Clear browsing data from the main menu, select All, and click Clear data.
- Next, back on the main menu, choose Cookies and other site data.
- Select Clear cookies and site data when you close a window; this will stop Chrome from building cookie data in the future.
It's important you do this regularly to keep Chrome working smoothly. Cache and cookies are a heavy burden for any browser.
4. Run basic Mac maintenance
Regular maintenance, like removing Chrome cache and cookies, is vital in the fight against poor performance. But it doesn't stop with your browser. It's important to remember you'll need to run some kind of a regular maintenance schedule on your MacBook to keep it and all your apps optimized.
By far, the easiest and quickest way to do this is by using a powerful and purpose-built tool like CleanMyMac. Its Performance feature is designed to manage and optimize your Mac's performance by running a series of scripts to boost drive performance and eradicate application errors in just a few simple clicks. Here's how to use it:

- Open CleanMyMac —get your free trial here.
- Select Performance and click Scan.
- Run recommended maintenance tasks.
Congratulations, you just optimized and enhanced your MacBook! Now, let's get back to speeding up Chrome.
5. Disable Chrome extensions
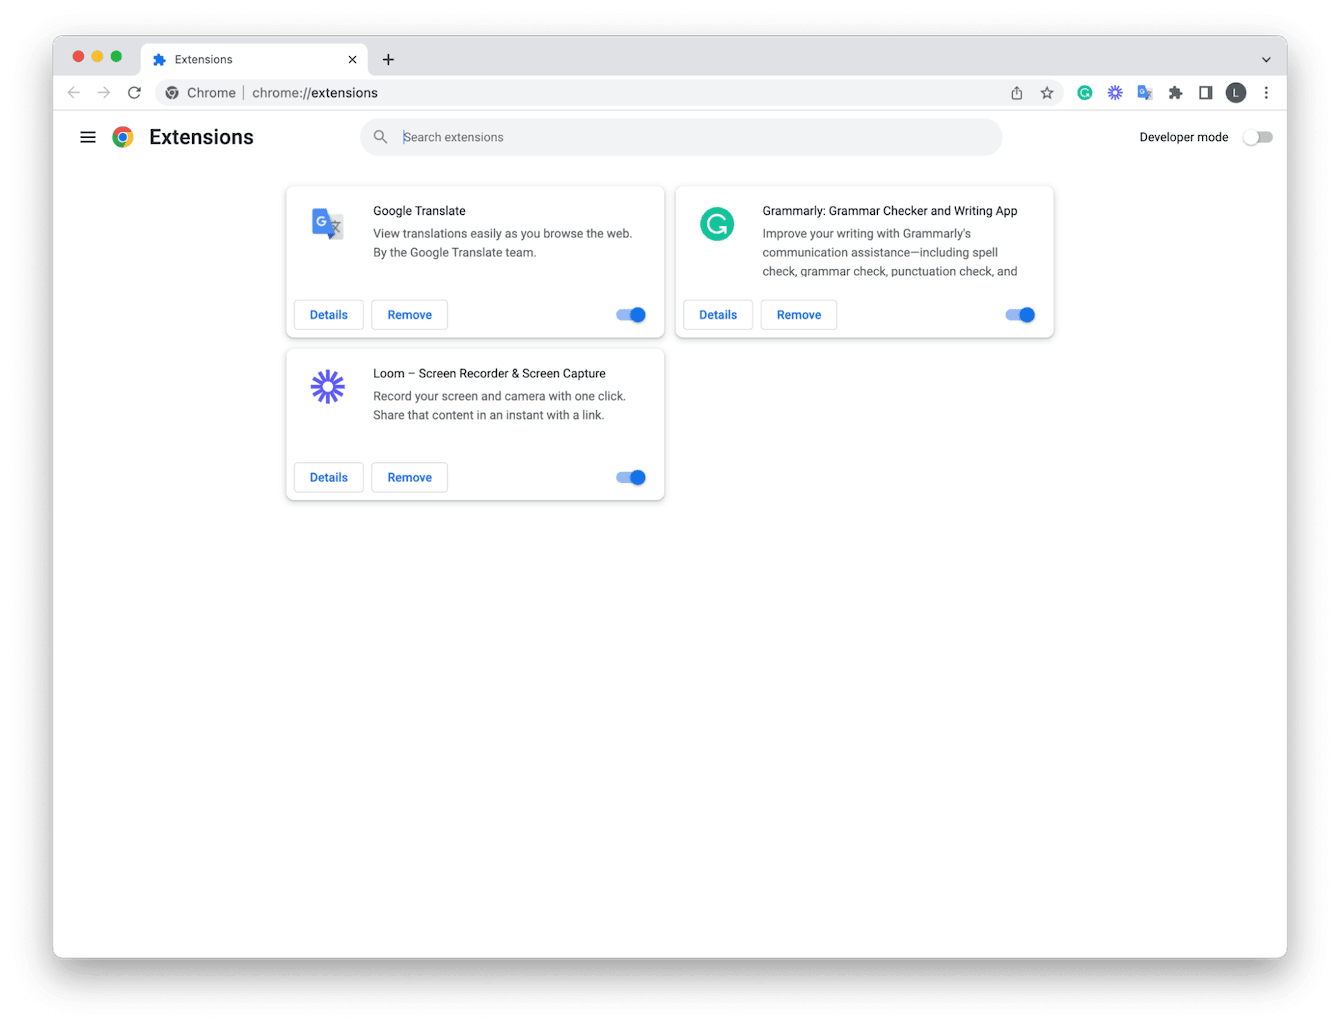
When Chrome is very slow, another quick fix is to remove old, outdated, or unused extensions. Extensions can become corrupt over time and cause performance problems; here's how to remove them:
-
Open Chrome and select the main Chrome menu > Settings > Extensions.
-
Click Remove next to the Extensions you no longer need.
Another option, if you don't want to uninstall every extension, is to toggle them all into the off position. Then turn them on one by one and test Chrome each time to see if you can find the corrupt culprit that's slowing your browser down. A little more time-consuming but handy if you've got loads of extensions that you really do use and can't live without.
Tip: Although Chrome's performance has significantly improved over years, issues are still not rare. Luckily, we have fixes for all kinds of Chrome-related problems, including Google Chrome Helper process eating CPU and Chrome crashing all the time.
6. Remove Chrome's property list
If Chrome is still slow on your Mac, then it's time to delete its plist files, which, just like extensions, can also become corrupt and slow down performance and responsiveness; here's how:
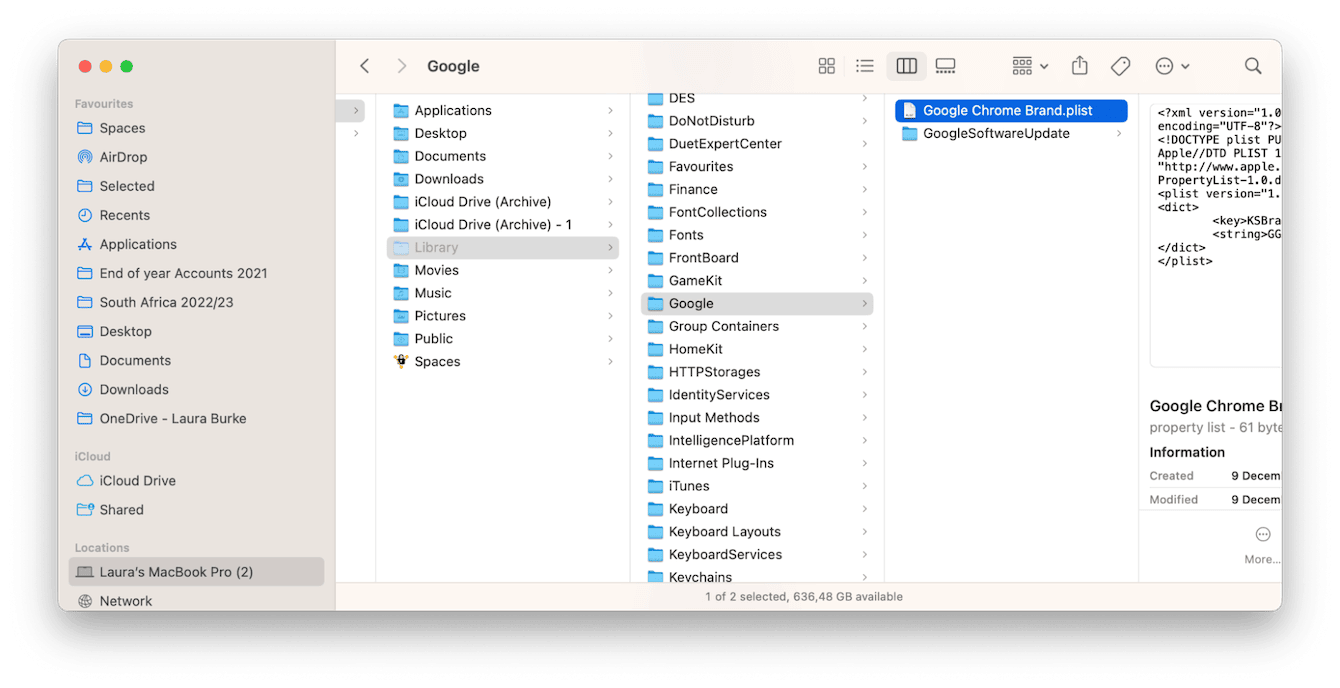
- Open a new Finder window. Select Go > Go to Folder.
- Enter the below file path:
~/Library - Locate the Google folder from the list, find the Google Chrome Brand.plist file, and drag it to the Trash or Bin.
- Empty your Trash and restart Chrome.
7. Reset flags
Beta, experimental Chrome flags, can also slow your browser down. Resetting them to default settings is wise if, at this point, Chrome is no faster; here's how:
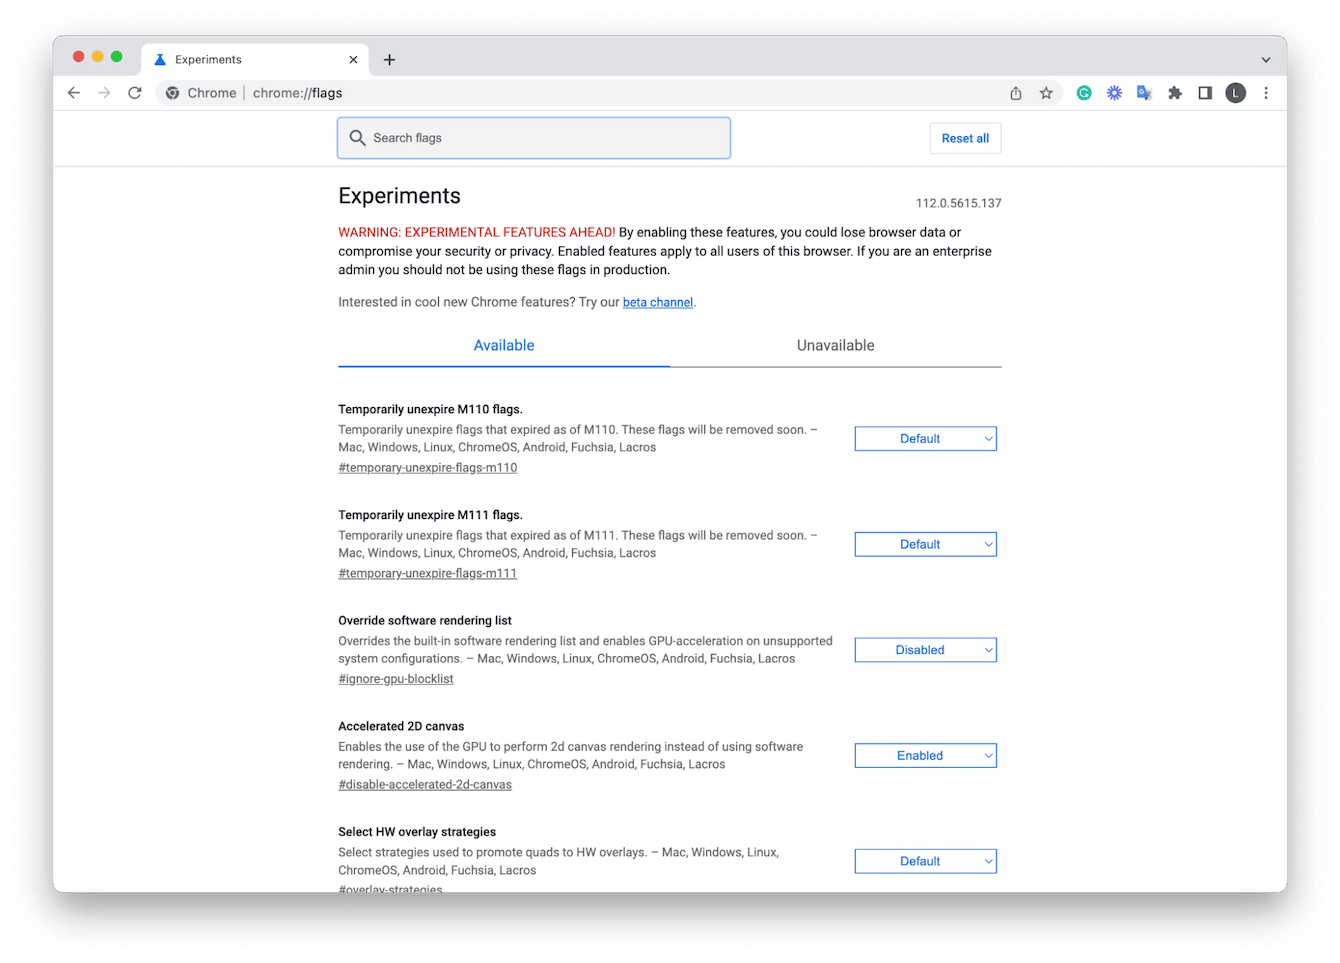
- Open Chrome, in the search bar, enter the below, and press Return.
chrome://flags/ - Select the Reset All button top right and restart Chrome.
Does Chrome slow down MacBooks?
If you search the forums, you'll see many users complaining that Chrome has caused their Macs to grind to a halt.
It's one of those issues that isn't as straightforward as it may seem. Our Macs suffer from performance problems for many reasons, and it may not entirely be Chrome's fault.
If slow performance is isolated to Chrome itself, then this can usually be attributed to the following reasons:
-
Outdated version of Chrome
-
Corrupt extensions and plug-ins
-
An excessive number of browser tabs and windows open
If you've followed the steps above, your Mac should generally feel faster. If it's still slow, check out this article on how to speed up Mac to learn how to fix it.
There's truly nothing more irritating than a slow browser. It makes work, play, and computing life in general harder and less enjoyable. Hopefully, thanks to these tips, you're no longer asking why is Google Chrome so slow.

