What is Macintosh HD, and why it can’t be unlocked?
If you're puzzled by “the disk Macintosh HD can't be unlocked” error, look no further.
Many users report that an unexpected error message appears on their Desktop after upgrading their macOS or, in some cases, downgrading.
In this article, we'll look at what it means and, more importantly, how to fix it.
Before we get into the main troubleshooting tips, it's essential to understand what Macintosh HD data is, so jump to the next section for a quick walk-through.
What is Macintosh HD and Macintosh HD data?
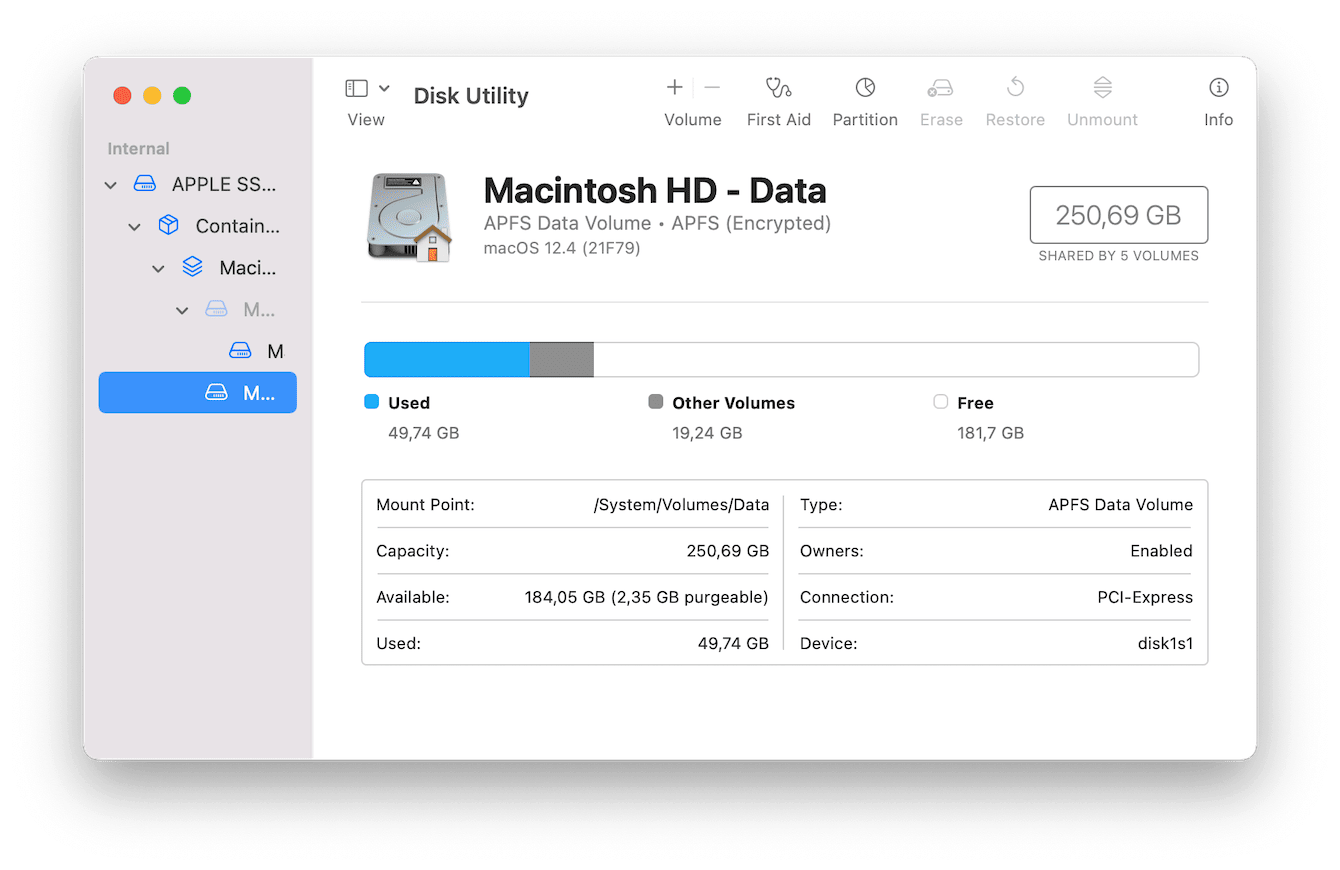
Since macOS 10.15 Catalina, a MacBook's internal hard drive is segregated into two distinct entities: by default, one is called Macintosh HD, a read-only volume that stores the operating system, applications, and various files. Users cannot edit, erase or alter this volume.
Macintosh HD — Data is the other separate volume, storing Mac user files like videos, documents, audio, and photos. Users have read-write access meaning you can manage and edit files housed here.

So when you encounter “the disk Macintosh HD can't be unlocked” error, it simply means that the volume is locked and cannot be managed.
In some cases, extra, duplicate locked volumes suddenly appear that may look like this: Macintosh HD – Data – Data. These are totally unnecessary and can be deleted — we'll get to that a little later in the article.
Why does “the disk can’t be unlocked” error happen?
Although it's not entirely clear why this error happens, there seems to be a correlation between upgrading or downgrading your macOS. Thankfully we've got the tips you need to solve it.
Although scary sounding, disk errors and other types of disk failures are pretty common, these issues can often be prevented or, in some cases, resolved by performing tasks like freeing up RAM, reindexing your Spotlight, and repairing disk permissions.
The most straightforward way to perform these types of tasks is to use the Maintenance module in CleanMyMac. This savvy application can handle all of these tasks in a few simple clicks and also run maintenance scripts, free up purgeable space and thin out your Time Machine snapshots.
Once you've downloaded the free version, follow the below steps to get started.

-
Open the CleanMyMac app.
-
From the sidebar, select Maintenance.
-
Press View All Tasks, and select the following:
Free up RAM
Free Up Purgeable Space
Repair Disk Permissions
Run Maintenance Scripts -
Press Run.
Now let's get started with unlocking the disk on your Mac.
Did you know? Another nasty Mac glitch is application not opening (error message 10673). Here's an article how to fix it.
How to solve "The disk Macintosh HD can't be unlocked" error
Before diving into the fixes, take a moment to back up your Mac — just in case. Here's how:

-
Connect your external storage drive.
-
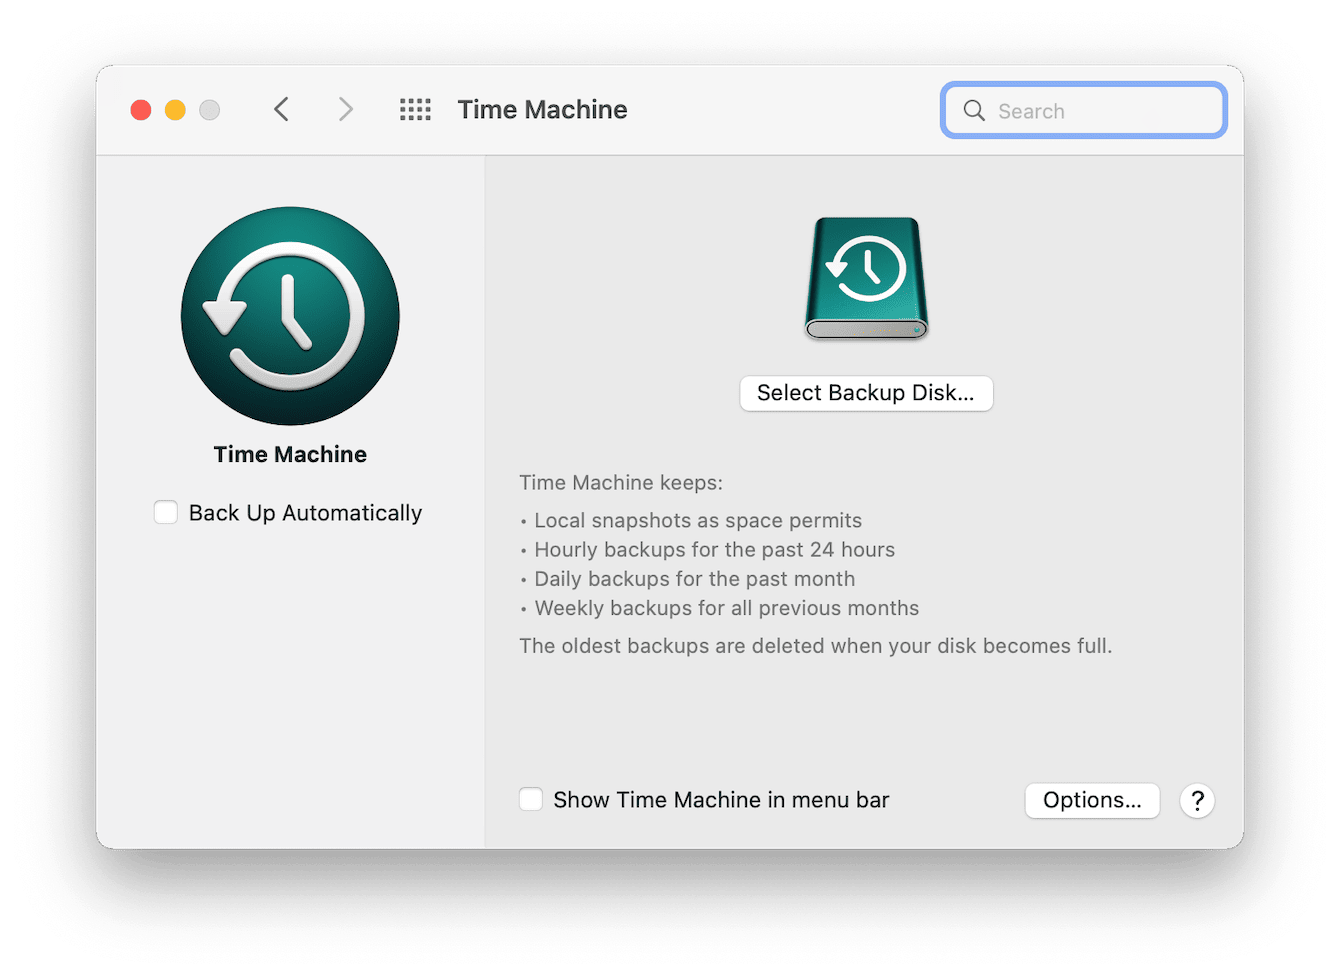
From the main Apple menu > System Preferences > Time Machine.
-
Press Select Backup Disk, select your external drive and press Use Disk.
Now that's covered, let's jump into the fixes.
Run First Aid
The easiest way to resolve the Macintosh HD data error is to run the First Aid feature from within Disk Utility while your Mac is booted in Recovery mode.
The First Aid feature can inspect and repair your hard drive, container, and various volumes. Let's start with booting your Mac in Recovery mode:
-
For Intel-based Macs, shut down your Mac from the main Apple menu, then press and hold the Command-R keys until your Mac restarts.
-
For M1 Macs, shut down your Mac from the main Apple menu, then press the Power button until you see "Loading Startup Options." Select Options, then Continue.
Now you've booted your Mac in Recovery mode, here's how to run First Aid:

-
Select Disk Utility from the Utilities window.
-
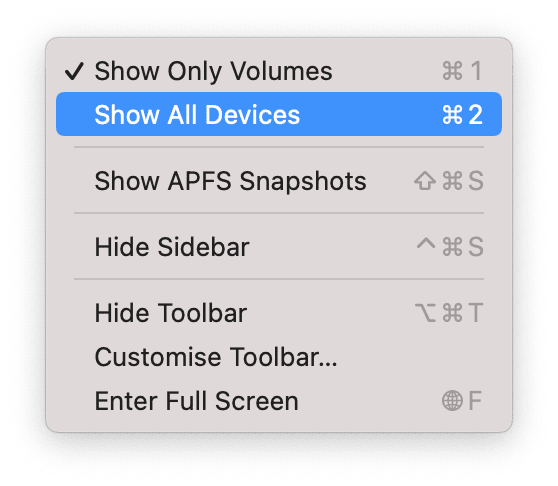
From your top menu bar, press View > Show All Devices.
-
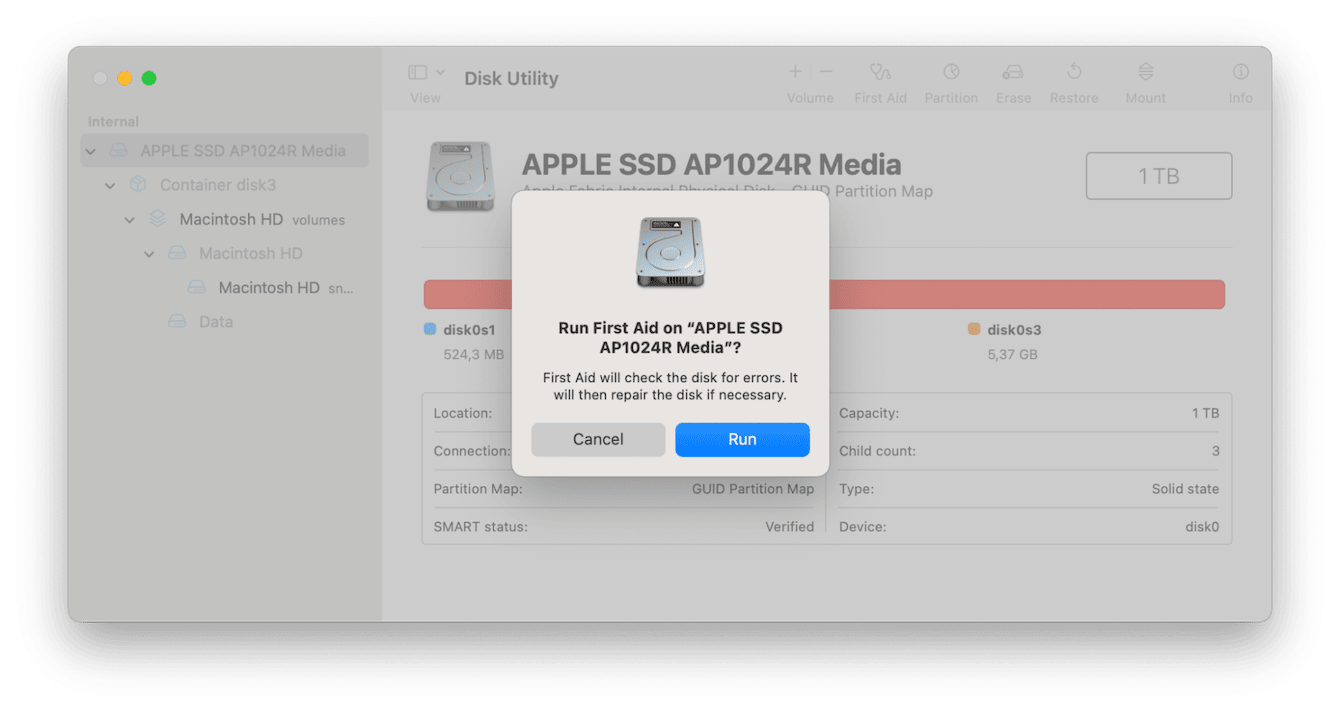
Locate your internal hard drive from the list; once selected, click First Aid and press Run.
-
Repeat this step for the following:
-
Container
-
Macintosh HD - Data volume
-
Macintosh HD volume
-
Any other remaining volumes

This will help to fix and repair any disk errors. Once complete, boot your Mac up, as usual, to see if this issue is resolved.
Tip: Sometimes, updating your Mac to the latest macOS version can help fix this error message. If, for some reason, you cannot update your Mac, here's a guide on how to troubleshoot it.
Delete extra duplicate volumes
If running First Aid didn't seem to solve the issue, try deleting any duplicate volumes that you came across when running First Aid.
To do this, reboot your Mac into Recovery Mode, using the steps from above, then follow the below instructions:
-
Once again, select Disk Utility from the Utilities window.
-
Locate the duplicate volume you want to erase from the list and select it.
-
Press Erase.
-
Enter your admin password if prompted.
Erase and reinstall macOS
As a final step, it's also possible to erase and reinstall macOS, to completely resolve the problem.
But as a word of warning, make sure you've backed up your data using Time Machine before following these steps. Erasing your macOS will remove all of your personal data.
-
Boot up your Mac in Recovery mode using the steps from above.
-
From the Utilities window, select Disk Utility and press Continue.
-
Now press the Erase button and enter the following
Format: APFS or Mac OS Extended (Journaled)
Name: Macintosh HD -
Select Erase and enter your admin password.
Don’t be alarmed if this takes a while to complete.
Don’t be alarmed if this takes a while to complete.
Now you've erased your macOS disk, return to the Utilities window and select Reinstall macOS. Simply follow the on-screen instructions.
When you boot up your Mac, the error will be gone.
Although annoying, the disk Macintosh - HD can't be unlocked error, is relatively easy to fix, and now you know how.

