How to fix the "ls: .: operation not permitted" error in Terminal
Unable to execute commands in Terminal because of the "ls: .: operation not permitted" error?" This message can appear when macOS restricts access to certain directories, preventing even basic commands from running. While frustrating, this isn’t just a random glitch — it’s your Mac actively protecting sensitive system areas.
However, a few adjustments in System Settings can resolve the issue. In this article, we’ll break down why Terminal displays this error and walk you through the steps to fix it.
Why does Terminal say "operation not permitted" on Mac?
Essentially, the Mac "ls operation not permitted" error indicates you do not have the privilege to access protected directories and files on your device.
If you've recently upgraded your system, this issue is likely caused by enhanced security measures, including changes to Full Disk Access and System Integrity Protection (SIP).
Here are a few scenarios in which you may encounter it:
📌 Running npm install without full disk access
📌 Trying to run git status inside a protected macOS folder or cloning a repo into /System or another restricted directory
📌 Homebrew installation with wrong permissions
📌 Running pip install in a protected macOS folder
📌 Installing packages system-wide without proper privileges
Thankfully, it's a pretty simple fix, and we'll show you how to solve it in the next section.
For those who are new to Macs, if you're wondering where to locate the Terminal app, here's a quick reminder:
Open Finder > Applications > Utilities > Terminal.

Or you could open a Spotlight search by pressing the Command and Spacebar keys and typing in Terminal.
Now to the fixes.
How to fix the "ls operation not permitted error"
Follow these four simple steps to eliminate this annoying error; let's go.
1. Ensure Full Disk Access is enabled
The Full Disk Access security feature from Apple was first introduced with macOS 10.14 Mojave. It's ultimately built to protect your personal data from unauthorized access. If Terminal doesn't have Full Disk Access enabled, then it will struggle to operate. Here's how to turn it on:
- Quit Terminal.
- Go to the main Apple menu > System Settings > Privacy & Security > Full Disk Access.
- Find Terminal in the list and toggle the button to the on position. If it is not in the list, click +, type Terminal in the search bar, select it, and click Open.
- Enter your admin password if asked and click Quit & Reopen.
- Test your command to see if it works.

Important: Do not ignore restarting Terminal. Without doing it, the changes won't be applied. If it did not help, go back to Full Disk Access, select Terminal, and click the "-" button. Confirm the deletion and then re-add Terminal by following the steps above. Restart your Mac. It may fix situations in which Full Disk Access is already enabled, but the error persists.
Note that if you use Terminal alternatives like iTerm, you need to grant permissions to these apps.
On macOS Monterey or older, the steps are slightly different: System Preferences > Security & Privacy > Privacy > Full Disk Access. You will need to click the lock icon and may need to enter your admin password to make changes. Then, add Terminal and click the lock again.
2. Check and adjust file permissions
Locked files are more common than you think, and they can be another reason why users encounter error messages in Terminal. When certain files are locked, you won't be able to make changes via Terminal. In other words, you don't have sufficient privileges to alter or access certain files.
You'll first need to unlock the file you're trying to change before you can run any commands in Terminal. Here's how:
- Locate the file you are trying to alter in the Finder.
- Once located, right-click on the file icon and select Get Info.
- Under Sharing & Permission, select your User name.
- Now, change Privilege to Read & Write.
- Now that the file is unlocked, try running your command again in Terminal.

In addition to checking separate files' permissions, also check the permissions of the directory in which these files are located. They should also have the Read & Write access. To adjust permissions, select the directory, press Command + I, and set the needed privilege.
Don't worry if you already have read-and-write access and this tip didn't help; we've got a few more tricks below to help you solve this problem once and for all.
Did you know? What is great about Mac is that everything works just fine most of the time. However, sometimes, you may encounter all types of issues, such as "ls: operation not permitted" error message in Terminal, MacBook not sleeping when the lid is closed, or Trackpad not working, to name just a few. On our blog, you can find fixes for these and any other Mac glitches.
3. Temporarily disable your Mac's System Integrity Protection (SIP)
If the "operation not permitted" error still happens after you've granted Terminal Full Disk Access and run some general maintenance, you can, as a final step, try temporarily disabling your SIP.
The SIP (System Integrity Protection) feature is designed to protect your entire macOS system by stopping the execution of unauthorized code. It's actually pretty standard practice for developers to turn this feature off, so they can test code, fix application bugs, and install new macOS extensions.
Important: Do not disable SIP unless absolutely necessary for specialized, temporary, or developer tasks — it leaves macOS vulnerable to corruption and malware.
To disable SIP, you'll first need to boot your Mac into macOS Recovery. Depending on your device, this will vary. Here are the official steps from Apple for Macs with Apple silicon and for Intel-based Macs.
Once you've successfully booted your Mac into recovery mode, follow these steps:
-
From the top main menu, select Utilities >Terminal.
-
Type the command below, pressing Return to execute it:
csrutil disable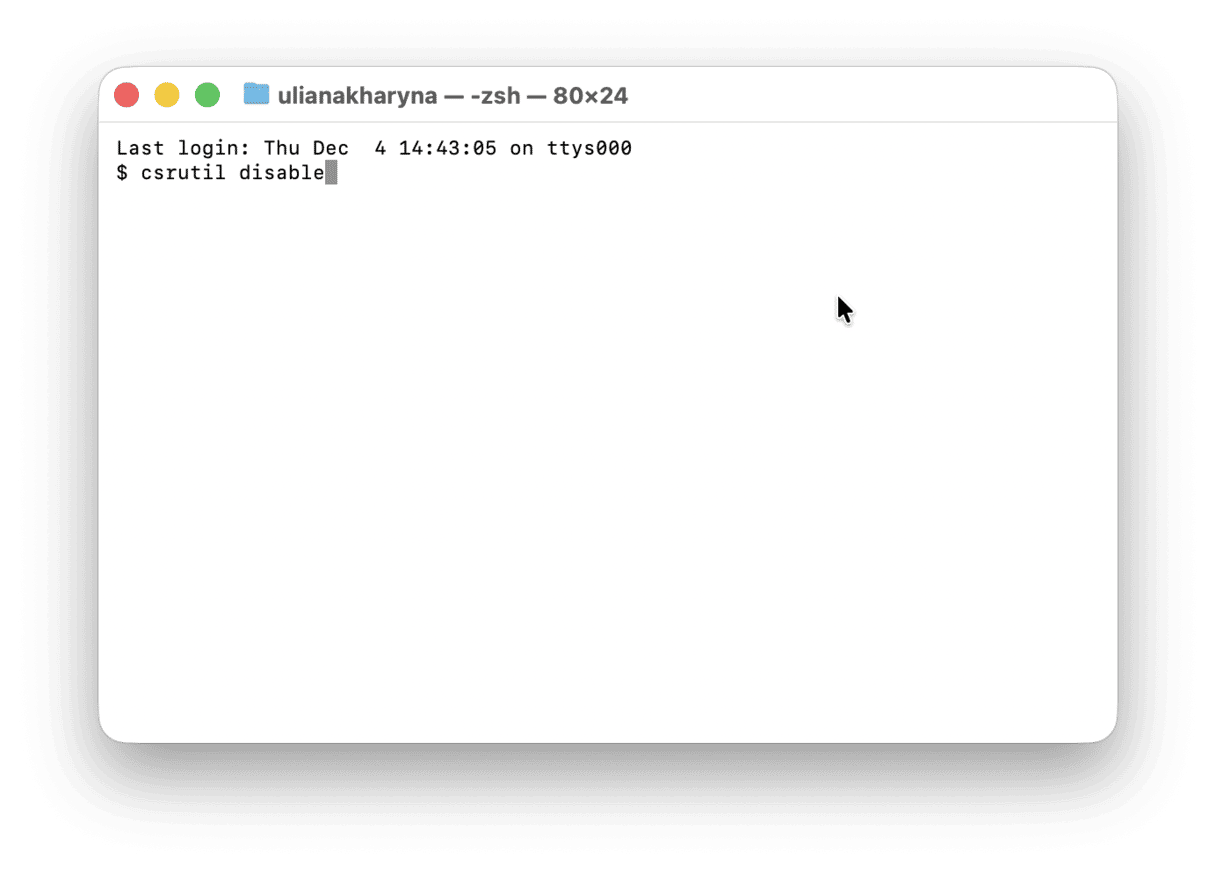
-
Now, click the main Apple menu > Restart.
-
Once your Mac boots up, open Terminal and try to run the original command you wanted to execute.
After you've successfully performed the necessary tasks in Terminal, It's a good idea to enable the SIP feature again to prevent your Mac from any future virus or malware attacks.
To do this, simply repeat the step above, but this time, type in the following command: csrutil enable

What happens when I disable System Integrity Protection?
Do not ignore enabling SIP back on. When you disable it, the system becomes vulnerable to malware. Since access to protected directories is not prohibited, if malicious software is installed while SIP is disabled, the consequences might be catastrophic (e.g., you might lose all your data, including financial and personal information).
So, double-check if it's enabled by running this command in Terminal: csrutil status
Look at the output: enabled or disabled.

What to do if nothing helped
If you've tried every solution and still face the same Terminal error, reinstalling macOS might be the best course of action. This process will reset all system files, permissions, and security settings, helping resolve persistent issues.
To reinstall macOS, you'll need to start your Mac in macOS Recovery. You can find detailed instructions on Apple's official website to guide you through the process. Hopefully, this will eliminate your Terminal issue for good.
How to prevent all kinds of errors: General MacBook maintenance
You might be surprised to see this tip on the list, but regular and consistent MacBook maintenance is a great preventative step to preventing issues like this one from ever happening.
If you haven't already got a regular maintenance plan, now's the time to start. Maintenance can optimize your Mac and repair disk permission issues, thus preventing many annoying problems from ever occurring. Running maintenance tasks is pretty easy, thanks to tools like CleanMyMac.
- Get your free CleanMyMac trial.
- Open the app and go to Performance.
- Run a quick scan.
- Click Run Tasks to perform maintenance.
- Review Login and Background Items to optimize your Mac performance.

Why you might want to use CleanMyMac
- Cleans, protects, and optimizes your Mac: on average, users find 1 malware, 10.5 GB of junk files, 4 duplicates, and 5 similar images after the first scan
- Removes over 81 GB of junk files every minute
- Maintains and cleans over 50K of Macs daily
- Rated 4.7/5 on Trustpilot (1,821 reviews; 86% 5-star)
Get started with a free CleanMyMac trial — see it in action on your MacBook (7 days free).
So we've reached the end. Thanks to these simple and easy-to-follow tips, the irritating "ls: .: operation not permitted" error message should be a distant memory.
Frequently asked questions
Which macOS versions does the "ls: .: operation not permitted" error message affect?
The message started appearing when Apple added SIP to macOS. It was with the release of OS X El Capitan back in 2015. So, if you run any macOS version later than that, you may encounter it.
Why sudo doesn't work on Mac?
If you're a standard user, sudo won't work. In some cases, it may happen due to an incorrect path and corrupt /etc/sudoers file. It also won't work if you're trying to alter protected directories (like some of those in the Library folder) — SIP simply blocks the action even if you are an admin because it is a higher-level restriction compared sudo, meaning that SIP simply outweighs sudo.
Is it better to use Full Disk Access or disable SIP?
It is not recommended to disable SIP unless you are completely sure of what you are doing. Using Full Disk Access is considered a safer option that won't let you remove or change vital system components.
What is the difference between permission denied and operation not permitted?
Permissions denied specifically means that you don't have permission to perform a specific action. It is usually fixed by running chmod/chown commands. Operation not permitted, on the other hand, means that the system does not allow running a command, and you can fix it by granting Full Disk Access to Terminal or disabling SIP. Here are some examples of commands specifically affected by the Operation not permitted message:
-
ls (list directory)
-
mv (move/rename)
-
cp (copy)
-
rm (remove)
-
defaults (modify preferences)
-
chmod, chown (change ownership)