How to organize photos on Mac: 5 pro tips
Need some tips on how to organize photos on Mac? With thousands of images piling up from downloads, screenshots, and iPhone imports, your Mac's photo library can quickly become a mess.
The good news is that macOS offers plenty of built-in tools to help you sort, tag, and manage your images effectively.
When you know how managing your media gets a bit easier, and that's what we're here for. In this guide, we'll walk you through some of the easiest and best methods, including tips on cleaning up duplicates, creating albums, and managing your photo libraries efficiently. So, let's begin.
Why you should organize Photos on Mac
Keeping your MacBook photos organized isn't just about aesthetics; it actually makes finding and managing your pictures much easier in the first place.
It might feel like a lot of effort, but it's totally worth it:
-
Save storage space: Photos take up a lot of disk space, especially if you have duplicates. Regularly sorting and deleting unnecessary images helps free up storage.
-
Find your photos faster: A well-organized library allows you to locate pictures quickly, whether through albums, smart folders, or keyword searches.
-
Better backup management: A structured photo library makes it easier to back up your images to iCloud or external drives without saving unnecessary duplicates.
-
Improve creative workflow: For photographers and designers, organizing images helps streamline editing and project management.
Now that we've covered the benefits, let's dive into the best way to organize photos on Mac.
How to manage photos on Mac
1. Use the Photos app for built-in organization
The Photos app on macOS has got to be the easiest way to manage your images. In recent updates, it's gotten a lot smarter, with way many functions.
The Photos app can automatically sort photos by Date, location, and even people using facial recognition.
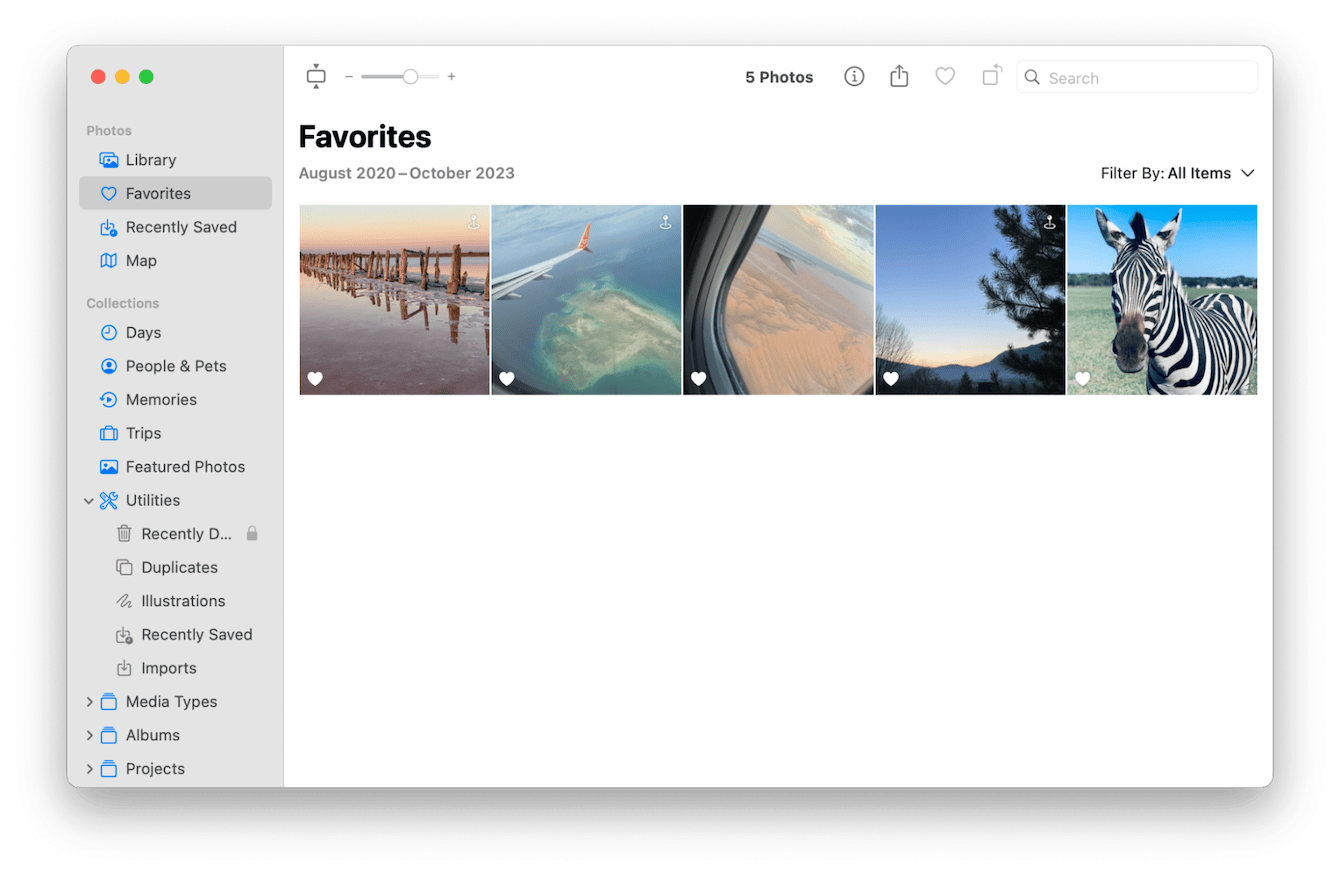
Let's start by taking a look at how you can create albums for easy sorting and access.
How to create a new photo library on MacBook
-
Open up the Photos app from your Applications folder.
-
Select all the images you want to organize.
-
Click File > New Album (with the selected amount of photos) and give it a name,
-
You can add more images by simply dragging them into the folder, which is now displayed in the left sidebar under albums.
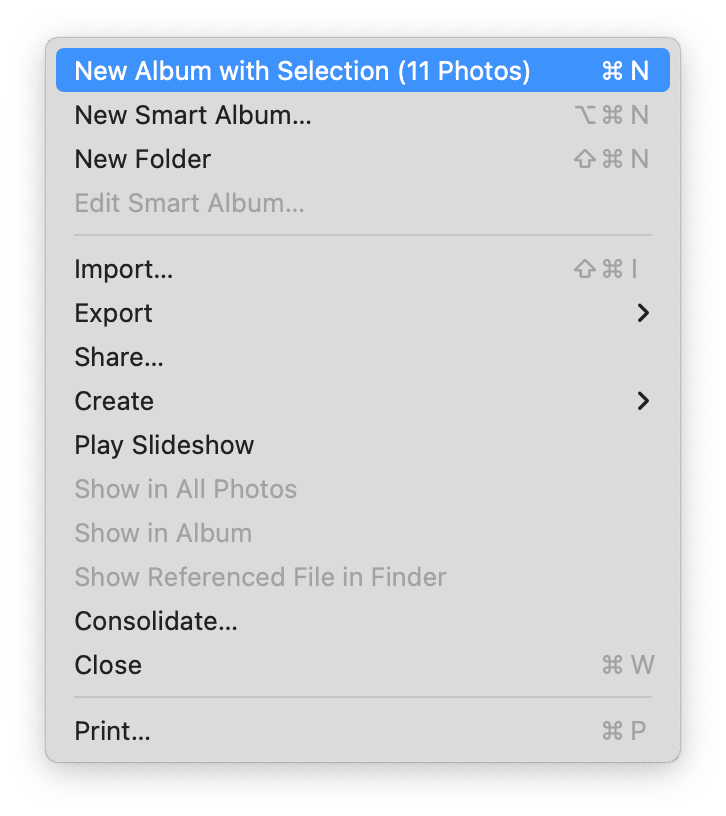
Use Smart albums for quick organization
-
Go to File > New Smart Album.
-
Set the conditions you want, like file type or Date captured.
-
Once you click OK, the Smart Album will locate content and add images.
Use People & Trips to sort automatically
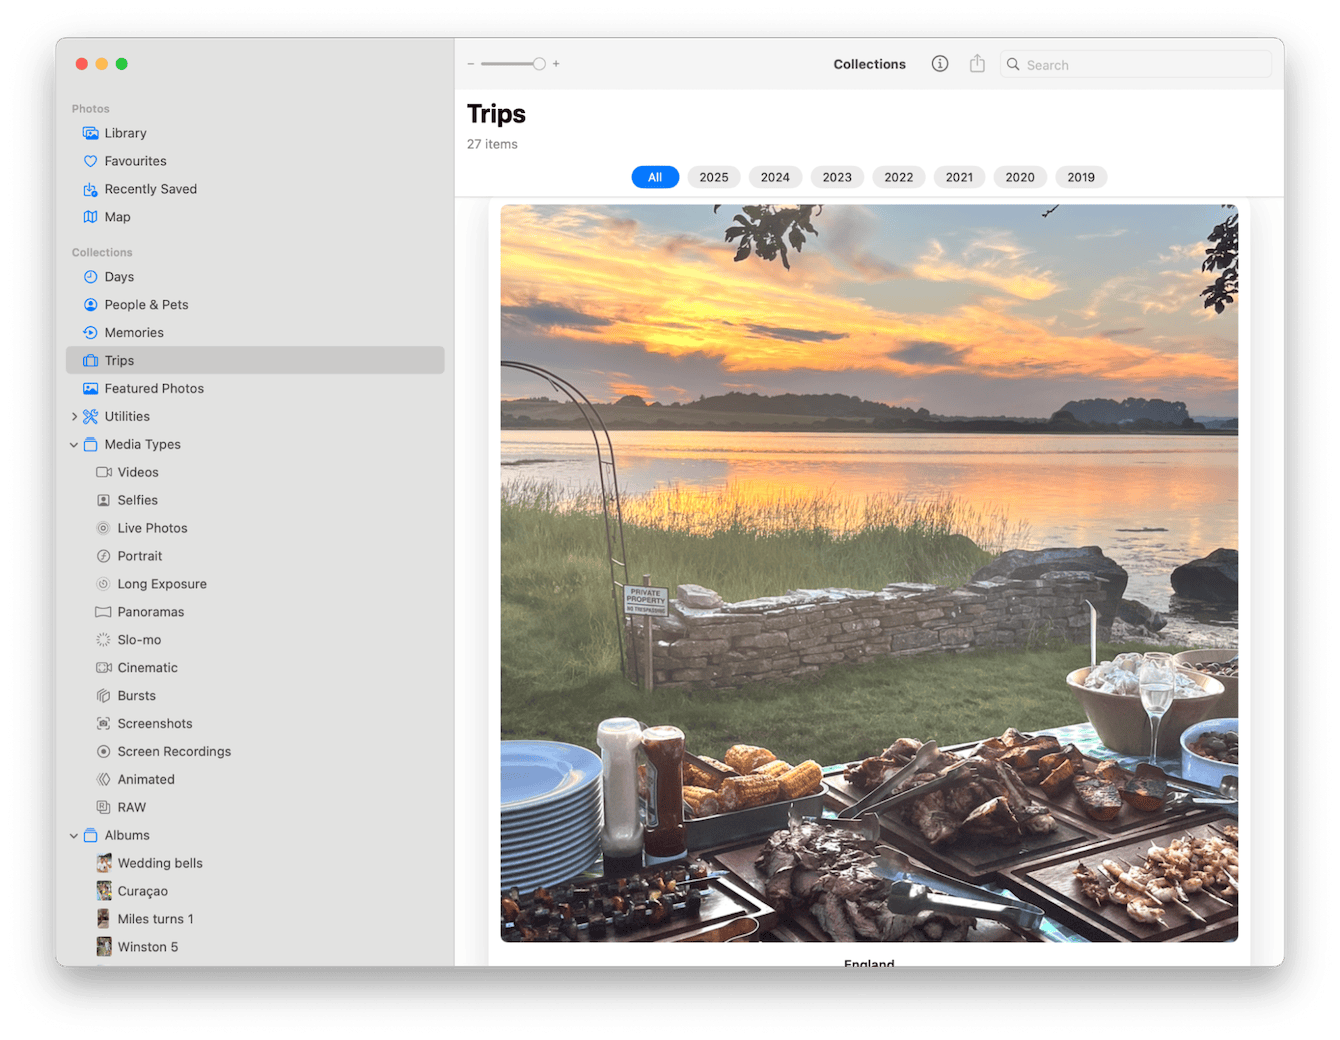
The People and Pets album groups photos by faces using facial recognition, and the Trips album organizes photos by location using GPS metadata; it's a great way to find certain images quickly.
Favorite important photos
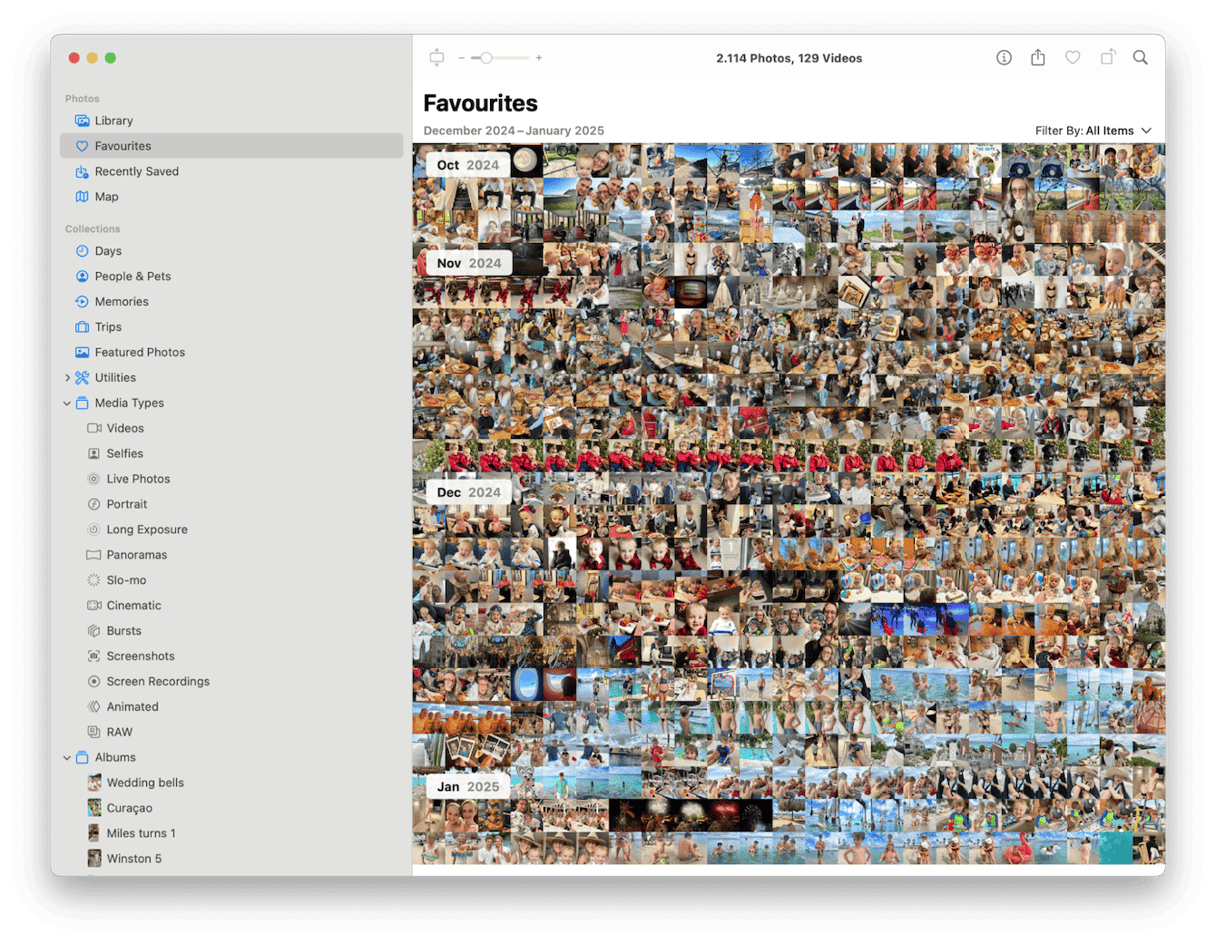
Another really easy and quick way to organize and sort images is to click on the heart icon on your absolute favorites. These will then be added to the Favorites folder, which is at the top of the Photos app sidebar.
2. Remove duplicate images
You might not realize just how many duplicate photos you have on your Mac. The problem is that they take up valuable storage and clutter your library. Removing duplicates is another excellent way to organize photos on MacBook.
Instead of manually searching for them, you can use CleanMyMac with its handy My Clutter tool to quickly find and remove them; here's how:
-
Open the app and select My Clutter from the sidebar.
-
Click Scan.
-
Select the Duplicate files task, review items, and click Remove.

That'll help you keep your images organized and your Mac tidy.
3. Know where your photos are
Knowing how to find photo files on a Mac is another part of the organization; they're not just stored in your Photos app; they can be stored all over your device in different locations. Let's take a closer look.
If you need to locate specific photos outside the Photos app:
-
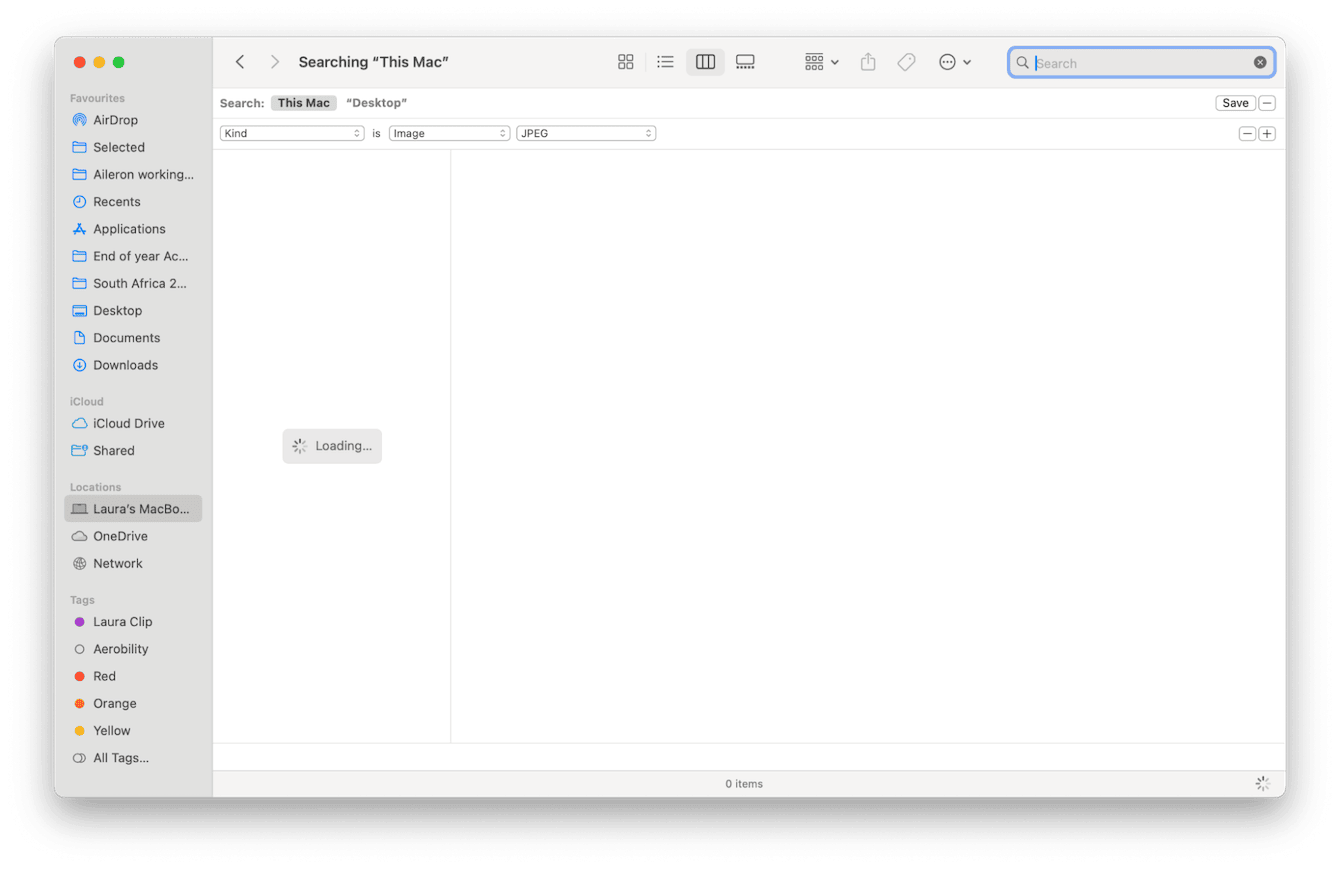
Open the Finder.
-
Under the search bar, click the + icon. Here, you can select the kind of file you are looking for and type like PNG or JPEG.
-
Press Return, and the Finder will show all image files on your Mac.
-
Use filters like Date Modified or File Size for a more refined search.
Here are a few other helpful tips on image locations
-
Check Downloads, Desktop, and Documents folders for image files
-
By default, macOS saves screenshots to the Desktop.
4. Organize your Photos with Tags and Metadata
Lots of people don't realize this, but another great way to organize your library is to use Mac color-coded labels or add metadata for easier searching.
Tag Photos in the Finder
-
Locate the folder where your images are kept in the Finder.
-
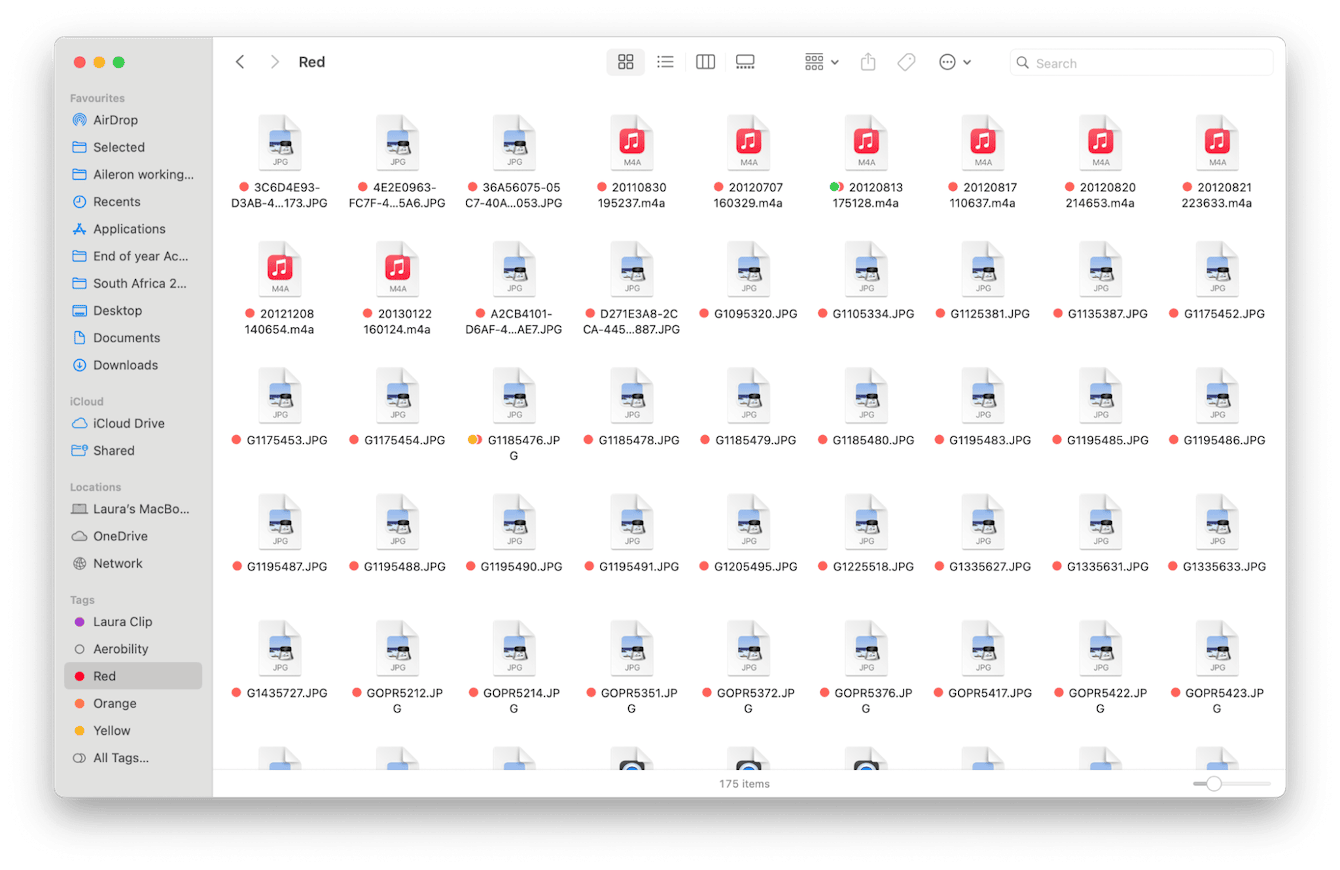
Right-click a photo file, and under the tag, select a color
-
You can now use the Finder's sidebar to locate all files tagged in that particular color.
-
In the Finder, under Tags, select the color you tagged your items with to reveal them all quickly.
Add metadata in the Photos app
-
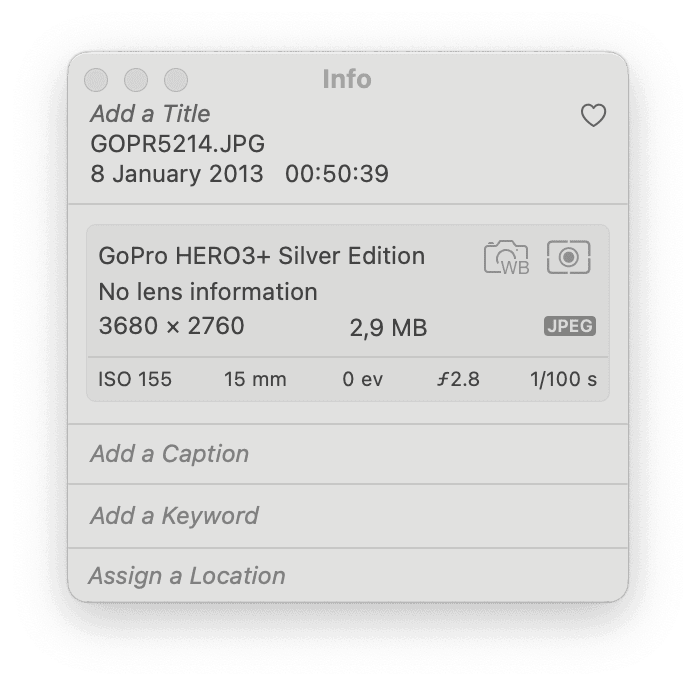
Open any photo in the Photos app.
-
Click Command - I.
-
Add a title, location, description, or keyword for better organization.
-
You can then use smart filters like Map to quickly locate images with metadata.
5. Back up your photos
No guide on photo organization would be complete without the mention of how important regular backups are to prevent accidental loss. It's really heartbreaking to lose precious photo memories; once you've got them all nice and organized using the tips we've mentioned, make sure you take the time to back them up. Here's a couple of handy backup options for you:
-
iCloud Photos – Automatically syncs photos across all Apple devices. Here's how to download iCloud photos to your Mac.
-
External drives – Manually back up by dragging your Photos Library folder to an external storage device.
-
Google Photos or Dropbox – Cloud storage services for extra security.
Now that you know how to organize photos on Mac, you can take control of your growing library and keep it clutter-free. Start organizing today and enjoy a tidier, more efficient Mac photo experience!
Well, before we finish up, let's just answer a couple of FAQs.
FAQs: Mac photo organizer
Where does my Mac store photos?
Your Mac stores images inside the Photos Library, located in ~/Pictures/Photos Library.photoslibrary
What's the quickest way to find photo files on Mac?
This is going to depend on your level of organization. Some of the tips in this article will help you speed up the process. Check your Photos app and the Finder for starters.
Can I organize iPhone photos on my Mac?
Yes! You can sync your iPhone photos with iCloud or manually transfer them.

