How to password protect ZIP file on Mac
Did you know that it's possible to create a Mac ZIP with password? Compressing files is a great way to move large files around efficiently on your own device or to another.
Many people wrongfully assume that zipping files is a secure and safe way to transfer private data, but without some kind of encryption or a password, your data is easily accessible. Adding a password to your ZIP file, though, can help to ensure your sensitive data is kept safe.
Luckily, it's simple to add protection to your ZIP files; we'll show you some simple methods for file password protection. So let's get started below.
How to create a Mac ZIP file with a password
Before we dive into the methods of how to password protect your ZIP files on Mac, here's a quick reminder on how to ZIP your files down:
-
Start by making a new folder on your Desktop. Just right-click anywhere, and click New.
-
Take a moment to add files to this new folder that you wish to compress down.
-
Rename or organize the files inside your new folder for compression.
-
When you're ready, select all the files, right-click, and click Compress.
-
A ZIP file will now be created in the same folder; you can now rename this file and move it to a safe location on your Mac.
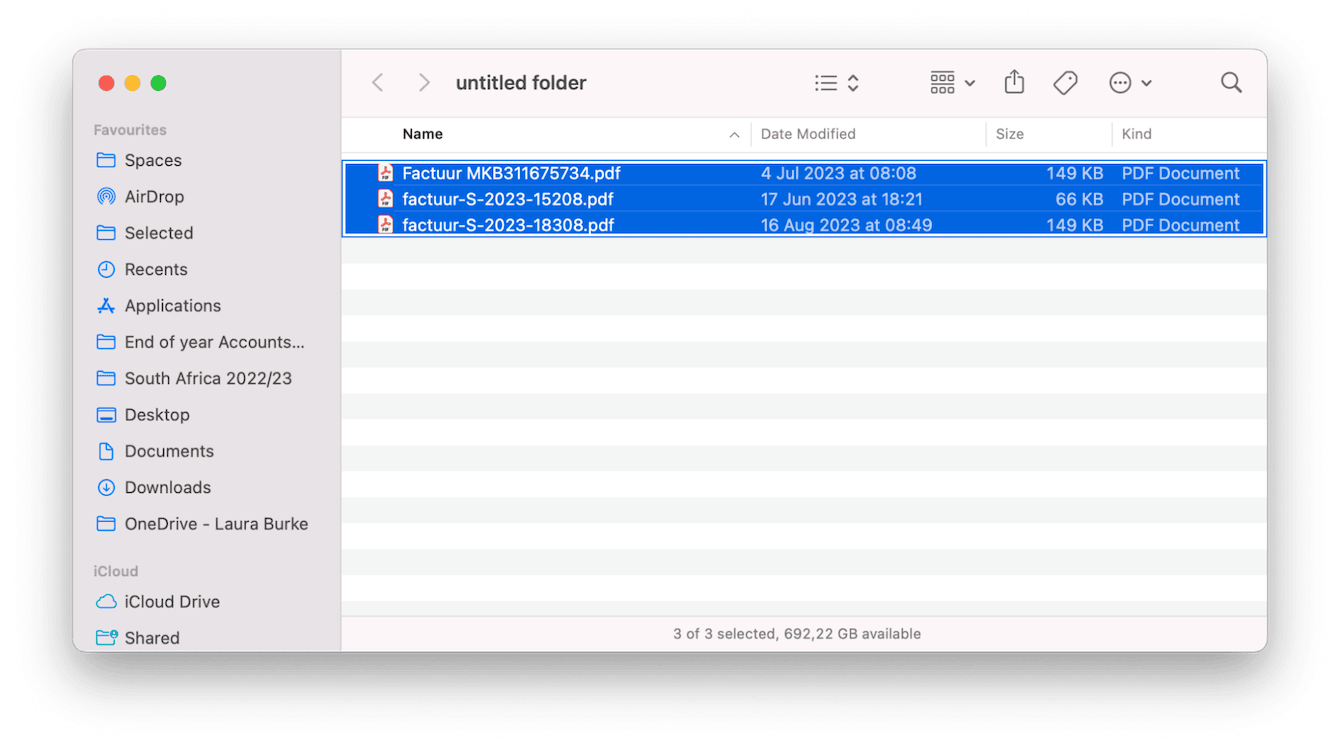
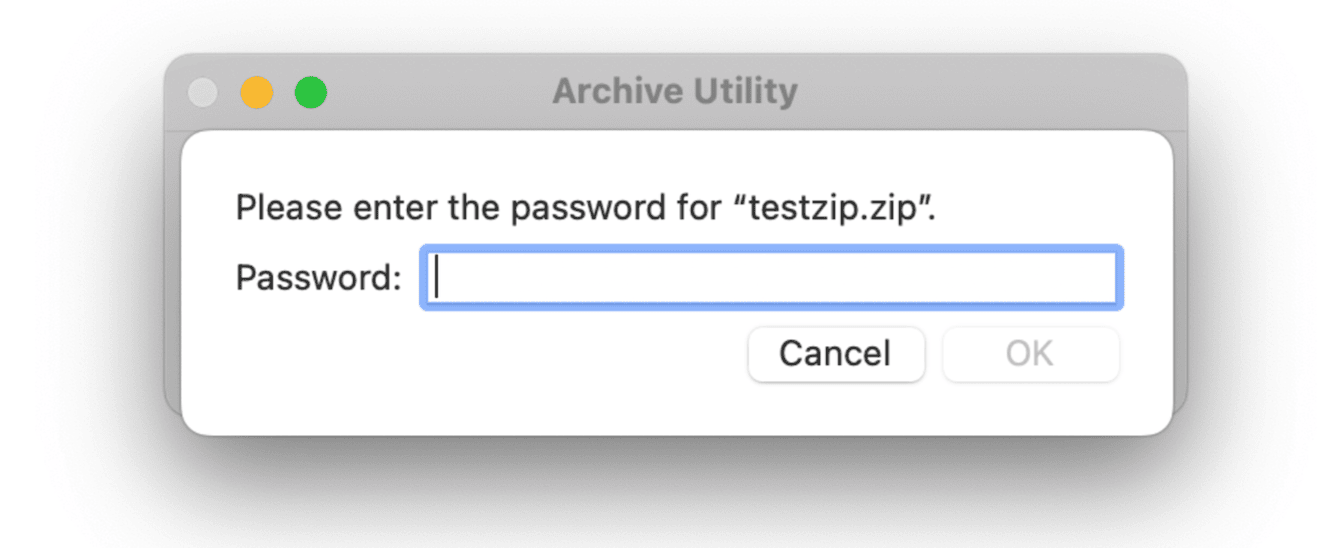
If you want to open or expand a ZIP file, simply double-click it to see the contents inside; if it's password protected, you'll need to enter this before it opens.
OK, so now that we've covered how to make a ZIP file, let's take a look at adding a password.
1. Use Terminal to add a password
You can use Terminal to easily password protect your ZIP files.
In the example below, my ZIP file is called "testzip," and it's saved to my Desktop. You'll need to know both of these details of your own ZIP file before you get started.
-
Open Terminal from Finder > Applications > Utilities.
-
Enter the below command; you'll need to replace Desktop with the location of where your ZIP file is saved, if necessary:
- cd desktop -
Press Return and enter the below command, replacing the file name used in this example with your ZIP file name.
- zip -er testzip.zip testzip -
You will now be asked to enter a password; type it in and hit Return when you're ready.
-
You'll then be asked to verify your password. (note you won't see the password when you enter it).
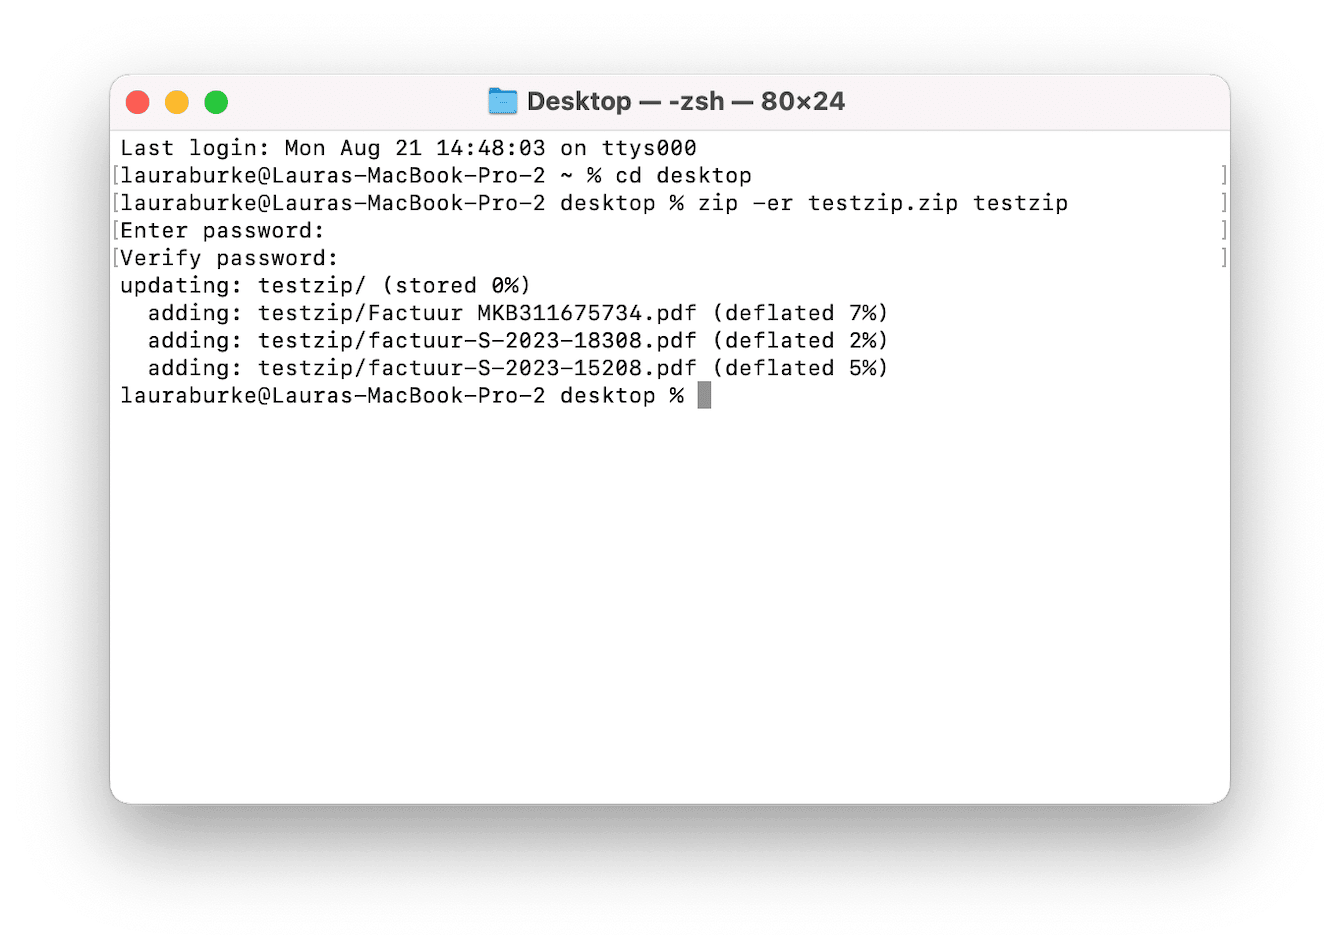
Now when you try to open your ZIP file, you'll be asked to enter the password. Congratulations, you've just successfully added a secure password to your ZIP file.
2. Use a ZIP encryption app
If you're not comfortable using Terminal, there are dedicated apps to create a ZIP with a password on Mac. Here are a couple of popular options.
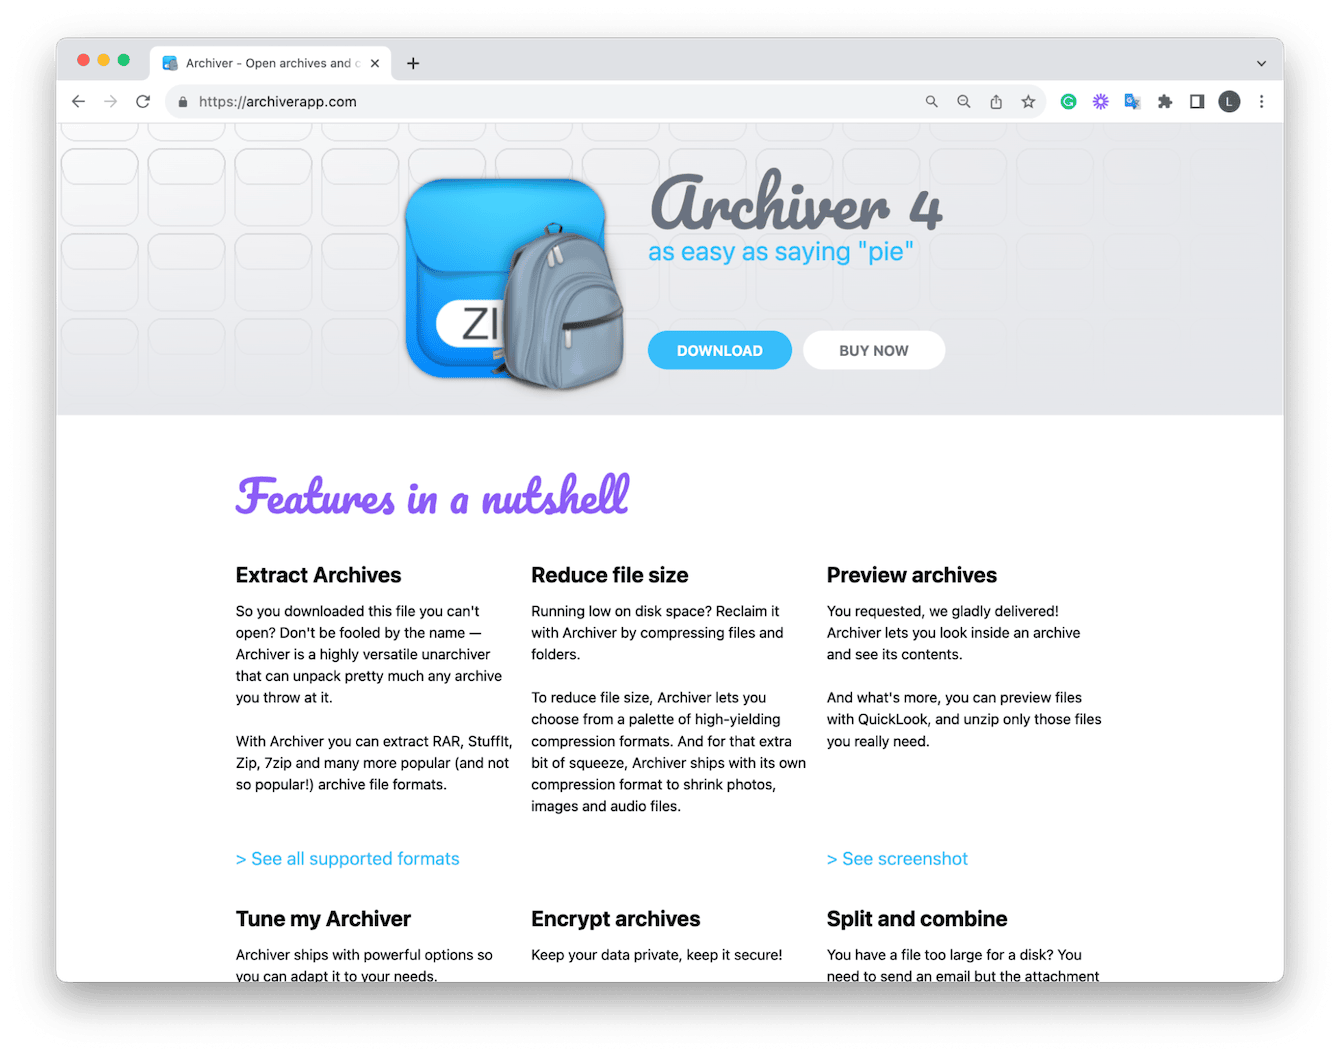
Archiver 4
Archiver 4 is a popular choice for file compression and encryption. Its easy-to-use drag-and-drop functionality allows users to simply add any files into the app window for compression and password protection. Comes with a seven-day free trial.
Tip: Another type of files you may need to work with on your Mac is .exe files. Here's a detailed guide on how to run them.
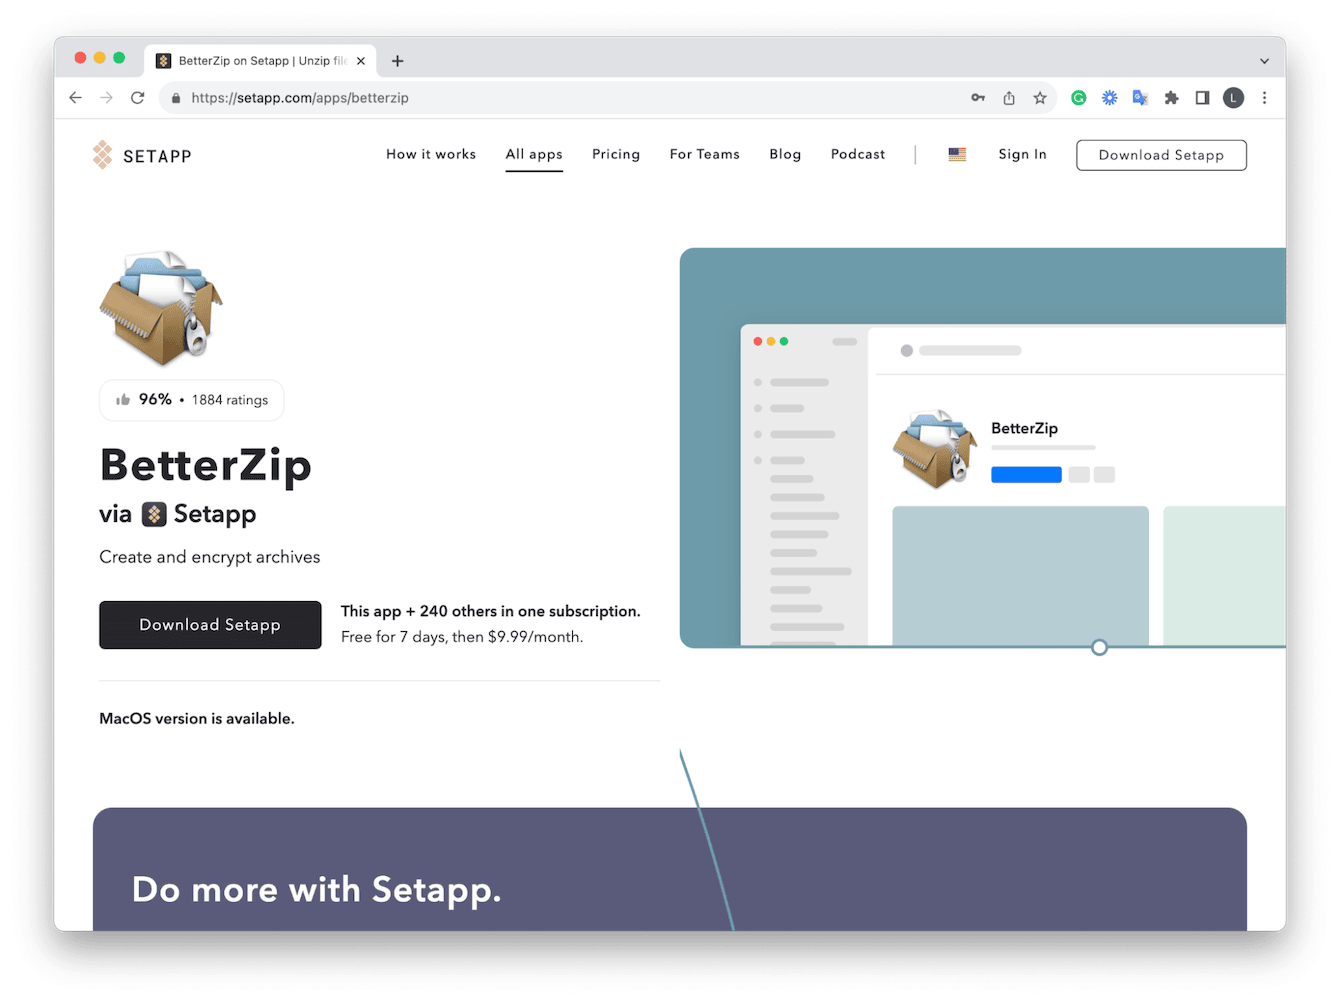
BetterZip
BetterZip is another simple-to-use app, again allowing users to add various files for compression and password protection. Also comes with a seven-day free trial.
Adding encryption to your various files and folders is a really great way of increasing your data privacy, but it's not the only way.
CleanMyMac comes with a really powerful Privacy module, which can instantly eradicate your online and offline activity traces, enhancing your security and data privacy in a matter of clicks.
Our devices are constantly storing traces of information about our activity to help improve our user experience and Mac's efficiency, but it's this kind of information that can make us vulnerable to data theft.
Here's how to improve your MacBook data privacy:
-
Get the free version here or open the app on your Mac.
-
Select Privacy from within the sidebar menu and click Scan.
-
Select the privacy cleanup tasks you want to run and click Remove.

When improving your data security is that simple, there's no reason not to do it.
And now if you wonder how to find all these archives, check out this article with all the ways to view all files on Mac.
So, let's finish up this article by taking a look at some frequently asked questions about Mac ZIP encryption.
FAQs: Mac compress with password
What's the best way to encrypt a ZIP file on Mac?
Although it's completely down to personal preference, the Terminal option is completely free and secure. There's no need to download a third-party paid application with this easy method.
Why is it important to encrypt files?
If you frequently transfer data, then you're at a higher risk of your private or sensitive data being lost or stolen. Encryption, like password protection of ZIP files, is one of the quickest and simplest ways of adding an extra layer of security to your personal information. Even if your MacBook was stolen, password protection would help to ensure your data doesn't get into the wrong hands.
Why are ZIP folders so useful?
Besides making it much easier to send and receive large files via email or file transfer, compressed ZIP folders can help to save space on your Mac's hard drive, making extra room or freeing up space.
Why won't my protected ZIP file open?
The obvious answer here is you're using the incorrect password, but if that's not the case, it might be because you don't have enough storage space on your MacBook. Some ZIP files contain large amounts of data.
So there we have it; now you know how to password protect ZIP files on Mac and enhance your MacBook privacy. If you enjoyed this read, check out our other Mac articles.

