Solved: "Time Machine could not create a local snapshot to back up from."
If you rely on the Time Machine app to handle your backups, then the message saying that "Time Machine could not create a local snapshot to back up from" is undoubtedly causing you some stress.
Time Machine was first introduced back in 2007 with macOS X 10.5 Leopard. Its popularity has grown significantly. It's simple to set up and easy to use, so for many Apple users, it's the backup option of choice.
Its revamp with macOS 11 Big Sur introduced APFS support, making it even faster and more efficient, but that's not to say users don't encounter issues occasionally.
If you're unable to back up your Mac or you keep receiving failure or error notifications, don't panic; it's a fairly easy fix. We've put together five simple tips to help you solve the issue quickly — let's dive straight in.
What are Time Machine local snapshots?
Let's first make sure you know the difference between local snapshots and backups.
Time Machine backups are saved to your external storage device. They store all important files and folders vital for the macOS installation, such as applications, documents, music, and photos.
Local snapshots, on the other hand, save directly on your MacBook when your backup disk isn't present. Its sole purpose is to create an image of your macOS to help with file recovery, should you ever need it.
Local snapshots are only temporary. A snapshot of your Mac's startup disc is created approximately every 60 minutes and kept only for 24 hours.
You shouldn't rely on local snapshots to save and store all your personal data. It's still really important to conduct proper backups if you want to protect and store all your personal content.
Here's a quick reminder on how to set up Time Machine for those who need it:
-
Connect your external backup device to your MacBook.
-
Select the main Apple menu and go to System Settings > General > Time Machine.
-
Click Add Backup Disk.
-
Select your external device from the list and click Set Up Disk.
-
Follow the on-screen prompts.

Whenever your device is connected, Time Machine will perform a thorough backup.Now that we've covered some basics and you know what Time Machine local snapshots are, let's take a quick look at the fixes for when local snapshots cannot be saved.
How to fix the "Time Machine could not create a local snapshot" problem
1. Restart your MacBook
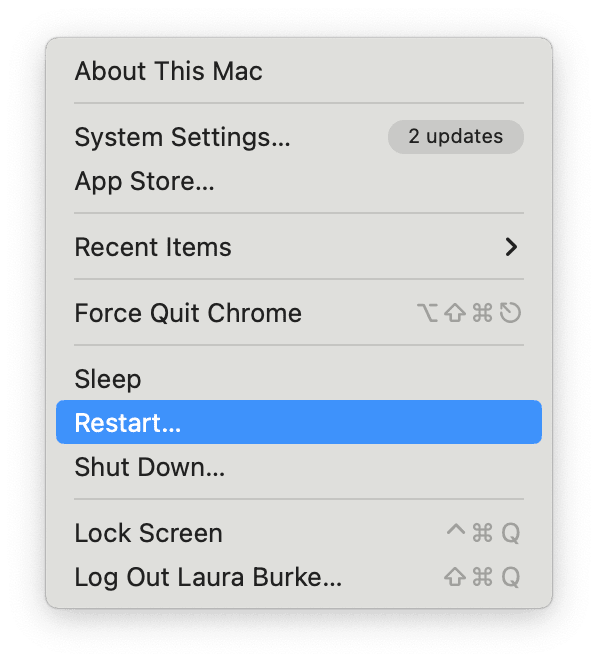
Yes, it's an obvious one, but when was the last time you shut down or restarted your Mac? A quick restart from the main Apple menu can solve a lot of tedious Mac issues, so give it a quick go.

2. Check for updates
If your Mac isn't up to date, Time Machine could be running into software issues. So, quickly check you're running the latest available update or install it if required; here's how:
- Open System Settings from the main Apple menu.
- Select General > Software Update.
- Check for updates and follow instructions to install any available ones.

3. Check your available storage
Most of the time, the reason why users encounter the "Time Machine could not create a local snapshot to back up from" issue is because their device is running out of available space.
Snapshots, after all, are saved on your hard drive, not an external storage device. Here's how to check how much free space is left on your Mac:
- Select the main Apple menu and navigate to System Settings > General > Storage.
- Once the colored bar has loaded, you'll see a breakdown of your hard drive's available storage and what's eating it up.

If you are dangerously low on space, then you'll most likely be encountering a number of performance issues as well as the frustrating inability to create local snapshots.
Here are a few quick and simple ideas on how you can clean up your hard drive:
- Tidy up your Desktop.
- Clean out your Downloads folder.
- Remove photos and videos to an external storage device or cloud account.
- Remove apps you no longer use.
If space is a real problem, then check out this handy guide on how to clean up a startup disk on macOS. You may also want to delete Time Machine backups and snapshots — here's how to do it.
If you've tidied up your storage, but you're still bumping into the issue, try the next tip.
4. Run some maintenance tasks
Time Machine can run into issues when disk permissions become corrupted. To fix it, consider running some basic maintenance with a Mac cleaner app like CleanMyMac. Its powerful Performance tool can help you quickly resolve application errors by rotating logs and repairing permissions. Here's how to use it:
- Start your free CleanMyMac trial.
-
Open the app and find Performance in the sidebar.
-
Click Scan > View All Tasks.
-
Select Repair Disk Permission. You can select other tasks as well.
-
Click Run.

5. Reset Time Machine
As a final option, you can reset the Time Machine app; here's how:
- From the Apple menu, go to System Settings > General > Time Machine.
- Turn Time Machine backups off.
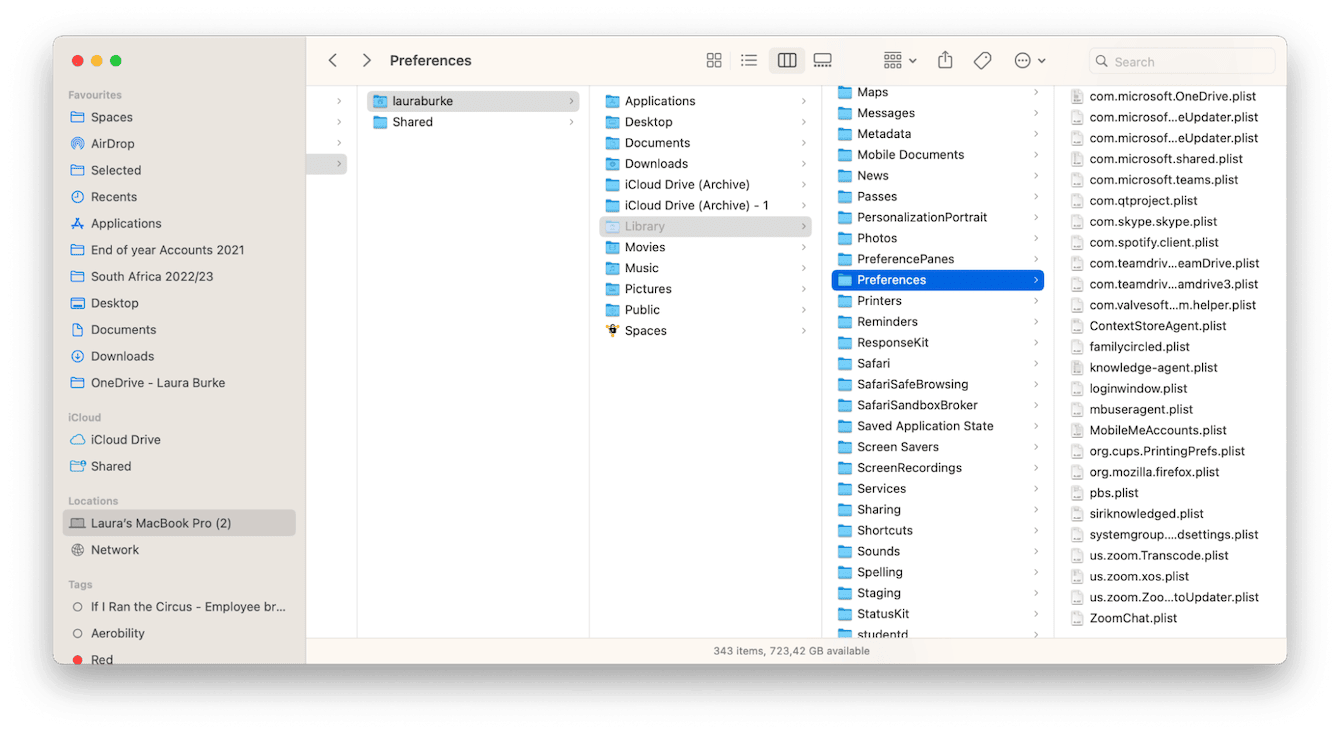
- Open Finder and click the Go menu while holding down the Option Key.
- Select Library > Preferences and search for the following file:
apple.TimeMachine.plist. - Delete this file and empty your Trash.

You'll now need to set up Time Machine as if it's the very first time you used it. Follow the steps outlined in the section above — What are Time Machine local snapshots? If you decide to transfer your backups to a new drive, check out this article with additional steps.
Time Machine and Time Machine local snapshots play a really important role in keeping our personal and important data safe. Data loss is a situation no Apple user wants to find themselves in, so keeping Time Machine functioning properly is vital.
Hopefully, one of the useful tips in this article helped you solve the glitch, and you're back on top of your backups.
Don't forget local snapshots are useful but setting up and enabling the full backup to an external disk is an absolute must if you really want to ensure you can recover all your data in an emergency.

