Looking to transfer Time Machine backups to a new drive?
Moving a Time Machine backup to a new device might seem daunting, but no need to worry; we've simplified the steps so that you can do it with ease.
Time Machine is a great tool for backing up your Mac. It works when enabled by saving hourly, daily, and weekly backups of your data called snapshots.
If your files and data keep growing, you might need to transfer your backups to a larger external drive if you don't want older backups to be deleted. Another reason for moving the backups is perhaps being concerned that your current drive is about to fail.
No matter the reasons, these tips will help you safely copy Time Machine backups to another drive.
Solved: How to transfer Time Machine backups to a new drive
When it comes to copying Time Machine backups to another drive, it can be a lengthy process. It depends on the size of the data you're planning on moving.
I've broken this section down into two parts to make it easier to follow. Part one is preparation, and part two is the transfer. So, let's go.
Part One: Preparation
Prepare your new drive.
Before transferring your Time Machine backups, you must ensure your new drive is ready.
Follow these steps one by one.
Step one: Format your drive
Your new drive must be formatted correctly. MacOS Extended (Journaled) with GUID Partition Map scheme is recommended.
Step two: Change drive ownership

- Open the Finder and right-click your new drive.
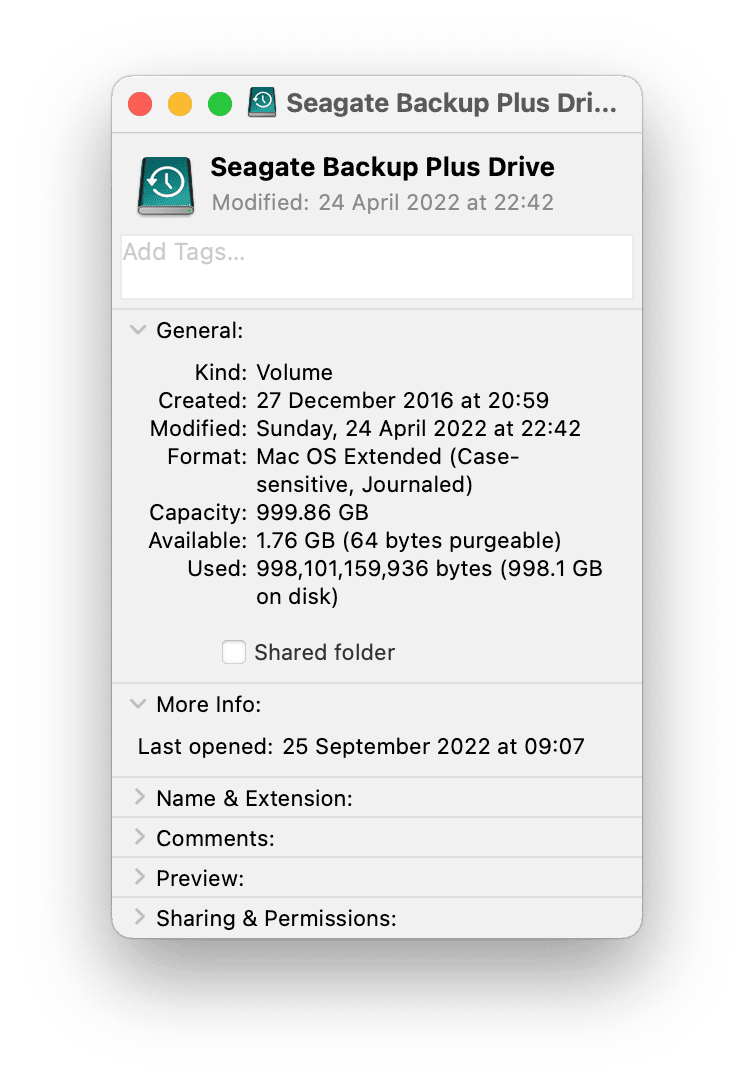
- From the drop-down menu, select Get Info.
- Under Sharing & Permissions, click the lock icon and then enter your password.
- Now, deselect Ignore ownership on this volume.
Step three: Tidy up your Mac
There's no point in transferring tons of system junk, such as old cache, temporary or broken files, and unneeded language files, so before you move any data, clear out your Mac.
You could spend hours wading through old files, or instead, you could use a powerful tool like CleanMyMac to do all the laborious work for you.
Its Cleanup tool can perform a quick, in-depth system scan that optimizes your Mac, clears up your Junk, and resolves a multitude of errors in just a few simple clicks. Here's how to tidy up your Mac the easy way:

-
Open the app, then select Cleanup — start your free trial here first.
-
Click Scan, then Clean.
That's it. How simple was that? Let's give it some extra points, too, for being notarized by Apple. It means that the app is absolutely safe to install on your Mac.
Now, you're ready to transfer Time Machine backups to your new drive.
Part Two: The transfer
As I mentioned earlier, depending on the size of your data, this could take a while — from hours to days. So, don't be alarmed if it's not an instant transfer.

- Connect your hard drives.
- Select the main Apple menu > System Settings > General.
- Open Time Machine and deselect Backup Automatically.
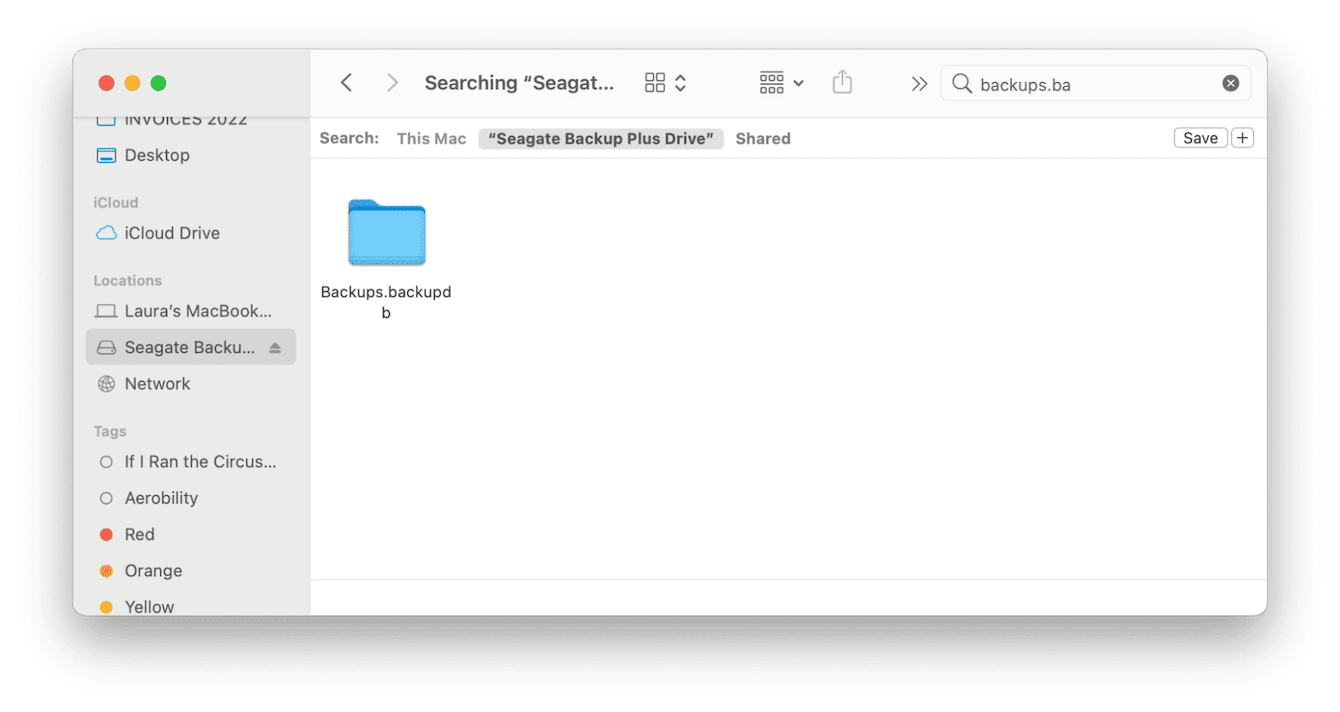
- Next, open a new Finder window and locate your old drive in the sidebar. In there, find the following folder:
Backups.backupdb - Drag it to your new drive in Finder, enter your Admin password when prompted, and wait for the transfer to complete.
When your files have finally finished transferring, you'll need to select your new drive as your new backup disk. Here's how:

-
Connect your new drive and choose System Settings > General > Time Machine from the main Apple menu.
-
Select the Backup Disk and choose your desired drive from the list.
-
Click Use Disk.
-
Now, ensure you select Back Up Automatically.
That's it. Your new Time Machine backup drive is all set up.
If the reason you needed to transfer your backups to a new drive was that storage space was an issue, the best way to stop this from happening again in the future is by keeping your Mac tidy and optimized at all times. Here are a few tips to get you started.
Tip: For other Time Machine tips, check out our articles about what Time Machine backs up and how long a backup takes.
Tips to keep your Mac optimized
1. Run the latest macOS
Always ensure you're running the latest software. This will help keep your Mac and apps running smoothly and glitch-free.

From the main Apple menu, select System Settings > General > Software Update to check for updates.
2. Remove large forgotten files
There is no need to back up useless data. A few times a year, it's a good idea to have a big clearout aimed at removing unneeded files to help reduce clutter, save space, and thin out the weight of your backups.
The app I mentioned a little earlier in the article, CleanMyMac, has an awesome instrument called Large & Old Files. You can find it within the My Clutter tool. It can quickly categorize all of your files by last accessed date, kind, and size, making it easy for you to see what exactly is hanging around on your Mac for instant removal. Here's how to run it:

- Open the application once again.
- This time, select My Clutter from the sidebar and run a scan.
- Click Review All Files > Large & Old Files.
- Select the files you no longer need and click Remove.
Bonus tip: You can use the same tool — My Clutter in CleanMyMac — to find and remove duplicates, similar images, and app downloads.
3. Clear your Downloads folder
Another handy tip for keeping your Mac tidy and optimized is regularly checking and clearing your Downloads folder.
This often becomes a Zip file and duplicated dumping ground. Add it to your regular Mac maintenance routine.
4. Keep on top of Desktop clutter
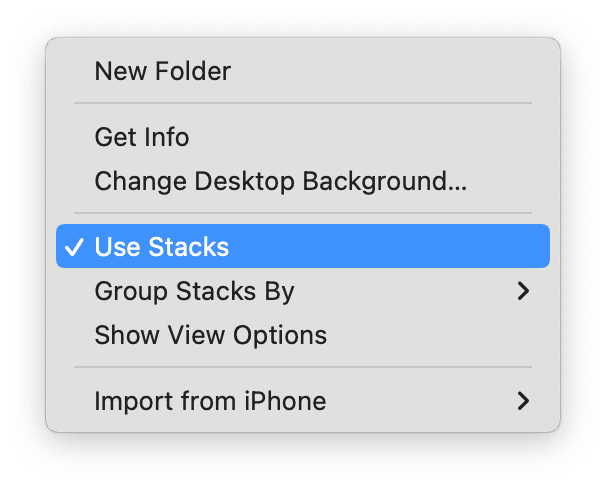
If you use Stacks, be sure to check what's hanging around on your Desktop regularly. Stacks are a great way to keep your files organized, but they quickly become out of sight, out of mind.

Right-click in any place on your Desktop and click Use Stacks to reveal the entire contents of your Desktop.
Once you've sent unneeded items to the Trash, repeat the step above to enable Stacks once again. Don't forget to empty the Trash afterward.
We've come to an end, and now you know exactly how to transfer Time Machine backup to a new drive.

