USB Accessories Disabled on Mac error message explained
Are you frustrated by the USB accessories disabled message when trying to connect your favorite USB device?
The error message requests users to unplug the accessory using too much power, which leaves many users perplexed. The good news is that it's a common complaint with lots of solutions.
We'll take a look at all the possible fixes, even for those receiving the message when no USB devices are in use.
Let's not waste any time and get started.
What does the USB accessory disabled on Mac message mean?
External drives, keyboards, cameras, and many other devices that plug into your Mac's USB ports often require a fixed amount of power.
When something goes wrong, you'll start to see the USB accessories disabled on Mac error message. Let's glance at some of the most common reasons why it happens:
-
Faulty or damaged USB port
-
Too many connected USB devices
-
Insufficient power supply
-
Hardware issues
-
Software issues
Regardless of what's causing your problem, we've got some great tips to help you troubleshoot, but before we start, do yourself a quick favor and give your Mac a restart from the main Apple menu. This simple task can solve so many Mac errors, including USB issues.
It's also worth mentioning if your USB device needs to be manually switched on like a camera, don't forget to press the power button.
In the next section, you'll find fixes for those receiving the error message when using a USB device and fixes for those who receive the message randomly when no USB devices are in use. Let's jump in.
Fixes for the USB accessories disabled message
1. Locate the problematic device
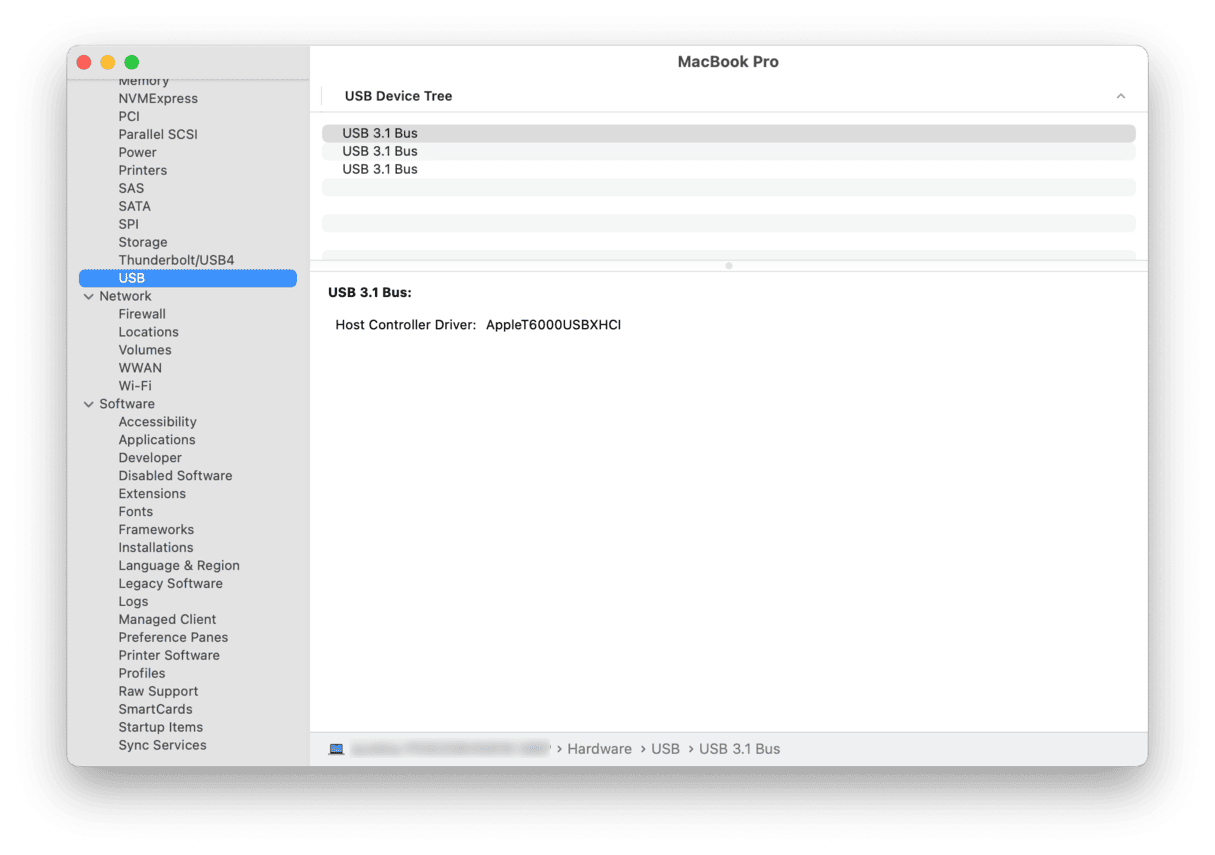
It's possible to identify the device that's causing the unplug the accessory using too much power error message via the System Report. Here's how to do it:
- Select the main Apple menu > About This Mac > System Report for older macOS versions of Apple menu > About This Mac > More Info > System Report for macOS Ventura.
- Under Hardware, locate USB from the list.
- Select your devices one by one to check the information. Take notice of the current required vs. current available details.

If one of your USB ports isn't delivering enough power, the tips below will help you solve it.
2. Disconnect devices
Next in the list, it's time to safely eject all currently connected USB devices and reconnect them one by one starting with any USB-C devices first, as they commonly consume more power. This can, in many cases, completely solve the issue. If not, don't worry; we've got plenty more tips.
Another tip here is to try and minimize the number of connected devices to reduce power strain. In other words, if you're not using it, disconnect it.
3. Test a different USB port
A faulty port or underpowering port can also trigger the error message. Did you know that different USB ports provide different amounts of power? You should test your device in all of your USB ports to see if one of them works. It's also worth trying different cables to eliminate a faulty cable.
Tip: If you decide that you want to format the USB drive that you're constantly having problems with, here's an article on how to do it.
4. Run some general Mac maintenance
If you don't already carry out regular Mac maintenance, it's time to start. Keeping your Mac in shape is simple and can prevent many issues from ever occurring. It's a sort of preventive and proactive care for your Mac.
I regularly use the Performance tool from CleanMyMac to improve my drive performance, remove application errors, run maintenance tasks, and repair broken permissions. These kinds of in-depth tasks would take hours to do manually, but with this Apple notarized tool, it's all complete in a few clicks. Start your free CleanMyMac trial.
How to run Mac maintenance the easy way: 
-
Open the application and select Performance from the sidebar.
-
Run a scan and click Run Tasks.
If you want to select which tasks to run, click Review under Maintenance Tasks Recommended. You can also use this tool to manage login and background items.
5. Directly connect your device to Your Mac
It's possible that if you're connecting your USB device via a USB adapter or multiport, your power supply can become compromised, resulting in the annoying USB accessories disabled on Mac error.
Simply remove the device from the adapter and plug the device into your machine. This should solve the error. If not, try the next tip.
6. Clean your USB ports
It's been reported by many users that cleaning the USB ports with compressed air to remove dust and dirt build-up solves the issue, take some time to give yours a clean and test your USB device again.
If these tips haven't helped so far, don't worry; jump to the next set of troubleshooting tips.
Tip: Mac user experience is mostly glitch-free. Sometimes, though, issues happen, and one of them is MacBook trackpad not working — here's how you can fix it.
Receiving error messages when not using a USB
1. Reset your SMC
Your System Management Controller (SMC) looks after your Mac computer's power management, so resetting your SMC can help solve USB port issues. Depending on your device, the method varies, so read the support article from Apple here to find out how.
2. Update your Mac Software
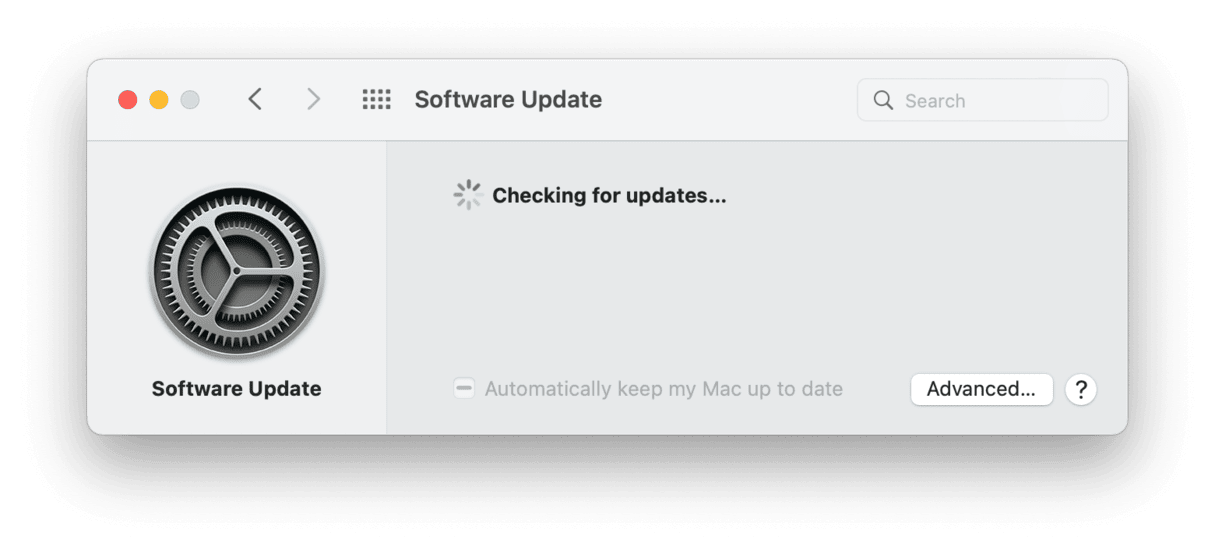
It has been known for software bugs to cause the USB error message, so ensure you're running the latest macOS software. Here's how:

Select the Apple menu > About This Mac > Software Update or go to System Preferences (System Settings in macOS Ventura) > Software Update and install any available updates.
3. Check for malware
There have been reports that malware could be causing the error message to appear, especially if you're not actually using any devices.
Use the app I mentioned earlier, CleanMyMac, to check for malicious software via its Malware Removal feature that comes with the Protection tool. Here's how to use it:

-
Open the application and select Protection.
-
Run a scan and click Remove if anything suspicious is found.
The MacBook USB accessories disabled error message sure is annoying, but hopefully, one of these awesome tips helped you resolve the issue.

