How to use System Settings (Preferences) on a Mac
System Preferences on a Mac or System Settings if you're running the latest macOS 13.0 (Ventura) might seem mysterious if you're unfamiliar with modifying your system preferences. But the good news is that it's not as complex as you may think.
In this article, I'll help you get to know your device's System Settings application and show you how to adjust and control various preferences easily to get the most out of your Mac.
What are System Preferences on a Mac?
Our beloved Macs come with endless options and preferences. They're all managed by the System Settings (Preferences) application, which lets us customize our Mac for a truly personalized user experience.
So, where are settings on a Mac? Jump down to the next section to find out.
How to open Mac System Preferences
How to find settings on a Mac? There are a couple of ways to access your System settings. Let's take a look at each of them.
The main Apple menu
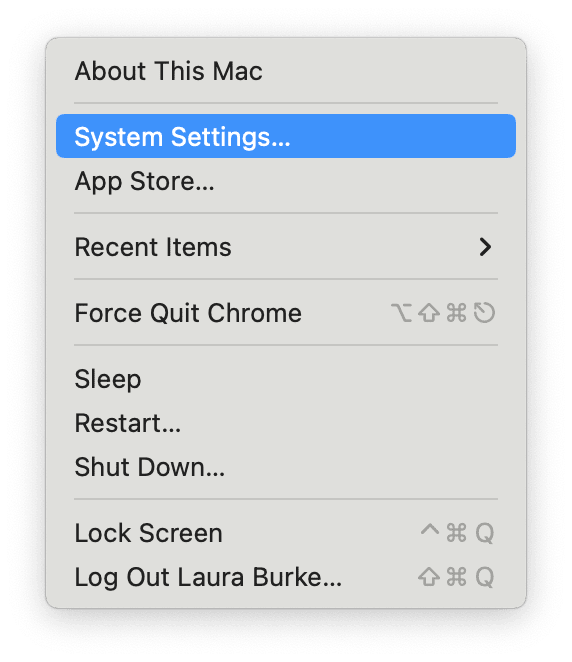
Select the main Apple menu and select System Settings to open the settings application.
If you run an older macOS version, it would be the Apple menu > System Preferences.
Use Finder
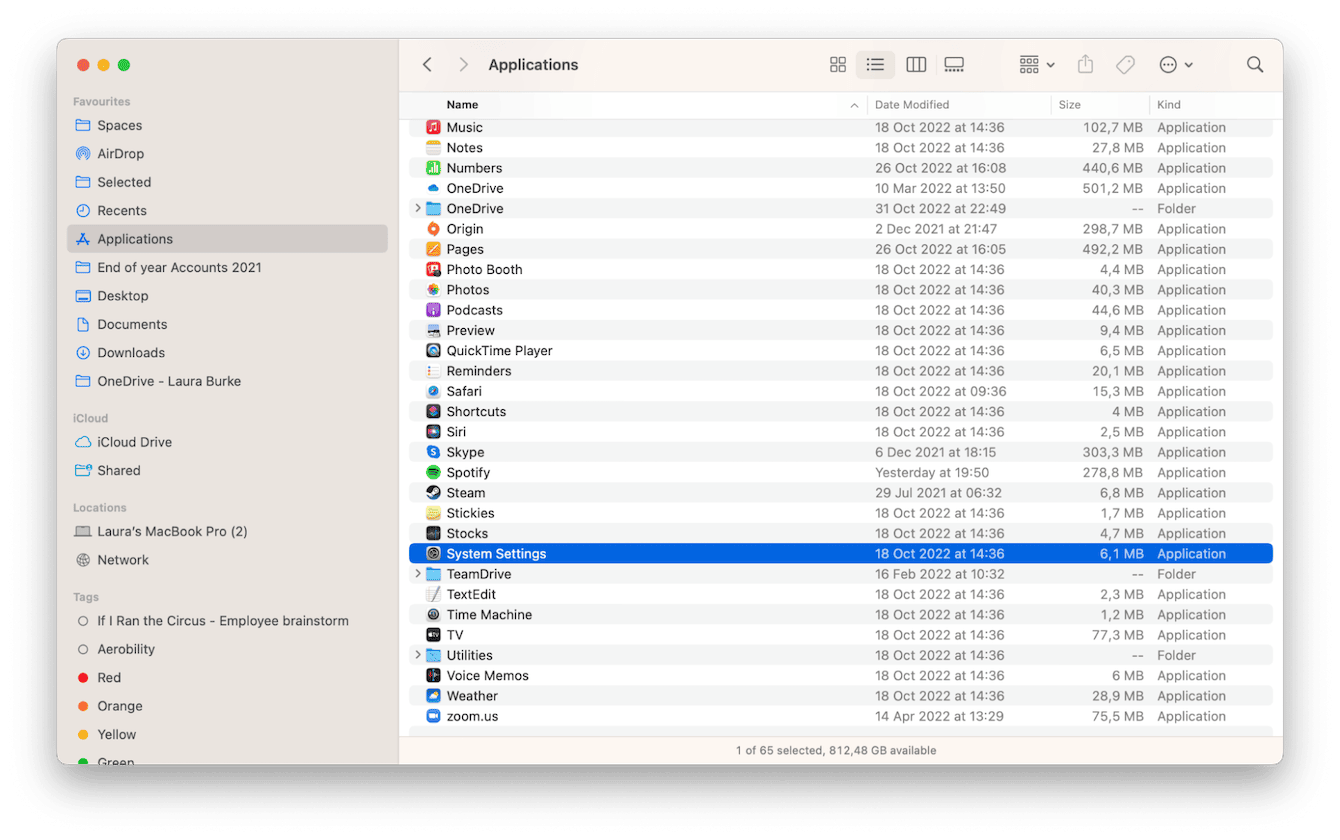
Open a new Finder window > Applications > System Settings/System Preferences.
Dock

You might also find the application icon in your Dock. Just look for the gear icon and click it to open Mac System Preferences/System Settings.
So now that you know how to find settings on a Mac, let's dive deeper.
How to use Apple System Preferences
When you first launch System Settings (formerly System Preferences), you'll see a long list of options. If you need clarification on what all of those little icons in the sidebar mean, don't worry; in the next section, I'm going to walk you through each one and help you discover some of the most popular features and issues they help solve.
Many people are curious about their Mac settings because they need help with performance troubleshooting. If that's you, let me save you some considerable time by mentioning here an application I highly recommend and use daily myself to manage my general Mac maintenance.
CleanMyMac can help you optimize your Mac as well as troubleshoot and solve errors without delving into the settings and preferences of your device. This powerful and handy tool offers intuitive general Mac maintenance. Sounds good, right? If you are yet to try it, download the free version here. It gets bonus points because it's also an Apple-notarized third-party tool.
How to run general Mac maintenance the smart way.

- Open the app and choose Performance in the sidebar.
- Click Scan > View All Tasks.
- Select the tasks you'd like to run.
- Hit Run.
If you're not here for general troubleshooting or maintenance, head to the next section for a complete System Settings walk-through.
System Settings/System Preferences on a Mac explained
Let's take a look at all the individual settings options.
Apple ID
Here, you can manage and control your Apple ID and access various Apple subscriptions and services, such as iCloud, FaceTime, and many, many more.
Once you've entered your Apple ID and password, you'll be able to make changes to your personal details, passwords, and payment preferences along with your iCloud account.
If you need more information or help with your Apple ID settings, check out this help article from Apple.
Family Sharing
Family Sharing allows you to share Apple services like Apple TV+, Apple Music, and Apple Card with up to five family members.
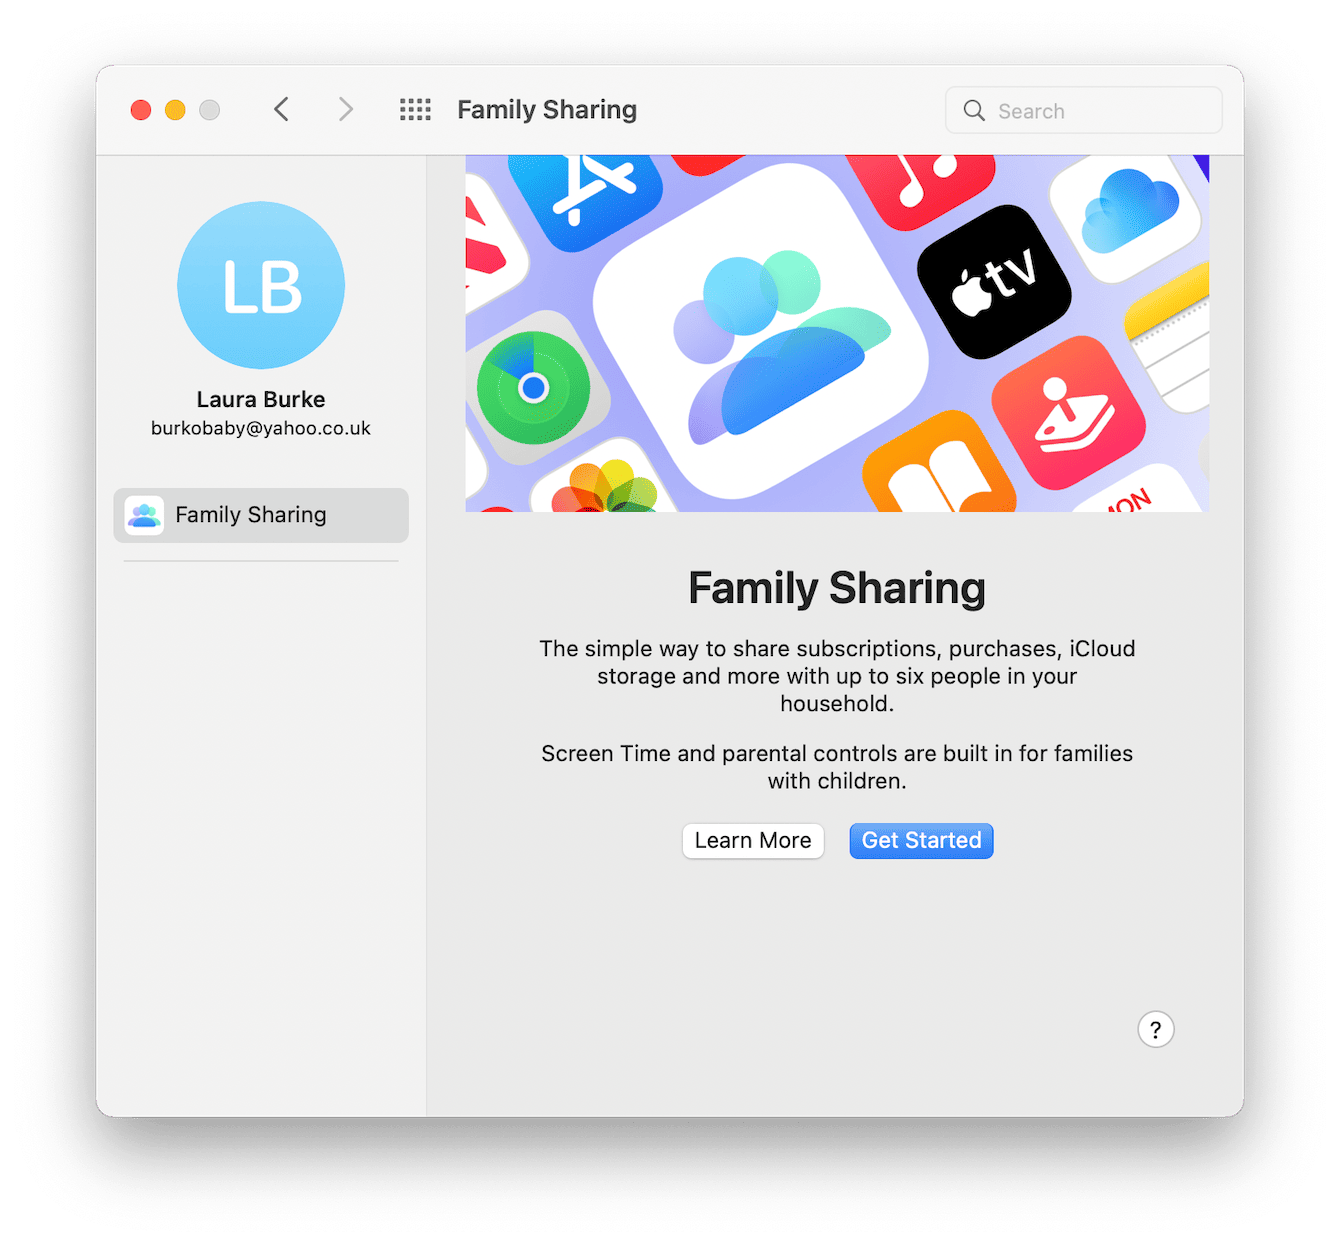
Another handy feature is shared location services. To set it up, simply press the Get Started button and follow the easy-to-follow steps.
Wi-Fi

You can quickly access your Wi-Fi settings from the top menu bar by clicking on the Wi-Fi icon, but this is the extended version of Wi-Fi settings. Here, you can access advanced settings, remove networks, view your IP address, and so much more.
Bluetooth
From this Mac settings pane, you'll be able to turn your Bluetooth on and off, connect or disconnect other devices, and search for nearby devices.
Network
In Network, you can change or configure your network service settings, enable your Firewall or VPN, and manage your virtual interfaces.
Notifications
In the Mac Notification Center, you can disable or enable application notifications and configure how they are previewed.
Sound
In the Sound settings, you can manage Sound Effects, such as your notification sounds, volume, and startup sounds.

Here, you can also adjust the Output & Input settings, which is particularly handy if you use external devices like headphones.
Focus
It helps you stay focused on a task by reducing distractions. In this pane, you can choose to silence and pause notifications from everyone or certain people, set a recurring refocus schedule, or use sleep to follow the sleep schedule used on your iPhone.
Another handy feature here is the Share Across Device option, so when you enable Focus mode on your Mac, your iPhone will also be activated.
Screen Time
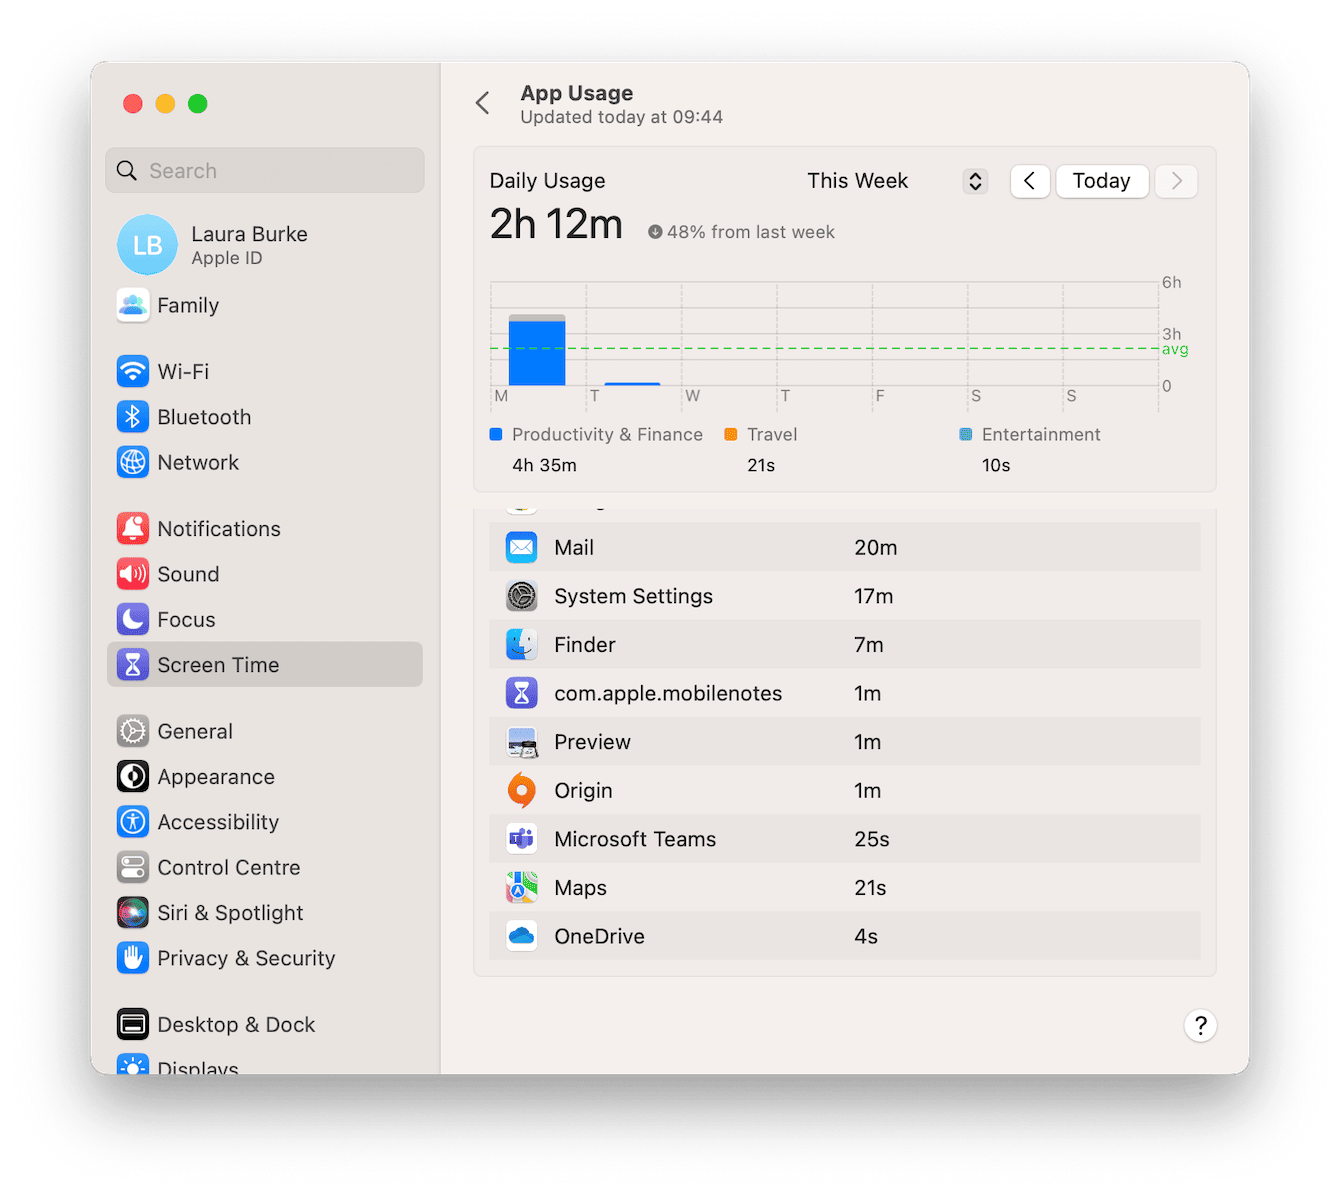
Here, you can monitor your workflow productivity. App Usage is a really interesting one — you can see exactly where you spend your time and even set App limits if you're spending too much time, for instance, playing a game or browsing social networks.
General
General is an important one because you can do multiple tasks here. Let's take a more in-depth look at some of the most essential settings included in this Mac settings pane.
About — Get a complete overview of your device, including serial number, memory, and storage capabilities. You can also open a System Report from here, which provides very detailed information about your Mac, from Hardware to Software. This is useful to know how to access.
Software update — Keep your Mac up to date from here by selecting, checking, and installing the latest updates.
Storage — Get a complete graphical breakdown of your storage usage. You can also choose to uninstall various apps or remove large files and enable Apple's optimization recommendations from here.
This is useful if you're looking to reclaim storage space and improve your device's overall performance. While in this tab, you may have noticed that System Data is taking up a lot of space. If you'd like to free it up, here are some tips that can help you reclaim gigabytes of space.

Login Items — Manage which applications launch when your device starts up and control which applications are allowed to perform background activities.
Time Machine — Back up your data here by setting up Time Machine.
You can also configure your AirDrop, language settings, date & time, sharing, migration assistant, and startup disk.
Appearance
Here you'll find a multitude of options for customizing the general appearance of your Mac. Here's a glance at some of the most popular features.
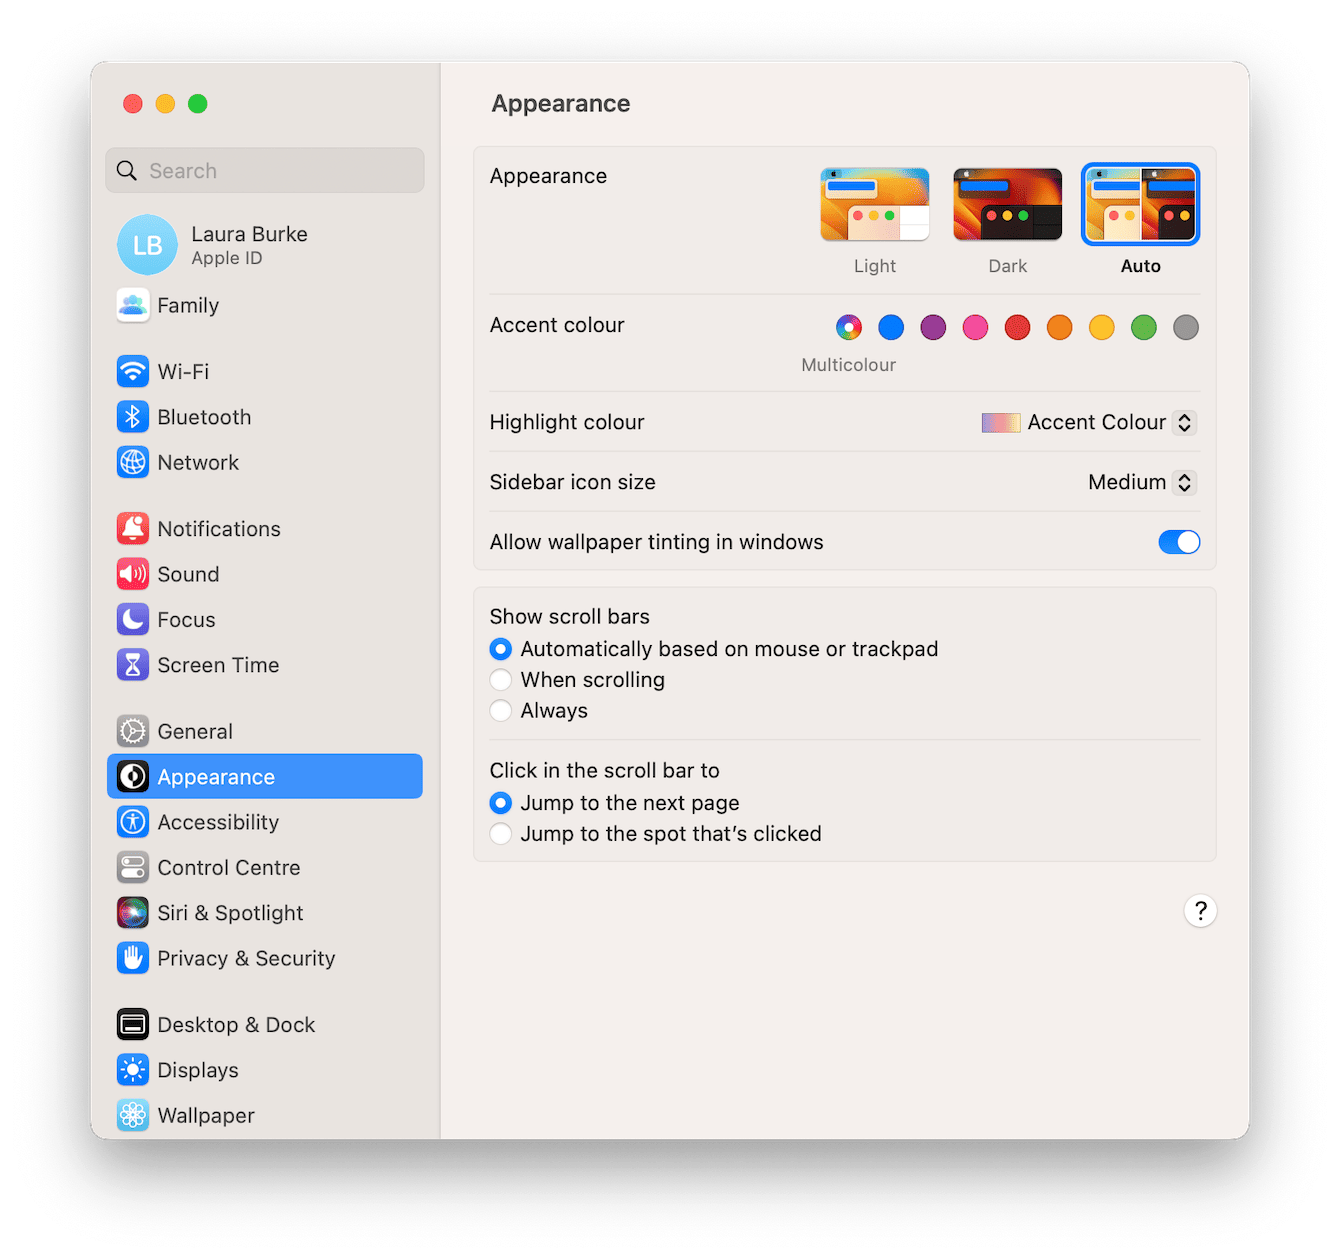
Appearance — Customize your color theme for buttons, windows, and menus.
Highlight color — Change the color of highlighted content, like text in documents.
Accessibility
If you have mobility, hearing, or visibility difficulties, here you'll find a range of various Accessibility settings to customize your experience, including Voice Over, Zoom, and Audio. For a detailed breakdown, here's a helpful article from Apple.
Control Center
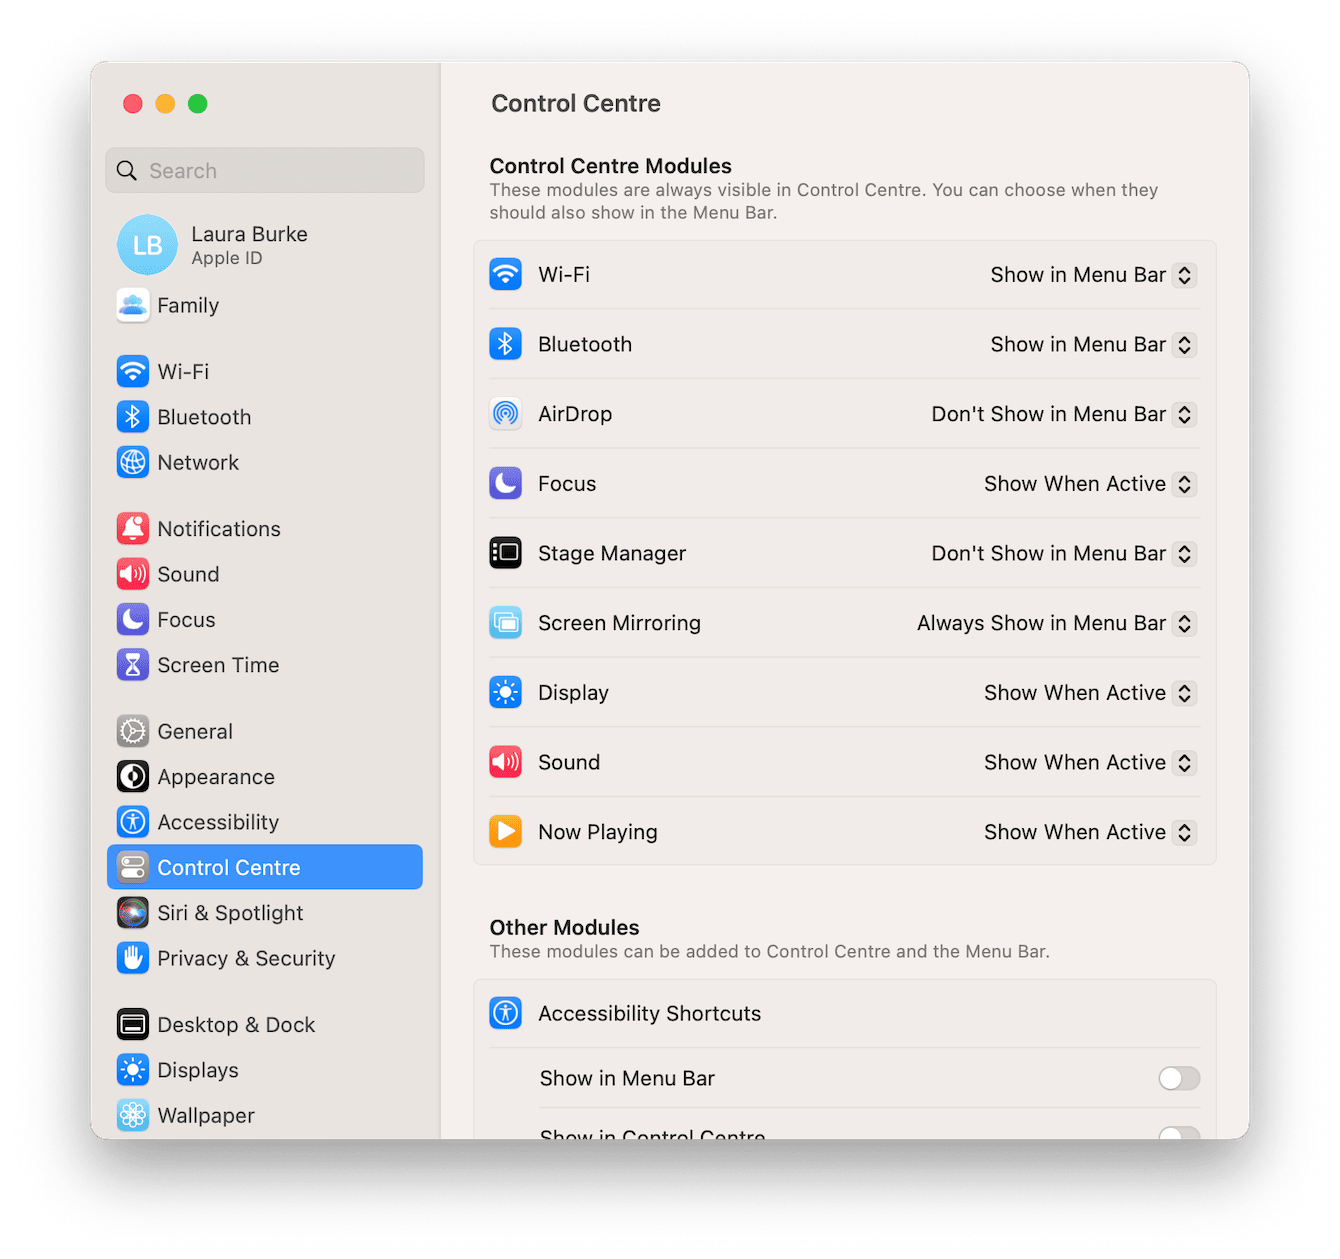
If you're familiar with using the Control Center feature from the top main menu bar, this is where you can customize all the various modules you see displayed.
Siri & Spotlight
Set up Siri and select which items you want to appear in Spotlight searches.
Privacy & Security
There are a lot of options in here. Ultimately, this lets you manage all the info your MacBook makes accessible to others via a network and the internet. You can also enable or disable FileVault, which is important if you want to encrypt and protect your data.
Desktop & Dock

Here, you can manipulate various settings to alter the Dock's appearance, select which items you want to show in your menu bar, and choose your default browser.
Wallpaper
Select a desktop wallpaper for your desktop.
Screen Saver
Manage your screen saver and tweak your lock screen settings.
Battery

Here, you can view your battery health and usage. It's handy for troubleshooting battery issues.
Lock Screen
Use the Lock Screen Mac settings to help protect your device from security- and privacy-related issues.
Tip: You may be wondering how to use System Settings because you want to explore your Mac more. Did you know then that you can use your computer in different modes? You may have heard about safe mode and recovery mode, but there is also clamshell mode. Check out this article to learn all the details.
Touch ID & Password
Set up and manage your Touch ID and password — handy for keeping your device secure.
Users & Groups

If you need to share your MacBook with another person, you can create an additional account. This way, you'll have a separate room for files and information.
Passwords
Safely manage all your stored passwords.
Internet Accounts
Set up and manage your internet accounts like Google, Yahoo, or Exchange.
Game Center
If you use Game Center, you can manage your data and profile privacy from here.
Wallet & Apple Pay
Set up and manage your Wallet & Apple Pay.
Keyboard
Alter and adjust your keyboard and dictation settings.
Trackpad
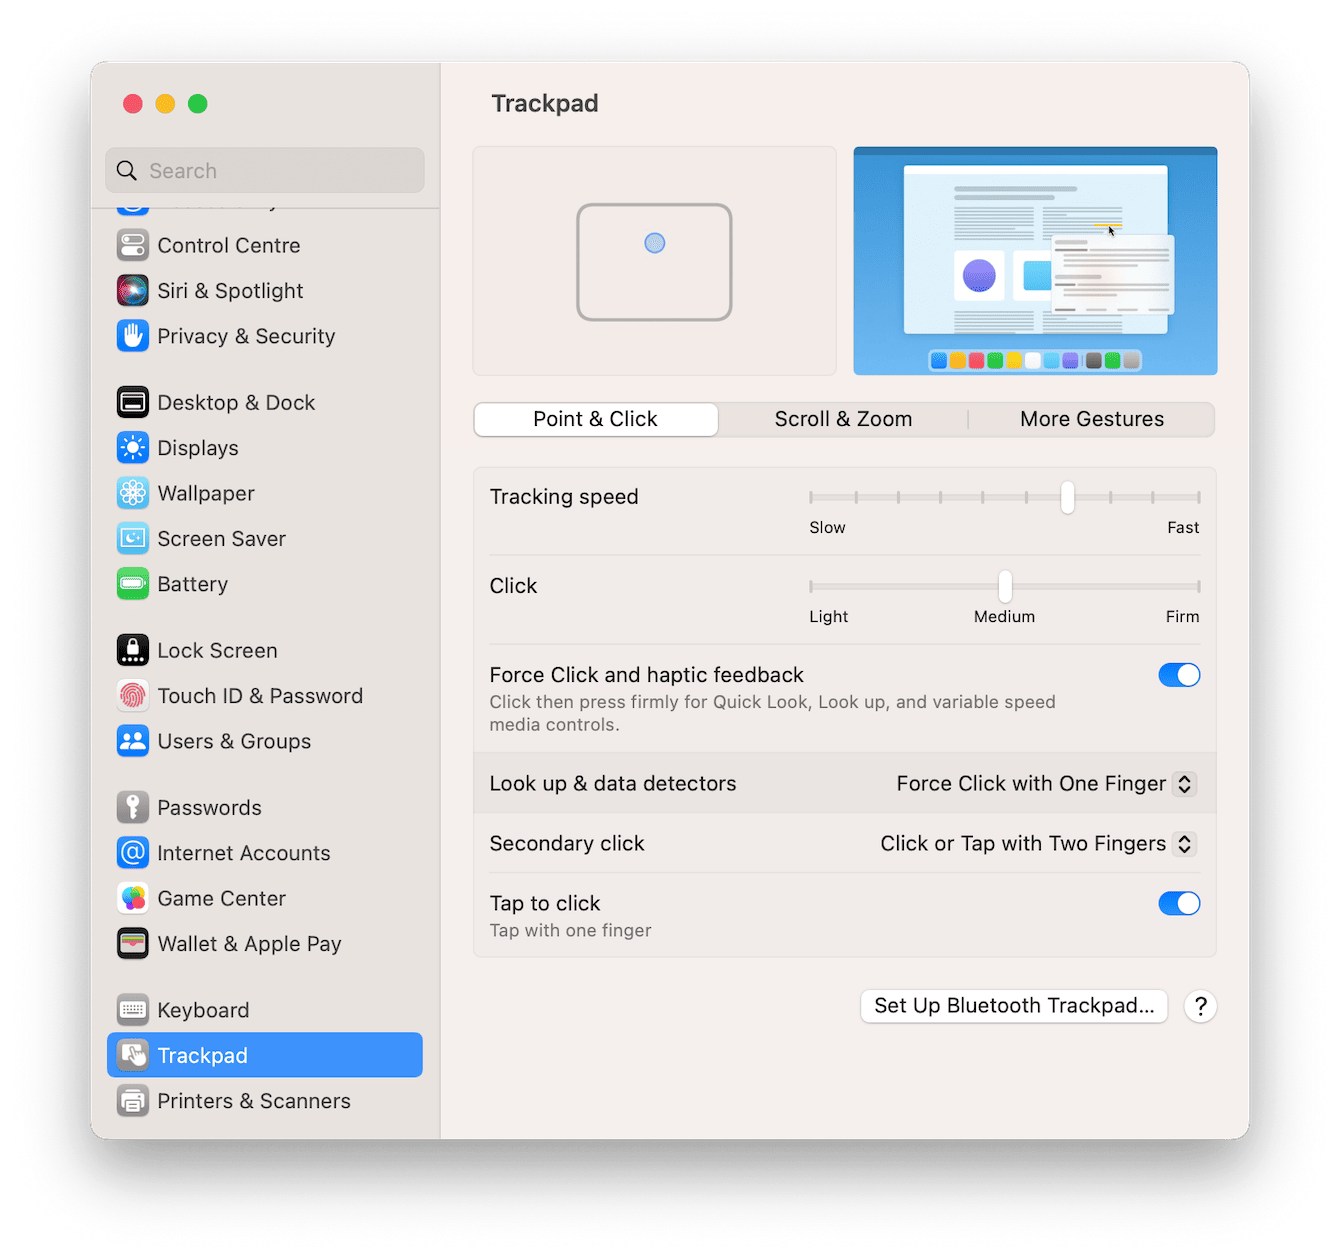
Configure your Trackpad and commands to suit your needs.
Printers & Scanners
Set up, manage, and add new printers and scanners from this pane.
So, now you know all about the System Settings/System Preferences Apple has to offer.

