How to clean up your Mac
Quick question: should you clean up your Mac? The answer is yes, especially if it becomes slow or apps start crashing. Getting rid of clutter will help your Mac return to its factory excellence and make it faster to match your needs. If you find yourself clueless as to where to start your Mac cleanup, worry not; we have 8 bulletproof tips and tools to help you clean your Mac and speed it up.
1. Clean up your Mac’s Desktop
This might seem like an obvious step to take, but you’d be surprised how many Mac users believe the Desktop is a perfect place to store files and docs — handy and always on tap. However, that’s a rookie mistake.
The fact is that the Finder treats any folder or file on your desktop as a window. A couple of items on the desktop cause no problem, but if the clutter persists, your Finder will soon slow down and get on your nerves.

That’s why you should clean your Mac starting from the Desktop before you go any deeper. You can sort it all out into separate folders. Or right-click anywhere on the Desktop and Select Use Stacks to witness the magic of self-cleaning. Note, though, that the clutter is not removed; it is just hidden. Therefore, it is better to delete whatever you don’t need anymore before using stacks.

2. Free up your Mac’s hard drive
When it comes to storage, there are items you know about (like your photos and videos) and many hidden entities (like cache files, logs, and app junk). These deep-seated junk files may start off small, but over time, they will begin to weigh your Mac down.
Tip: It is recommended to keep at least 10% of Mac’s storage free to ensure that it runs well. Check this article on how to clean MacBook hard drive first.
How do I know what to delete?
What’s really annoying is that some massive folders on your Mac remain invisible. Each app you use or website you visit leaves behind its own archive of data, which keeps growing over time. To hack this, you can use CleanMyMac — a dedicated Mac cleaner and optimization app by MacPaw. It uncovers large redundant files you can delete and safely removes all kinds of junk files. This application is notarized by Apple, meaning that it’s absolutely safe to use.
You can delete:
- Broken downloads
- Remains of old apps
- Outdated cache
Here’s how to use this smart helper:
- Start your free CleanMyMac trial.
- From the sidebar, go to Cleanup and click Scan.
- Wait for the scan to complete and click Clean.

Key benefits of using CleanMyMac:
- Trusted by users in 185 countries (with a Trustpilot rating of 4.6/5 and 85% of excellent reviews)
- On average, users detect and remove 55 GB of junk files during the free 7-day trial
- Comes with 25+ tools for Mac protection and optimization
- Helps get rid of duplicates and similar images — an average user removes 1,185 duplicates and 476 similar Images
- Protects Mac from known Mac-specific malware — 235K threats removed over the last year
Another tip for a faster Mac is to regularly clean up the Downloads folder. This is where junk piles up little by little, resulting in a total mess. For a complete Mac cleanup, make sure to also ditch any unnecessary widgets or apps. Wait, but do you think you might need them one day? The truth is, if you haven’t used them so far, you won’t use them in the future. So, gather all your courage and hit Delete.
3. Take control of startup and login items
When your Mac boots up, the macOS will launch various startup items. Some you do need, but nearly half of them can be safely switched off. Otherwise, they’ll sit in the background, using up your system resources and slowing your Mac down.
To remove startup and login items manually, follow these steps:
- Go to System Settings > General.
- Next up, click “Login Items” and select all the apps you don’t need running at startup.
- Then, click the “-” button below, and you’re done. By disabling the startup programs, you’ll have a speedier Mac next time you boot up.
- Finally, check apps under “Allow in the Background” and disable whatever you don’t need.

4. Empty the Trash
Just like with the Downloads folder and Desktop, Trash is another location where a lot of clutter accumulates. It is because we usually forget to empty it after deleting files. Over time, it may take up gigabytes of space.
So, head over to Trash right away and empty it to free up some extra space.

You can also use a Mac cleaning utility like CleanMyMac to do a better cleaning job. It cleans not only the Trash bin that you yourself can easily access from the Dock but also local mail, photo, startup disk, and external drive trash, bringing your Mac cleanup effort to a whole new level. Just go to the Cleanup module from the sidebar, click Scan, and hit Clean.

Once you’ve finished cleaning up your Mac, make sure to reboot your computer for a fresh start.
5. Delete System Junk and browser cache
System Junk can account for a significant amount of disk space. It’s a broad term that describes temporary files created by your macOS itself and all your apps. Since we mostly use our Macs to go online, internet-related junk takes up the most space.
How to clean up your browser cache in Safari:
- For Safari, go to Settings > Advanced > select Show features for web developers (Show develop menu in older macOS versions).
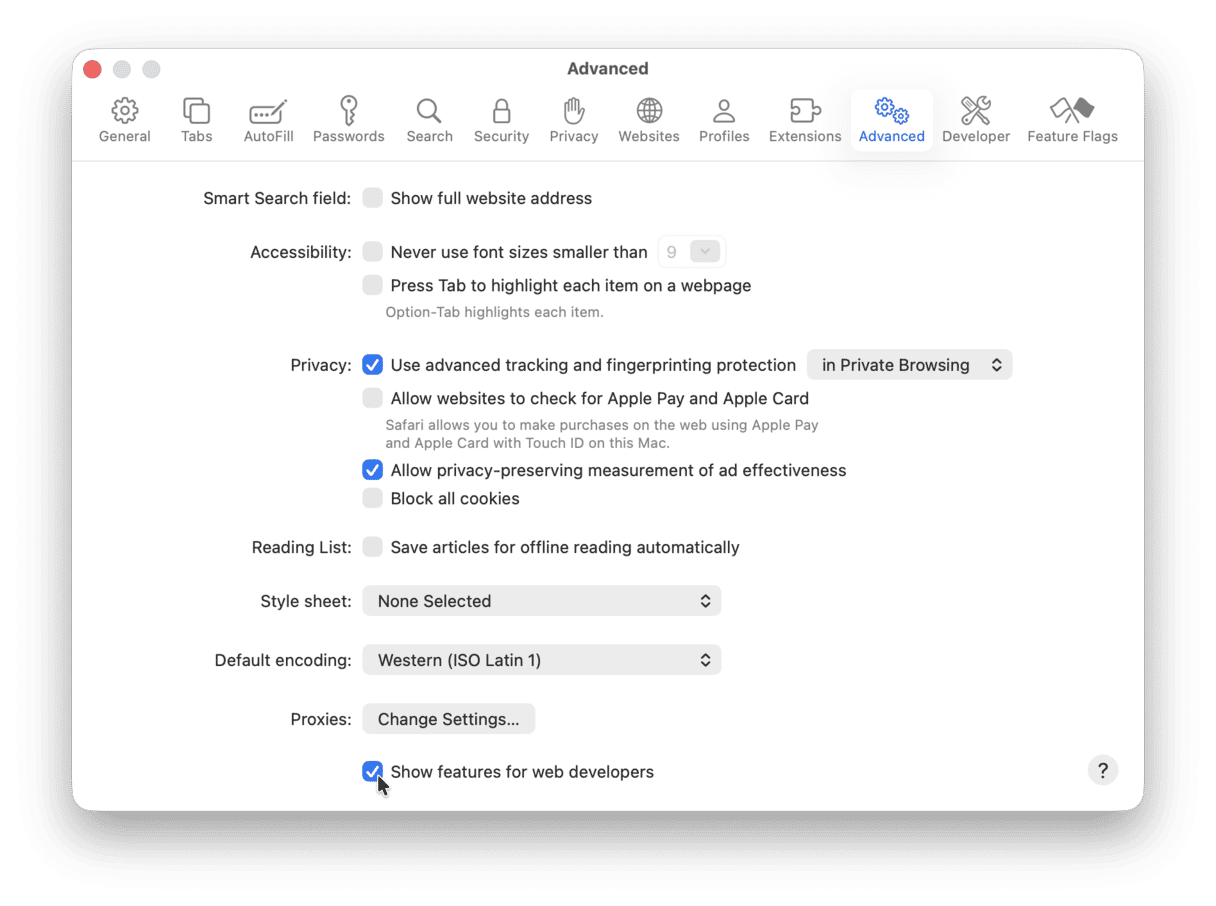
- Now, click Develop in the top menu.
- Then, click Empty caches.

How to remove browser cache in Chrome:
- Click three vertical dots in the top right corner.
- Then, click Settings > Privacy and security > Clear browsing data.
- In Time range, choose All time.
- Select Cached images and files and click Clear data.

6. Find hidden files on your drive
You probably know that a lot of files are purposely made invisible on your Mac. Not necessarily with bad intentions. Such files could be crucial system components and thus protected from accidental deletion. Quite often, however, you’ll encounter remains of old apps, invisible adware, and extensions.
There is a shortcut key combination to reveal the unseen files.
- Go to your Documents or any other directory.
- Click Shift +Command + Period key.
Do you see any grayed-out files? Check what these files are and delete them if they look suspicious. It's better to google them before deletion.

7. Remove old backups (and Time Machine backups)
There are several layers of backups built into your macOS. Local Time Machine snapshots, iOS, and iCloud backups, etc. If we’re talking about a clean Mac that’s free from old baggage, you should look into removing them, too.
Here is how to remove local Time Machine backups (a.k.a snapshots)
- Click Launchpad and type in Time Machine. Your backups will be broken by location like Desktop.
- You can use arrows to the right to navigate between past states of that location.
- Now, click the ellipsis icon in the menu above.
- Choose between “Delete Backup” and “Delete All Backups” in the menu.

Delete the iCloud backups stored on your Mac
- Open System Settings > Apple ID > iCloud.
- Click Manage...

- Click Backups and look through the list of iCloud backups.
- Choose what occupies the most space. If you’re ready to say goodbye to these files, click Delete.

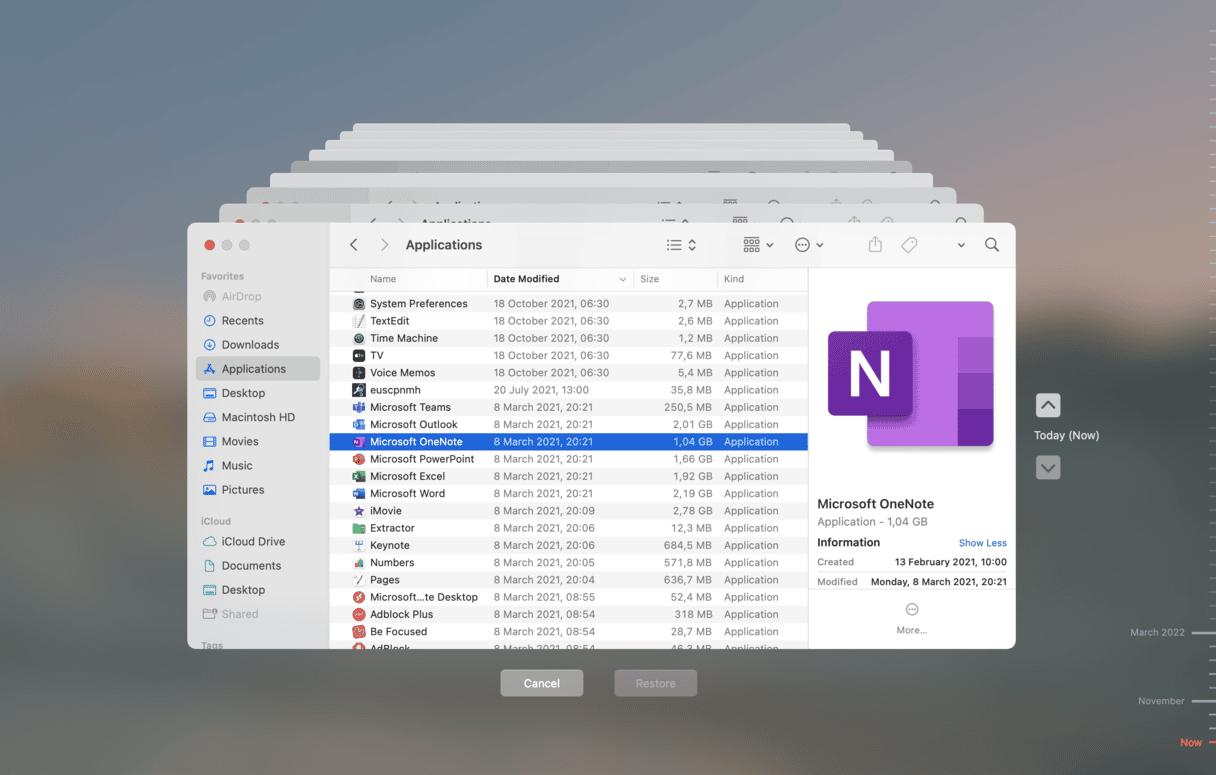
8. Remove old files
When freeing up your hard drive, you most probably missed some old files. You may have thought that you would use them in the future. Maybe you did not know what to delete.
Fortunately for you, there is an all-in-one app that may help out — CleanMyMac and its specialized Large & Old Files tool. It assists in locating files that are no longer being opened and easily removing those you do not need.
Here is the tool:

And here's how to use it:
- Get your free CleanMyMac trial (see the button above).
- Select My Clutter in the sidebar.
- Click Scan > Review All Files > Large & Old Files.
- Use the handy categories to sort through your files.
- Select the files you want to delete and click Remove.

Clean your Mac the smart way, all the way
If you’ve been following the steps above, you are fully equipped to clean up your Mac. Because you don’t need to be a bearded IT guy to do it, let alone spending extra cash on improving your Mac’s performance. Simply cleaning your system as the steps above suggest or using a dedicated app like CleanMyMac will help you out. And you will see your Mac’s capabilities now when it’s not weighed down by junk.