How to delete purgeable space on Mac [4 quick ways]
If you want to free up space on your Mac, it is a good idea to check what's taking it up first. One category that is not always easily thinned out is purgeable space. But why care about it? Because it can expand to almost 200 GB gigabytes of much-needed space. In this article, you'll learn about purgeable space and ways to remove it. Let's dive in!
What is purgeable space?
Purgeable space on Mac is responsible for managing and deleting not essential files and documents when more space is needed. This particular type of storage first appeared on the macOS system with the Sierra update. When you activate the Optimized Storage feature in macOS, you'll notice this new category appears within your storage bar management.
These are the types of files purgeable space targets on Mac:
-
Caches
-
Ancient user files
-
Temporary files
-
iCloud synced files (only if you enable the Optimize Mac Storage feature in System Settings > Apple ID > iCloud)
How to check purgeable space on Mac
To check how much purgeable space is on your Mac, open Disk Utility and then choose your disk in the sidebar. You’ll see the amount of space available and purgeable.

How to keep your Mac optimized
Before we show you how to clear purgeable space on a Mac, let us introduce another way to keep your Mac in good shape — CleanMyMac. Its Smart Care feature quickly identifies files that can be safely removed, malware that may have sneaked onto your computer, and maintenance tasks to speed up your MacBook. This way, not only will you free up some purgeable space, but you will also reclaim storage and prevent a variety of Mac glitches.
Here's how it works:
- Open the application – get your free CleanMyMac trial here.
- Select Smart Care and click Scan.
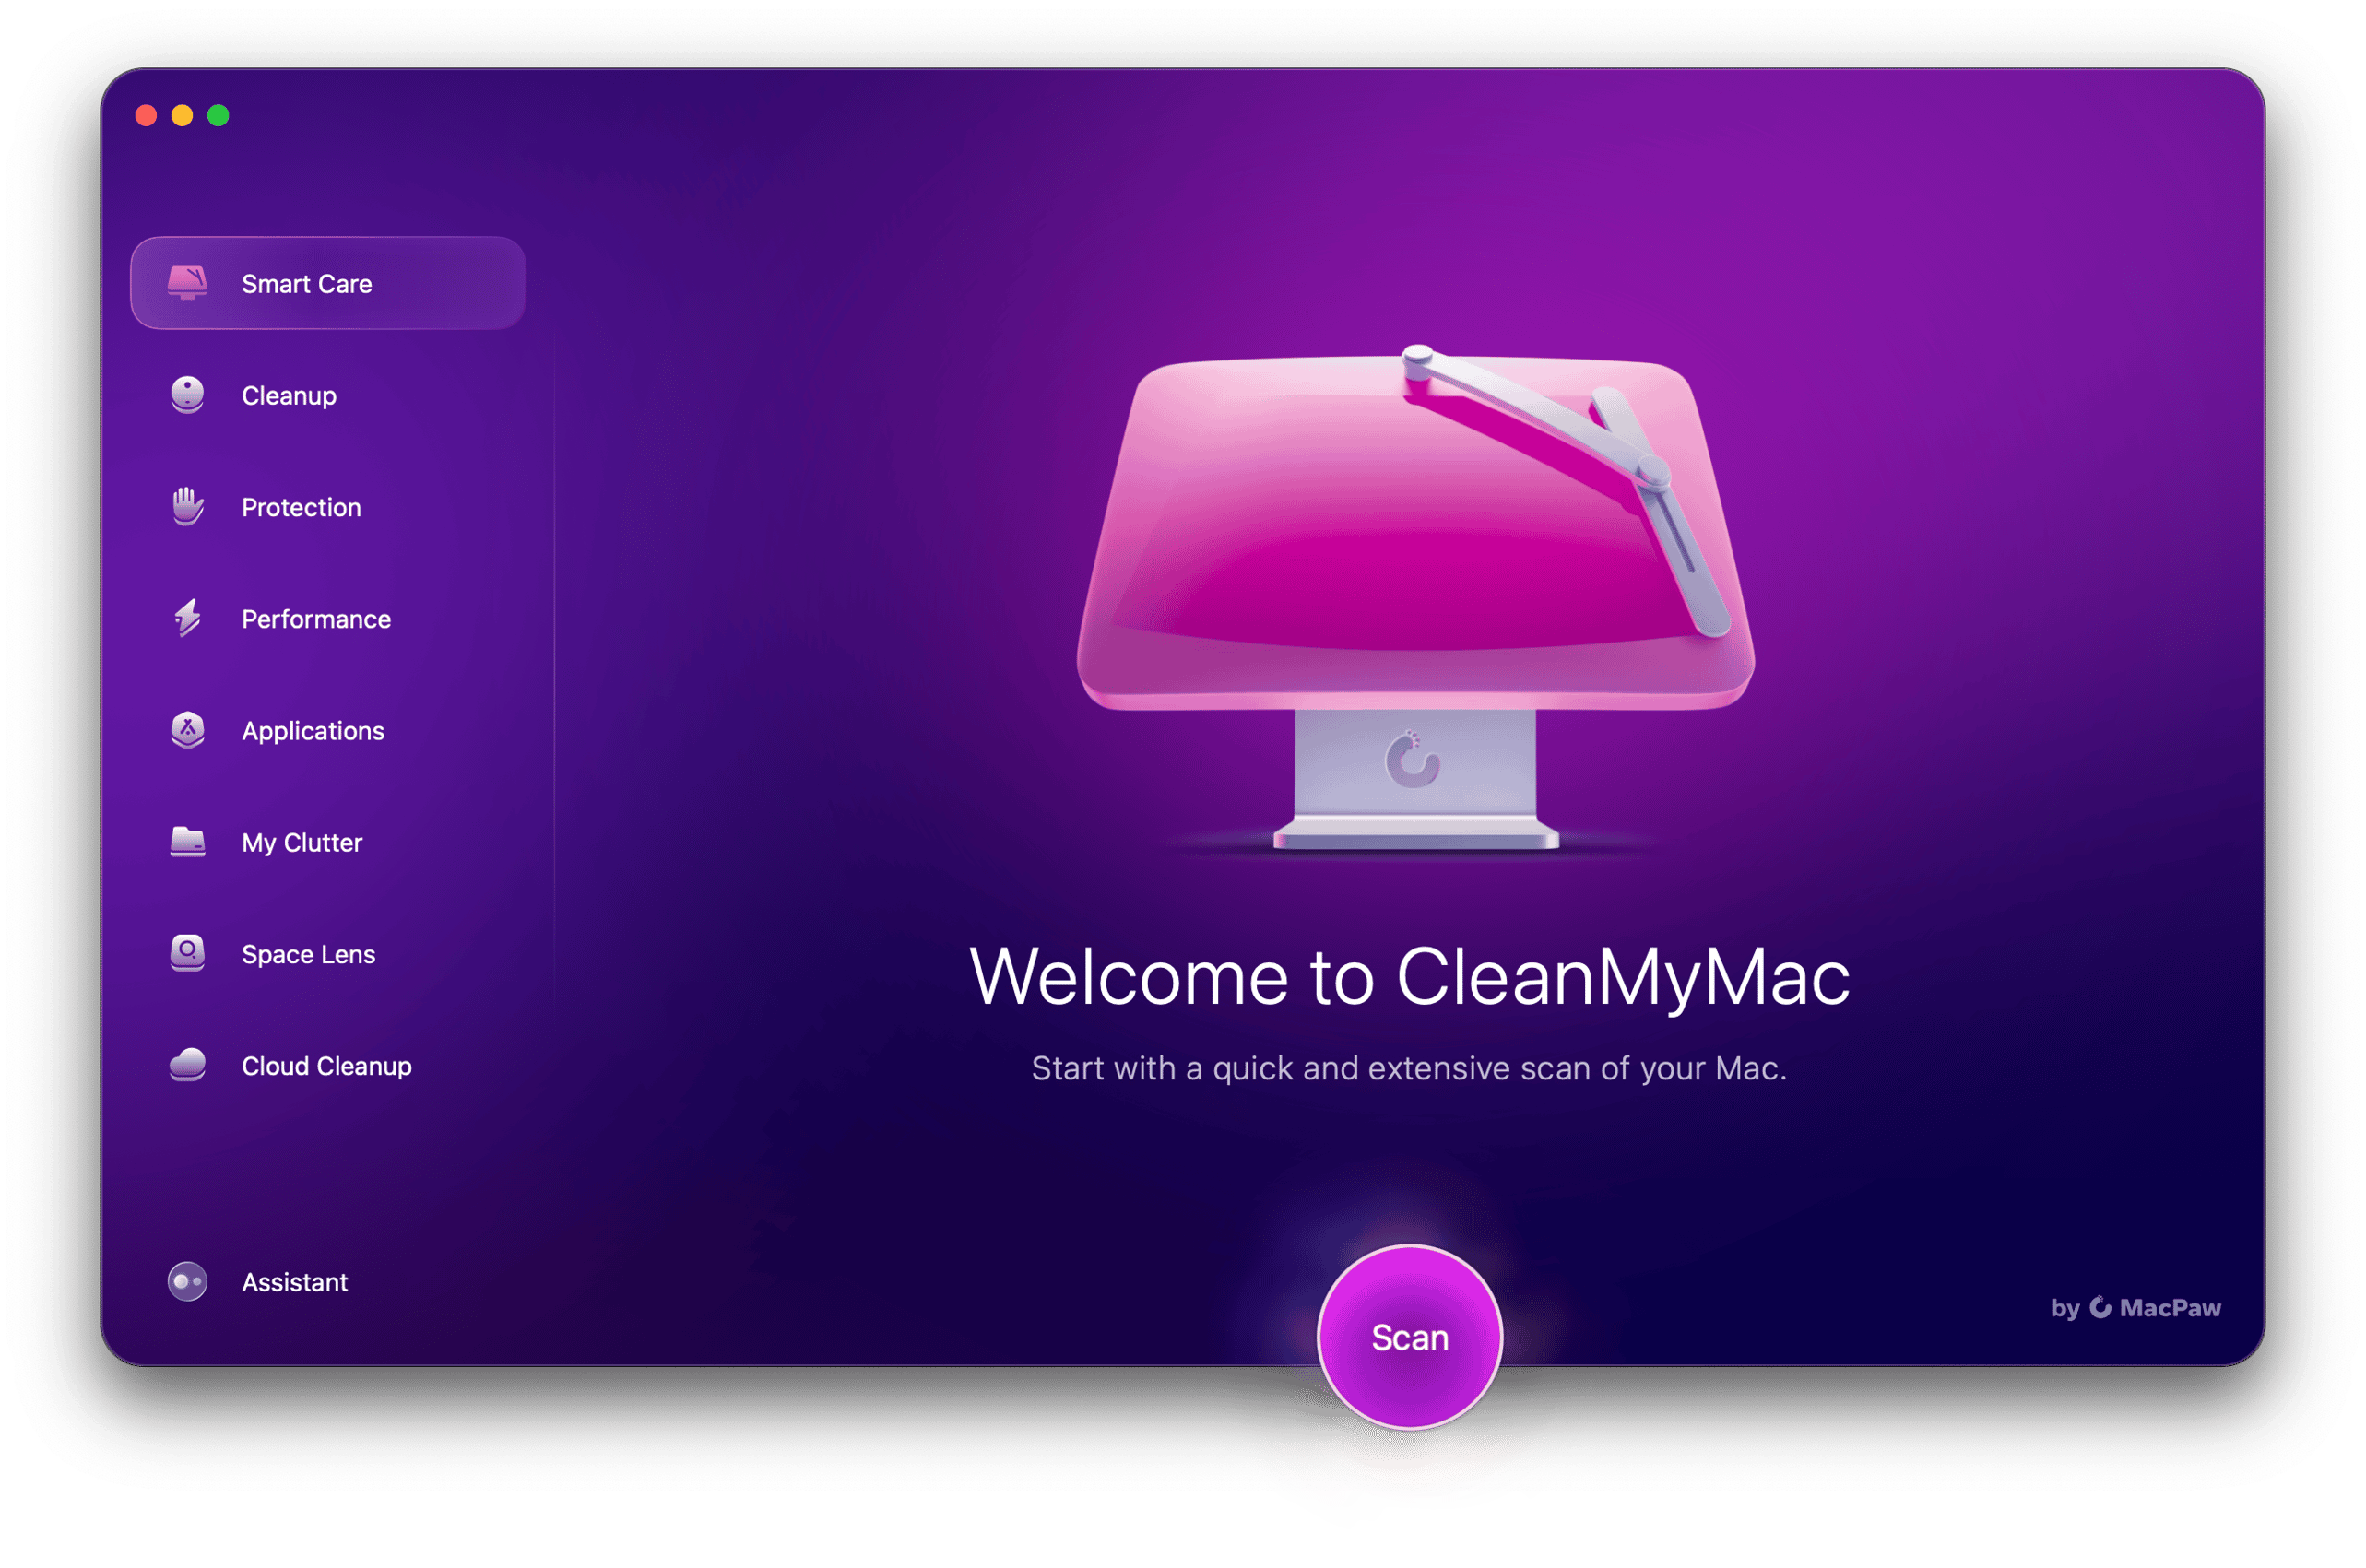
- Click Run.


That's it! How simple is that? Congratulations! You've just optimized your Mac and claimed valuable space back.
Remember, regular Mac maintenance is one of the best ways to keep your Mac optimized and running smoothly. We recommend always keeping on top of unused apps, downloaded files, and unnecessary clutter. These items can quickly build up and take up space over time.
We recommend optimizing not only your Mac but also your iCloud Drive or any other cloud storage you use. All you have to do to keep it clutter-free is just check out another feature from CleanMyMac — Cloud Cleanup. Once you connect your cloud storage (iCloud Drive, Google Drive, or OneDrive), you can scan it for large files and remove or unsync any unneeded stuff.

How to remove purgeable files on Mac manually
1. Clear purgeable space on Mac with Terminal
Because purgeable space automatically clears when your operating system needs space, you can force your Mac to delete purgeable storage by installing or downloading a large file that surpasses the amount of actual free space left on your disk.
So, if you create a large file, your Mac will reallocate all purgeable space to support the installation. Afterward, you can delete the file, and your space will return to a truly free state instead of purgeable space.
That's precisely what we'll do using the Terminal, so let's get started.

-
Launch Terminal with a spotlight search, Command-space, and type Terminal to open the application.
-
Type the below command and press Return:
mkdir ~/largefiles
-
Now, type the following command, pressing Return:
dd if=/dev/random of=~/largefiles/largefile bs=15m
-
After five minutes, press Control-C in the Terminal window to stop the command.
-
Type the following command and press Return:
cp ~/largefiles/largefile ~/largefiles/largefile2
-
Once complete, enter the same command, this time changing the last number to "3", then when complete, change the last number again to "4," and so on until you see the message "disk is critically low."
-
Now type in the below command and press Return::
rm -rf ~/largefiles/
-
Go to your Trash and empty the contents.
That's it! Check your storage to see the changes to purgeable space.
Tip: If you're deleting purgeable space to reclaim some storage, there is another quick way to do it — clear out the downloads. Check out this handy guide on how to delete all kinds of downloads on Mac.
2. Remove purgeable files with Optimize Storage function
We've got one last tip for you, just in case you're not a fan of using third-party apps like CleanMyMac, you can also clear purgeable space on a Mac with the Optimize Storage feature, here's how:

-
Go to System Settings > General > Storage.
-
Read recommendations to help you manage your Mac's storage space. Enable those you'd like to test.
-
Check back on the storage overview to see if these have helped reduce your purgeable storage.
3. Clear your cache files
Restarting your Mac can help you delete all cache files and get rid of the purgeable space. But if you are unable to do that due to important tasks in progress, there is a way to delete cache files using Finder.
-
Open Finder, then click Go > Library.
-
Click Caches and delete files you no longer need.
-
Empty Trash.
Be careful not to delete essential macOS files. If you're not sure which files can or cannot be removed, use CleanMyMac. It has the Cleanup feature that will help you safely eliminate cache files, language files, system log files, downloads, and user log files. Be sure that it only deletes those files your macOS no longer needs. And these are system files, meaning that you do not need them, too. Simply follow the instructions below:
- Open the app and select Cleanup from the sidebar.
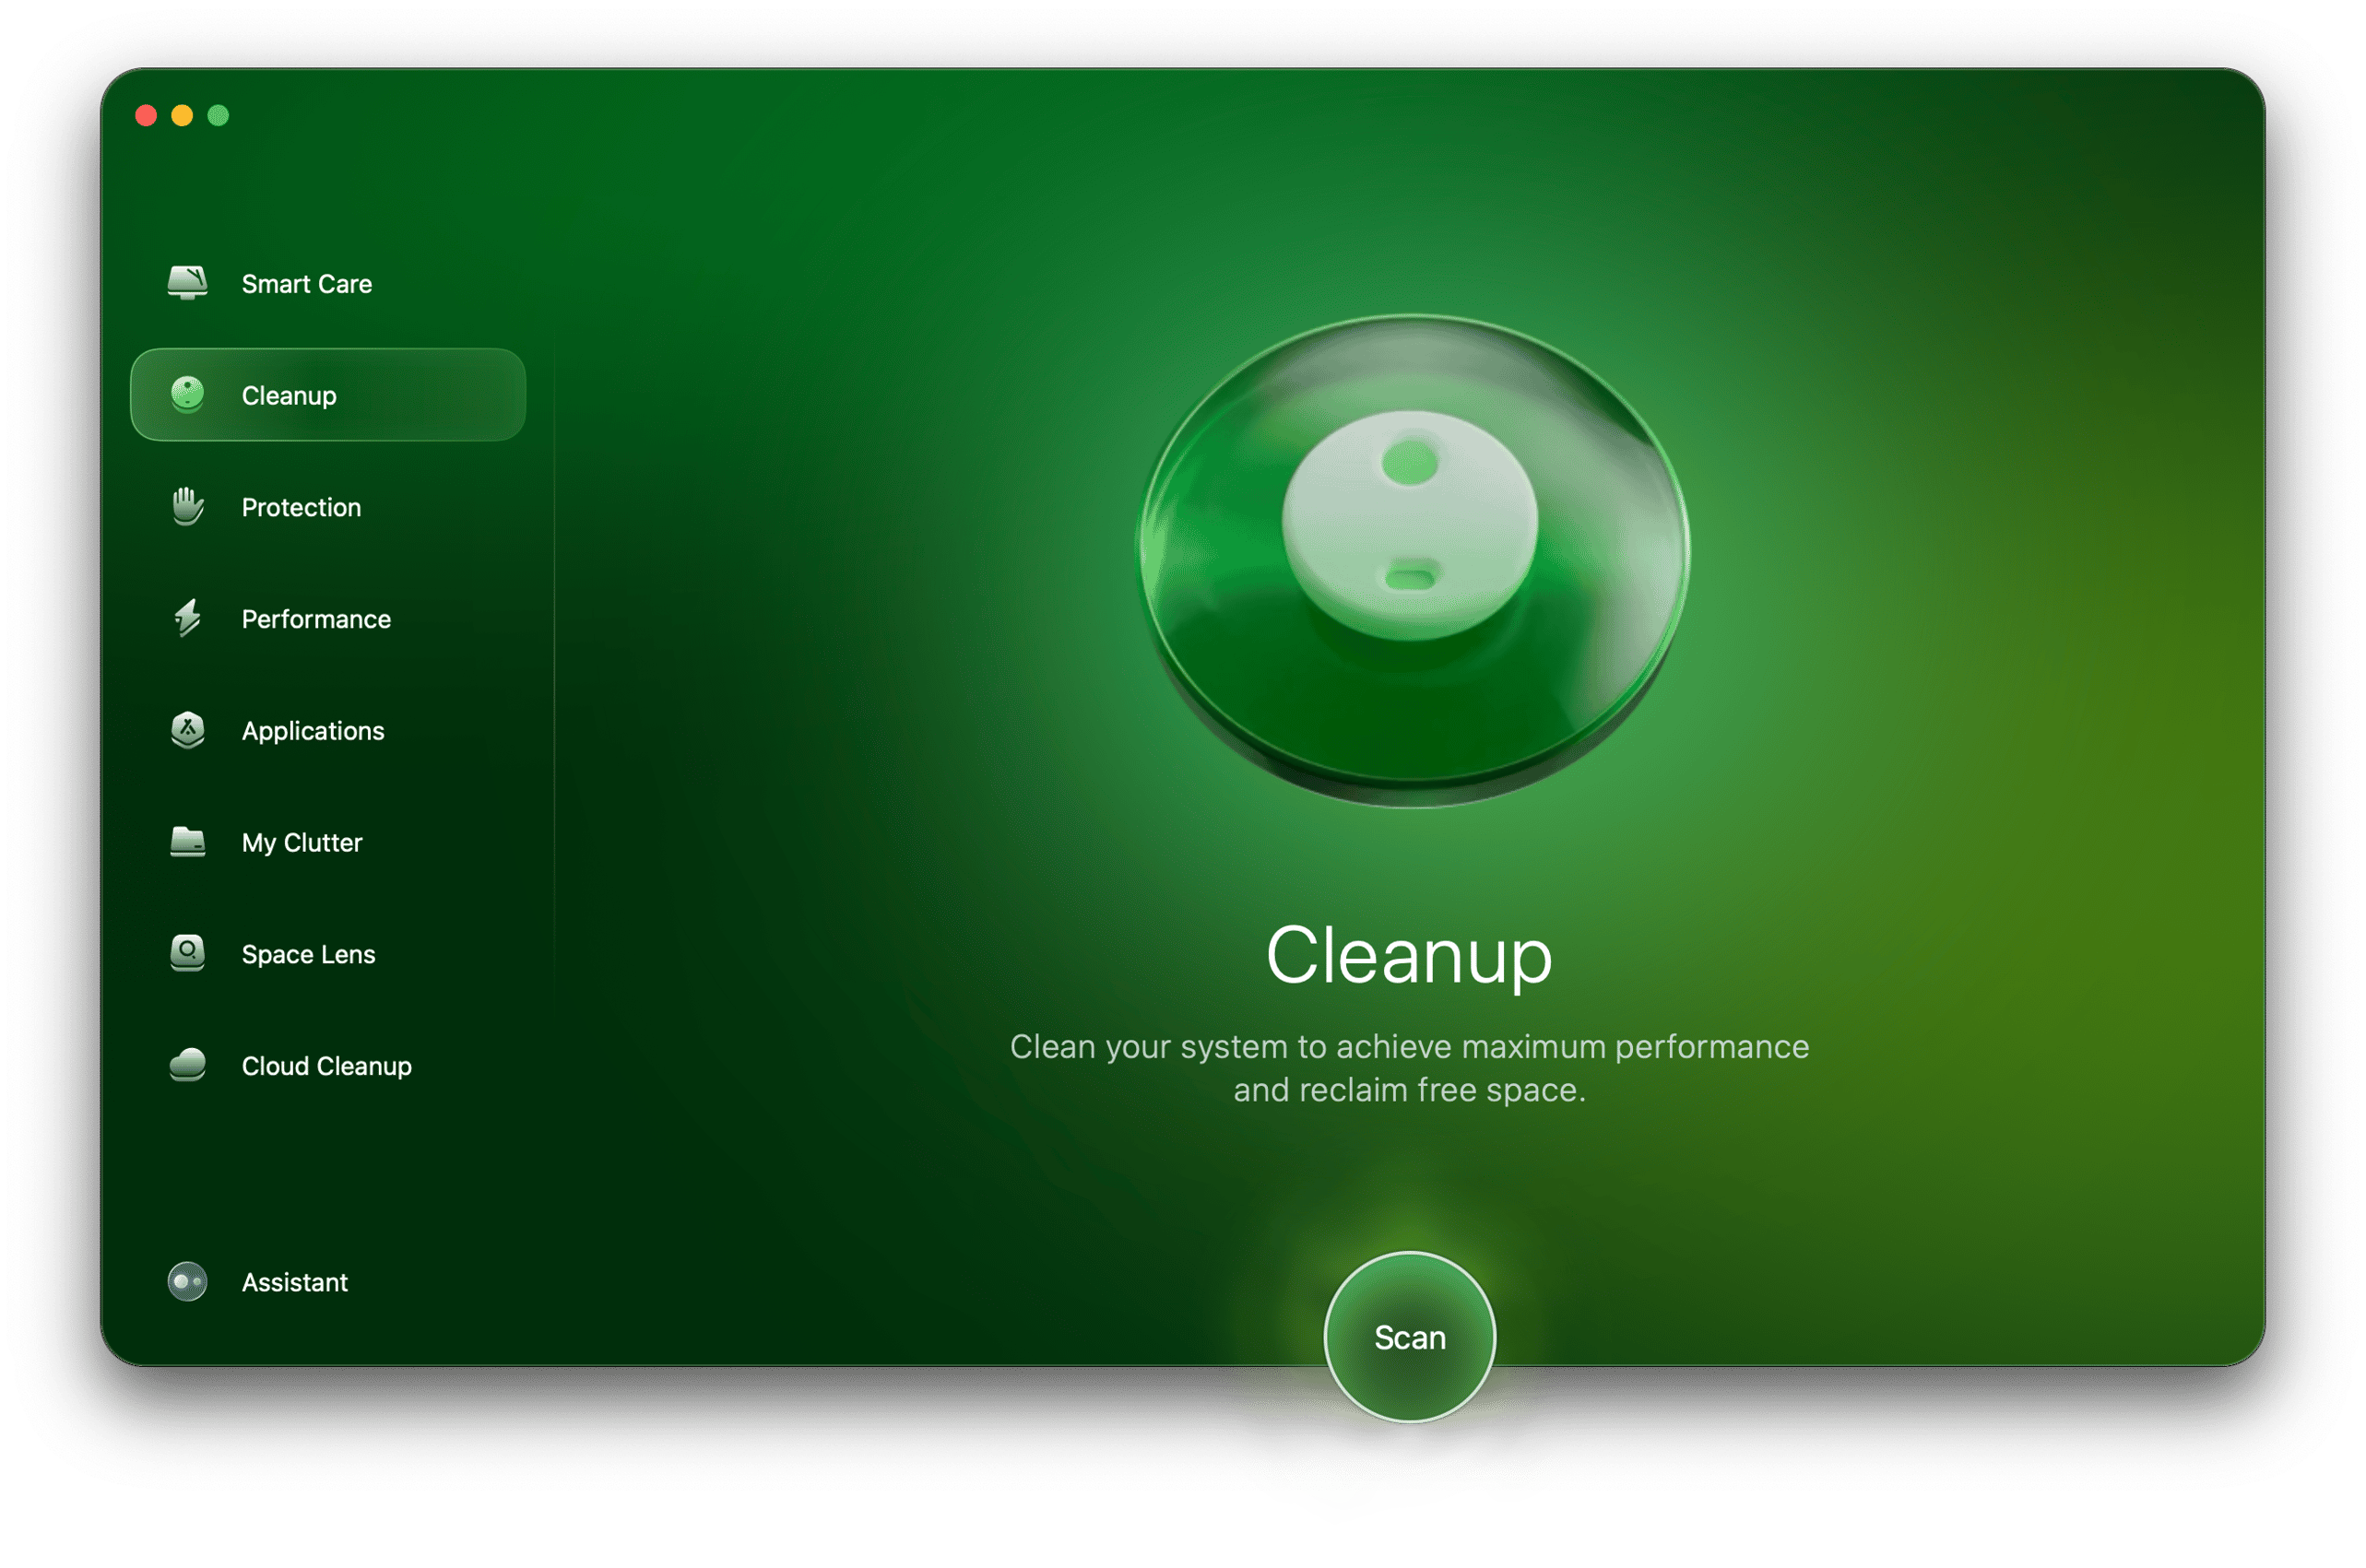
- Click Scan; once complete, click Clean.


Did you know? If you use third-party email apps on your Mac, they can generate a lot of cache files, so it is recommended to delete them from time to time. If you use Outlook, here's how to clear its cache on Mac.
4. Disable local snapshots in Time Machine
It's quite common that Time Machine local snapshots are the primary space-eaters of purgeable space on Macs. That's why deleting them is on our purgeable space cleanup list.
- Go to System Settings > General > Time Machine.
- Click Options and, next to Backup Frequency, choose Manually.

So that's it, we've reached the end of the article. Hopefully, now you have a good understanding of what purgeable space means and how you can clear it out.
Don't forget to run regular Mac maintenance to keep your Mac optimized at all times. More great Mac tips and tricks are coming your way, stay tuned!
Frequently asked questions
1. How does macOS determine which files are purgeable?
macOS uses smart storage management algorithms that find files that haven't been opened in a while or can be redownloaded for iCloud and marks them as purgeable. System caches that can be re-created are also added into this category.
2. Is it safe to delete purgeable space on Mac?
Generally, yes, because these are the files marked by the macOS as those that can be safely removed. But it's always a good idea to double-check everything you send to Trash, especially if you delete system cache files.
3. Why is purgeable space so high?
If you see that it amounts to gigabytes of space, it means that there are a lot of temporary files on your Mac as well as cached iCloud files and system caches.