Mac is slow after the update
There could be many reasons why your Mac runs slow after an update. From hung applications to low disk space, it's, unfortunately, one of those annoying issues that most Mac users want to avoid.
Luckily, there's plenty you can do to troubleshoot. I've put together nine easy-to-follow troubleshooting tips in this article that will get your Mac back up to speed.
Is your Mac slow after an update?
After installing the latest macOS upgrade, the last thing you expect is a slow Mac, but surprisingly, it's a frequent complaint.
When a new update is released, many applications haven't been fully optimized for it yet, so this can cause problems for our Macs.
Here's a quick look at some of the most commonly reported issues:
-
Apps become slow and freeze or frequently crash.
-
The fan is working loudly.
-
The browser becomes very slow to load pages.
So, if your Mac runs slow after an update, let's take a look at how to increase its performance.
9 tips to fix your slow Mac after the update
Work your way through these tips one by one and let's get your Mac back into shape.
1. Restart your Mac
Yes, it's obvious, but it needs to be number one on the list; a restart can solve many issues, so before we get into the more in-depth troubleshooting tips, take a moment to restart your Mac.
Select the main Apple menu > Restart.
If that doesn't solve the issue, head over to the next step.
2. Check storage space
If your Mac is low on available storage space, this will most certainly cause your Mac to slow down. New macOS versions require around 40GB of free space to install, so that could be a reason that your Mac is now feeling sluggish.
Here's how to check your storage:
-
Select the Apple menu > System Settings > General > Storage.
-
Once the information is loaded, you'll be able to see a colorful breakdown of your disk space.

Check Recommendations under the colored bar — they are Apple's built-in storage optimization tools. Then, jump to the next step for another space-saving tip.
3. Clean your system junk
Another way to reclaim space on your Mac is by cleaning up all of your system junk, think cache, temporary, and broken files. System junk can slow your Mac down and consume large amounts of space when left to build up.
When it comes to managing my system junk, I prefer to use the Apple notarized third-party tool, CleanMyMac. It has a really powerful Cleanup module that can remove tons of junk in just a few clicks not only saving time but space, too.
Here's how you can remove system junk the easy way:
- Open the app — download the free version here.
- Select Cleanup from the sidebar and click Scan.
- Once complete, click Clean. You can also click Review to see what will be safely removed and select the categories of files you want to keep and those you want to remove.

4. Check for hung applications
Another cause of Macs running slow after an update is hung applications. This can happen when the apps aren't optimized for the new operating system and essentially get stuck when we try to use them, slowing our Macs down.
Take a moment to check now. Are there any applications open on your Mac that are stuck?
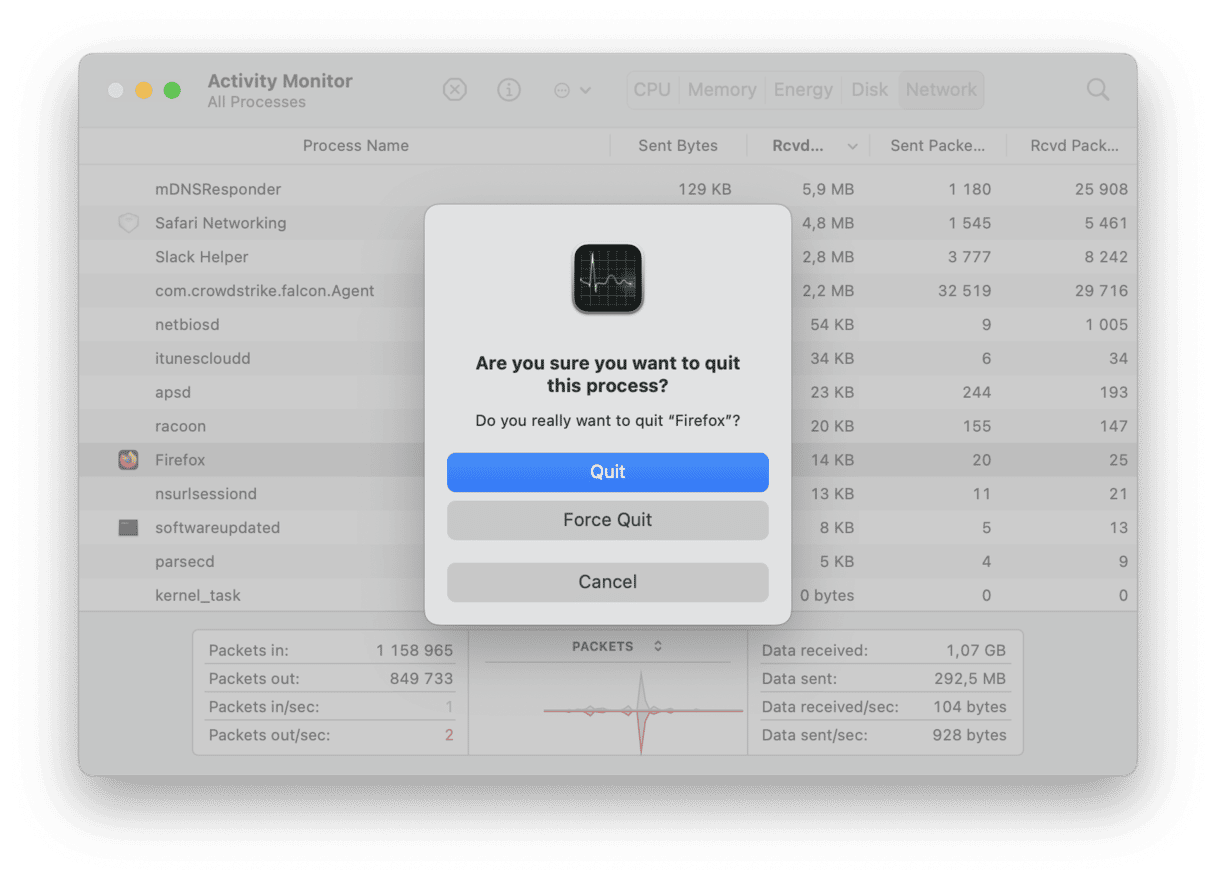
Use the Activity Monitor to quit them; here's how:
-
Open Finder > Applications > Utilities > Activity Monitor.
-
Click the CPU tab.
-
Select the hung app from the list, then click the "X" button to quit the process.
Tip: Sometimes, your Mac won't update. If you've ever encountered this issue, here's an article on how to fix it.
5. Manage startup apps
Another easy way to speed up your Mac is by removing any unnecessary login items from launching when we first boot up our Macs.
Too many applications launching at once can eat away at our RAM and cause our Macs to slow down. Thankfully, it's an easy fix; here's how to manage your login items:
-
Select the Main Apple Menu > System Settings.
-
Go to General > Login Items.
-
To remove items, select them from the list, then click the "-" button.

6. Free up RAM
Another reason your Mac's running slow after an update could be that you're running out of available RAM (random access memory). As a quick reminder, RAM provides temporary storage for ongoing processes and tasks, a lack of RAM can slow our devices down to a grinding halt.
Here's how to check:
-
Open Finder > Applications > Utilities > Activity Monitor.
-
Go to the Memory tab.
At the bottom, you'll see a handy breakdown.
-
Physical memory is how much RAM your device has.
-
Memory used is how much is currently being used.

You can quit resource-hungry applications directly to free up RAM; simply select them from the list and click the "X" button.
There is another smart way to free up RAM by using the app I mentioned earlier, CleanMyMac. Its Menu App will help your system flush all the unnecessary items out of your RAM and constantly monitor memory pressure. The reason I like this tool is that it's swift, meaning you can do this in mere moments every time your Mac feels slow. Here's how to use it:
- Open the app — download the application here.
- Click a little iMac icon in the menu bar
- Under Memory, click Free Up.

If you cannot see the Menu App, open CleanMyMac and press Command + comma to open its settings. Go to Menu and make sure that enable Menu is turned on.
7. Remove unnecessary applications
Another simple way to speed up your Mac is by removing any unnecessary applications. If you haven't used them in a while, remove them to save space and improve performance. Here's how:
-
Open Finder, and from the sidebar, select Applications.
-
Organize the list by size.
-
Select any apps you want to remove and drag them to the Trash.

Don't forget to empty the Trash after you complete this task.
Did you know? In some cases, these are your apps that are slow, not your Mac. One app known for its slowness is Chrome. Luckily, you can do a lot to fix it. Check out quick solutions in this guide.
8. Declutter your Desktop
Another simple and easy tip is to remove the clutter on your Desktop; if you use Stacks because it's all nicely organized, it's easy to forget what is lurking. Take a moment to clean up the clutter on your Desktop.
If you aren't using Stacks but want to, it's effortless to enable it; select anywhere on your Desktop, then from the menu, choose Use Stacks.
9. Reset PRAM and NVRAM
As a final tip, if you've tried all of the above but still, your MacBook is slow after an update, it could be time to look at resting PRAM or NVRAM.
PRAM (Parameter Random Access Memory) holds information about your Mac's control settings, such as volume, startup disk selection, and display resolution.
NVRAM (Nonvolatile random-access memory), similar to PRAM, stores vital system settings. Newer Intel-based MacBooks use NVRAM, while older Macs use PRAM; they essentially have the same function.
Here's how to reset your PRAM or NVRAM settings:
-
Turn off your Mac.
-
Press the power button, then press and hold the Command-Option-P-R keys.
-
When you hear the second startup sound or when the Apple logo appears and then disappears for the second time, release the keys.

If you have a Mac with Apple silicon, these instructions aren't applicable — a simple restart is recommended for these Macs.
It's always exciting when Apple releases a new OS, but the newest updates rarely run flawlessly, and that's why your Mac may run slowly. In this guide you'll find even more tested steps on how to make your Mac run faster. Thankfully, with these tips, you now know what to do.