Solved: Mac stuck checking for updates
If you can't install the latest macOS version because your Mac is stuck checking for updates, you've landed in the right place.
It's not unusual for some updates to take a while, but if you've been stuck for hours on the checking for updates screen, something is likely amiss, especially if your screen becomes frozen or the spinning beach ball appears.
We've put together these seven top tips to help users plagued by this annoying error message. Just work your way through this handy guide, and your Mac will be installing that much-needed update in no time.
Mac checking for updates stuck — causes
There could be multiple reasons why your Mac software update is stuck checking for updates. Here's a list of the most common causes:
-
Wi-Fi connection issues
-
Problems with Apple servers
-
Low Mac storage space
-
Software bug related to NVRAM or new software version
-
A pre-existing issue not letting your Mac check for update
- App Store cache issue
It's not always easy to pinpoint the exact reason why, but the tips in the next section will help you troubleshoot your way through the problem.
Before we get to it, make sure you've given your Mac a quick restart from the main Apple menu — this simple trick can solve so many little bugs and issues and save you considerable troubleshooting time.
How to fix the checking for updates stuck on Mac error
1. Check your Wi-Fi
A poor or unstable internet connection could be why you can't download and install the latest macOS version, resulting in the error message hanging around for hours while your computer battles for connection.
Rule this issue out quickly by working your way through these tips:
- Toggle your Wi-Fi on and off by selecting the Wi-Fi icon in your top menu bar.
- Restart your router.
- Move your Mac closer to your router.
- Check that your internet service provider isn't having issues.

If the issue isn't caused by your internet connection, head over to the next tip.
2. Turn your VPN off
If you use a VPN, they have been known to interfere with macOS updates. That's why try turning it off, so your Mac can request the software update from the Apple servers.
Once your VPN is off, you should be able to install the update successfully. Don't use a VPN? Jump to the next tip.
3. Check Apple servers
Apple isn't flawless. They, too, suffer from outages and server issues, which could be the reason why you can't navigate past the checking for updates error message.
Thankfully, this is really easy to check on via the Apple System Status webpage.

Green lights mean no issues, while red lights indicate something is wrong. As you can see from this screenshot, there are no reported server issues. If there are issues when you check the page, just give Apple some time to fix them and return to the update process later.
4. Restart your Mac
Let's wrap up the basic troubleshooting by restarting your Mac. It fixes minor glitches and clears up some system files that may be preventing your Mac from updating properly. So, head to the main Apple menu and choose Restart.

If it hasn't helped, you can shut down your Mac or even perform a hard shutdown. To do it, press and hold the power button for 10 seconds. Note, though, that if your Mac is not frozen, prefer a simple shut down because the latter erases all unsaved work.
5. Check your available storage space
Many people forget that new macOS updates require available space on your startup disk to install successfully. If your device is running out of room, you'll encounter issues with the installation.
For example, you'll need around 26GB of available space to upgrade to any newer macOS version, including Ventura and Sonoma.
Here's how to check available storage space:
- Select the main Apple menu > About This Mac (if you've already upgraded to macOS Ventura, click More Info at this step).
- Now, click Storage/Storage Settings and wait for the overview to load.

If you don't have enough available space, you'll need to do some spring cleaning before you can move ahead. Here are a few ideas:
- Remove any unused applications.
- Transfer all your photos and videos to an external drive.
- Clear up your Desktop.
- Delete all the forgotten files in your Downloads folder.
- Consider Cloud storage.
For more tips, here's a really insightful article dedicated to freeing up space on Mac.
6. Run some basic Mac maintenance
We are huge fans of regular Mac maintenance because it can actually prevent several issues from ever happening. Little annoying bugs like the checking for updates stuck on Mac error can be avoided entirely if you take the time to maintain your Mac regularly.
People tend to avoid it because it has a reputation for being complicated and time-consuming, but that's not true, especially if you use a dedicated tool, such as the Apple notarized application CleanMyMac. It comes with a powerful Performance feature, which can resolve issues and improve performance in mere minutes. If you're not already a big fan of this app, try the free version here.

How to run Mac maintenance the smart way:
- Open the application and click Performance in the sidebar.
- Click Scan and once complete, run all recommended maintenance tasks.
- You can also click View All Tasks and select the performance tasks you want to run manually.
If you want to monitor what's going on in the background of your macOS, you can use the Menu App that comes with CleanMyMac. Just click a little iMac icon in the menu bar, and you'll get a clear oversight of CPU, RAM, and battery usage as well as available space and any malware that may have sneaked onto your Mac. From there, you can also quit top consumers. In addition to the Performance feature, the Menu App is a quick way to keep your Mac in top shape.

Tip: Mac user experience is mostly flawless. However, from time to time, you can experience all kinds of issues, like MacBook trackpad not working or Mac randomly shutting down. Check out our articles to learn how to fix these and other glitches.
7. Reset your NVRAM
Next on the list, it's time to reset your NVRAM. Your non-volatile random-access memory stores many OS-related settings. Lots of users have reported that by resetting their NVRAM, the checking for updates error disappears, so it's worth a try. Here's how to do it:
- Turn your Mac off via the main Apple menu.
- Press and hold the following keys: Option, Command, P, and R.
- After around 20 seconds, you can release all the keys.
- Log back into your Mac once it starts up, and try the installation once again.

Note that these steps apply to Intel-based Mac computers. If you have a Mac with Apple silicon, NVRAM resets automatically whenever such a problem is encountered.
8. Reset the Software Update preferences
If resetting your NVRAM didn't work, you can also try resetting your software update preferences via Terminal, which can become corrupted over time. Here's how:
-
Select Finder > Applications > Utilities > Terminal.
-
Insert the below command and press Return:
sudo rm /Library/Preferences/com.apple.SoftwareUpdate.plist
-
Restart your Mac and try to install the update once again.
9. Use Terminal to update [for advanced users only]
While Terminal is open, you can run a command to force update your Mac. Note, though, that like the previous step, it requires caution and (ideally) tech background to avoid corrupting your macOS.
Here's what to do:
- Open Terminal once again.
- Run this command: softwareupdate -l — it will list all updates available
- Now, run this one to install them: softwareupdate -i -a

You can also run this command: sudo launchctl kickstart -k system/com.apple.softwareupdated (it works for older macOS versions only, however)
10. Clear App Store cache
Sometimes, clearing App Store cache can help with different kinds of errors, including your Mac stuck checking for updates. Here's what to do:
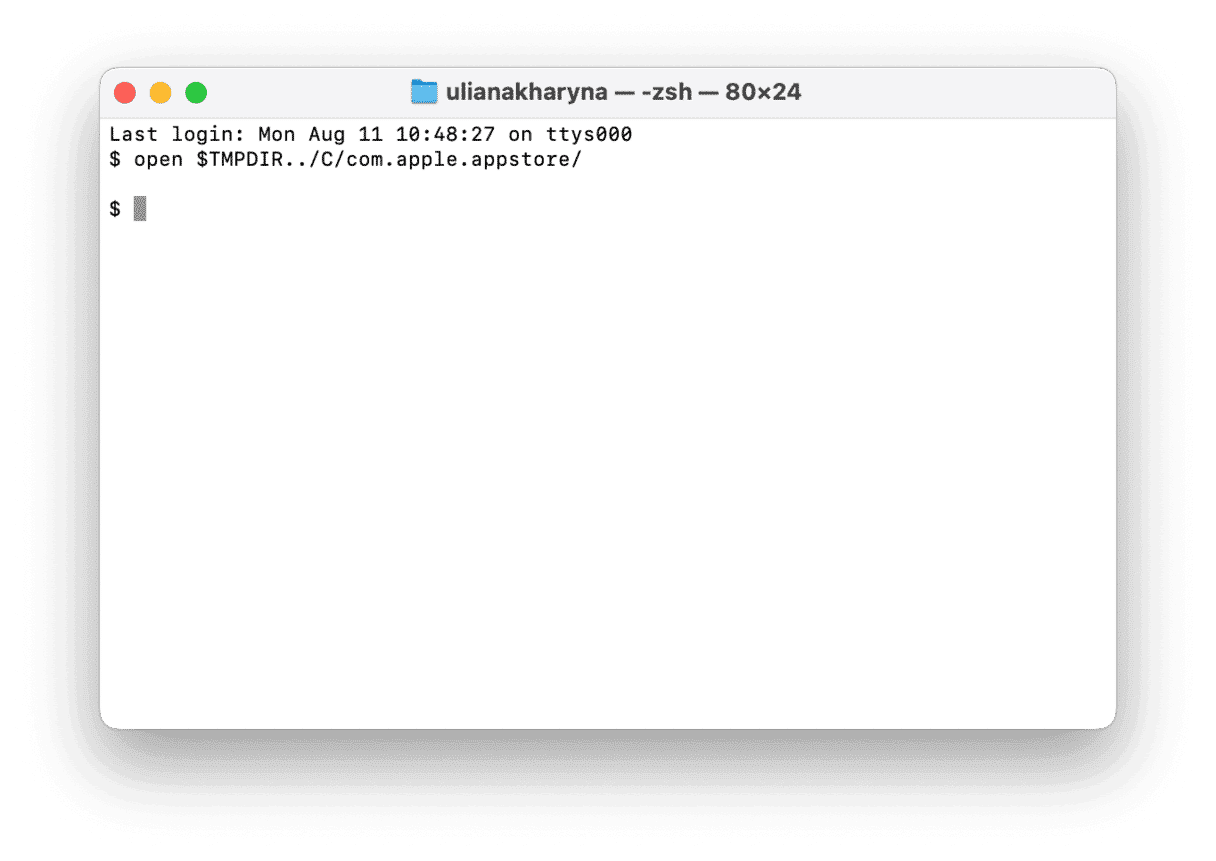
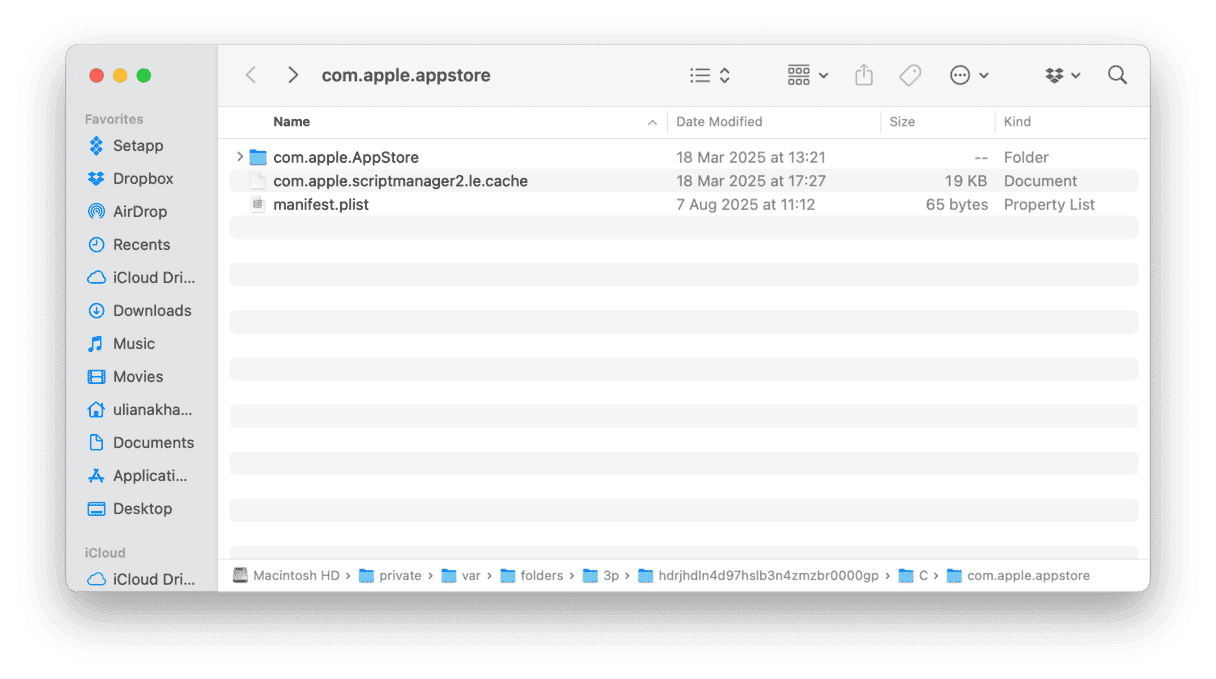
- Run this command in Terminal: open $TMPDIR../C/com.apple.appstore/
- Select the contents of the com.apple.appstore folder and drag them to the Trash.
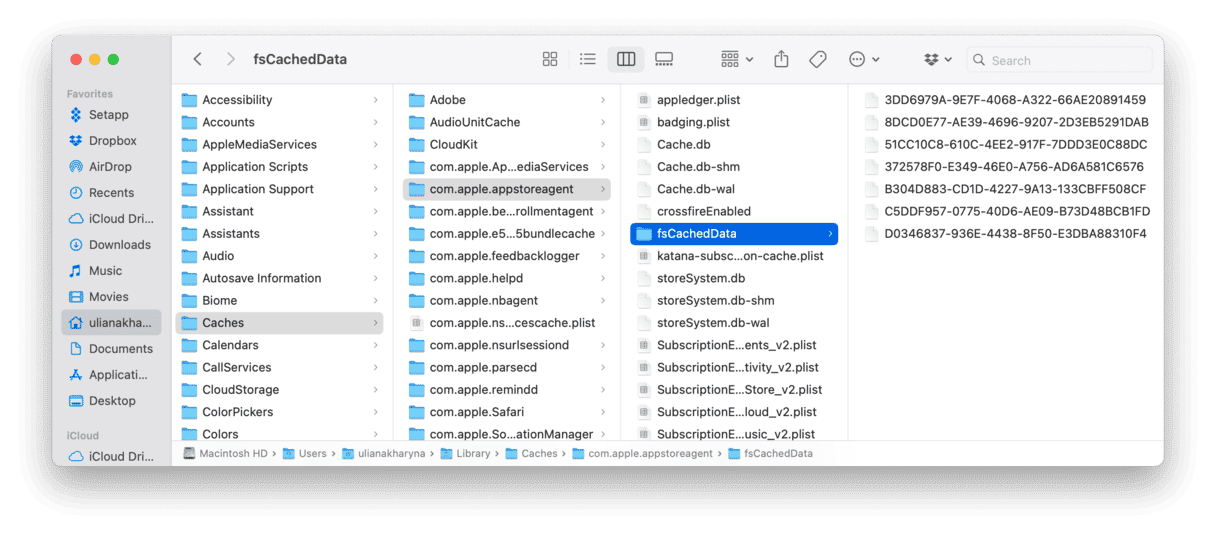
- Press Shift+Command+G and paste this path followed by Return in the pop-up: ~/Library/Caches/com.apple.appstore/
Depending on your macOS version, you may need to paste this path:
~/Library/Caches/com.apple.appstoreagent - Drag the contents of the fsCachedData folder to the Trash.
- Empty the Trash and check if it helped.


Did you know? If you try to install a major macOS version (like upgrading from macOS Sonoma to macOS Sequoia), you can look for it in the App Store. Once you find the needed one, click Get and then open the installer from the Applications folder. Follow the onscreen instructions to update your Mac this way.
11. Update your Mac from safe mode
It may be that an extension is preventing your Mac from a proper update. So, try to boot into sage mode by following the steps for your Mac (check the guide from Apple here) and then go to System Settings > General > Software Update to check if you can now see an update and install it.
12. Reinstall macOS
If nothing helped, try reinstalling your macOS. It re-writes your Mac's operating system and fixes bugs. To do it, you will need to boot into recovery mode and choose Reinstall macOS [version]. Then, follow the onscreen instructions to complete it. Afterwards, check System Settings > General > Software Update again.
When your Mac is stuck checking for updates, it's nothing short of irritating, but thanks to these troubleshooting steps, you'll solve the problem in no time.