What to do when your Mac camera light is always on
I'm not using any apps, so why is my camera light on? Sounds familiar? Then, you've landed in the right place.
We live in a world where apps and websites regularly monitor our online activities, so having control over your camera and microphone permissions feels reassuring. But seeing your Mac's green camera light or a video camera icon constantly glowing or appearing unexpectedly in the menu bar can be a little worrying. Don't stress: there's an easy way to check what's happening. In this article, we'll show you how to check your camera settings and get your Mac camera light back to normal.
Why is my Mac camera light on?
Usually, once you've finished using an app or feature that has access to your camera, the green light indicator and the camera should turn off.
If you've discovered that your Mac camera light is on continuously or stays on after you've closed an app, it's time to jump into action. But first, here are some reasons why your Mac camera light is on:
- Malware that has hacked your camera
- An app that's using it in the background
- Software glitches
We'll show you how to address all of these.
How to turn off green camera light on MacBook
1. Control which apps have camera access
Apple is constantly improving security. For example, apps require your permission and approval to use your camera and microphone. When you first install an app, you will need to give permission the first time you open it.
Here's how to check which apps have camera access on your Mac:
-
Select the main Apple menu > System Settings > Privacy & Security.
-
Under Privacy, locate Camera in the list.
- You'll see a list of applications that currently have access to your Mac's camera. To revoke permission, simply turn off the toggle next to the app you want to restrict. You will need to quit and reopen that app to update permissions. Otherwise, the app will continue using the camera.

Note: Built-in apps like FaceTime or Photo Booth have access to camera by default; you do not need to change that permission. In fact, you won't see it in Privacy & Security settings.
Another helpful way to manage your Mac’s permissions and access rights is using CleanMyMac. It's a user-friendly maintenance tool designed to optimize your Mac’s performance, free up storage, and manage your apps. CleanMyMac also helps you review and manage your app permissions, including access to your camera and microphone, so you can be sure no app accesses your camera without your knowledge.
- Get started with a free CleanMyMac trial.
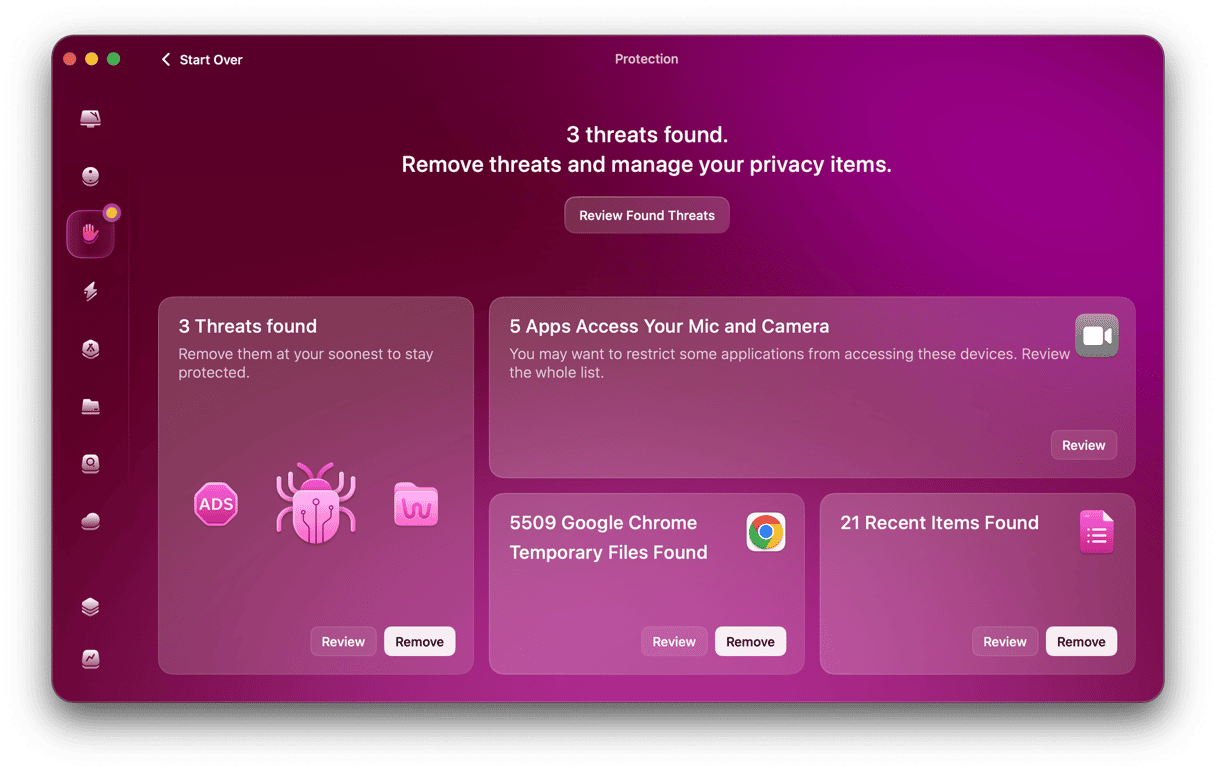
- Open CleanMyMac, select Protection from the sidebar, and click Scan.

- Click Manage Privacy Items, then choose Application Permissions. Find Camera in the list to see which apps currently have access. To revoke permission, simply select the app and click Revoke.


We really like this method because, unlike the System Settings way, you get an accurate overview of all your file, system, and folder permissions in one place.
Remember: when you grant an app camera access, any data it collects is subject to that app's own privacy policy — not Apple's. Always check an app's privacy terms before enabling camera access.
Tip: Is something secretly using your Mac camera?
While seeing your Mac camera light stay on can sometimes hint at a serious issue (like malware), it's always best to first check for simpler causes. Have you recently used FaceTime or Photo Booth? Both of these apps use your camera and might still be running quietly in the background. To quickly check what's active, press Option-Command-Esc. You'll see a list of open apps—just select any that could be using your camera, and then click Force Quit to close them completely.
How to turn off camera for all apps at once
Did you know that you can disable access to camera for all apps at once. To do this, use the Screen Time settings:
- Go to Settings > Screen Time.
- Click Content & Privacy under Restrictions.
- Enable Content & Privacy and now go to App & Feature Restrictions.
- Toggle off Allow Camera and hit Done.

This disables camera system-wide. If you need it to work, enable Allow Camera once again.
2. Check your Mac for malware
It's the m-word no Mac user wants to hear. Contrary to a popular belief that MacBooks are immune to threats, malware is still a considerable risk to Mac users. Malware is constantly evolving, and some of the latest threats can turn on Mac cameras and record both video and sound, a pretty scary thought.
If you simply rely on your Mac's built-in XProtect software to keep your Mac safe, you might be alarmed to discover that it's just not powerful enough to keep you shielded against the ever-increasing threats out there. Plus, Apple isn't a dedicated antivirus or security company, so using a third-party expert is highly recommended.
We use CleanMyMac to protect our Macs. With its real-time malware monitoring and thorough system scans, it helps ensure your Mac stays protected and nothing sneaks into your computer unnoticed. Run a malware scan with CleanMyMac:
- Open CleanMyMac.
- From the sidebar, choose Protection and click Scan.

- CleanMyMac will scan every file on your Mac to detect potentially unwanted applications (PUAs), adware, spyware, and all other types of malware. If it identifies anything suspicious, simply click Remove — CleanMyMac will eliminate the threat, leaving your Mac clean and secure.


It's peace of mind and protection in just a few clicks.
If malware wasn't your issue, then it's likely that an app is using your camera in the background. Jump to the next section for ways to check.
Tip: For more tips on how to tell if your laptop camera is hacked, check out this article. It lists not only signs of Mac camera hacked but also fixes that go beyond malware removal.
3. Turn off your Mac's camera
It's not unusual for people to ask how to turn on a Mac camera, but there isn't actually an on or off button. Instead, you would need to manage app permissions using the methods above to disable access to the camera.
Here is another alternative for you to check out — go to browser settings and double-check if any websites can access your camera. Follow these steps for your browser:
- Safari: Settings > Websites > Camera
- Chrome: Settings > Privacy and security > Site settings > Camera
- Firefox: Settings > Privacy & Security > Scroll down to Permissions > Camera Settings

Many people think, "Easy, I'll just cover the camera with a sticker," but this can actually cause damage to the screen and display when the lid is closed, so although it's tempting, it's not worth the risk. The same goes for a tape or webcam cover slider products. If you still want to use any of these, make sure to remove them before closing the lid.
Tip: As you've started managing app permissions, you may wonder if there is anything else to remove from your Mac. Yes, there is, and these are unnecessary files. Check out this article to learn about all the ways to delete files on Mac.
4. Restart the camera on a Mac
If you're still having camera issues, as another option, you could restart your Mac camera-related processes with Terminal; here's how:
-
Open Finder > Applications > Utilities > Terminal.
-
Insert this command followed by Return: sudo killall VDCAssistant; sudo killall AppleCameraAssistant (this process is responsible for managing the camera hardware)
-
Input your admin password, then press Return to run the command.

5. Update your macOS
Sometimes, your Mac camera light may be on because of a software glitch. Most likely, it would be a bug in your macOS that may have been addressed in a new version. So, it's a good idea to check if your Mac is up to date. Here's a quick reminder of how to do it:
- Go to System Settings > General > Software Update.
- If an update is available, click Update Now to install it. Also, enable automatic updates.

After this, all issues with your Mac camera will likely be solved.
So, we've come to the end of the article, but now you know what to do if your Mac camera light is on. Don't forget to avoid issues with malware; be sure to only download from trusted sources.
Frequently asked questions
What is better — revoking individual app permissions or disabling camera in Screen Time?
It all depends on your needs. Use Privacy & Security if you want to control access app-by-app. Use Screen Time if you want to completely block all camera access at once. The latter can be valuable for shared Macs. But as long as you know that you won't need camera for video conferencing.
Webcam cover vs. disabling permissions — which is better?
Obviously, if you use a Mac laptop, choose disabling permissions because any webcam cover – even the thinnest one — can damage the display when you close the lid with it. However, if you never close the lid or have a Mac computer (like iMac), you can use a webcam cover.
Why is there a video icon in the menu bar that shows the camera is on?
This video icon is an extra way to let you know that the camera is on. This serves as a backup indicator if the hardware LED fails or is covered.