System Data takes too much space? Try these solutions
If you’re a Mac user running low on space, one of the first things you’ll probably check is your storage.
It’s common to find Mac System Data large and it can be frustrating when you don’t know what’s causing it. So, what exactly is System Data, why does it take up so much space, and how can you reclaim some of it?
In this article, we’ll break down what’s included in System Data and show you some practical ways to free up space on your Mac.
What is System Data on Mac
System Data on Mac includes everything that doesn’t fit into the usual storage categories — like Applications, Music, Documents, Photos, Mail, and so on. If a file doesn’t clearly belong to one of those, macOS puts it into System Data.
This includes things like:
- System logs and temporary files
- Caches
- Virtual memory files
- Fonts
- App support files and plug-ins
- Old backups (including iTunes backups if they weren't deleted and iOS files)
- Browser data (including Safari reading list and bookmarks)
- Game data
While macOS manages most of it automatically, System Data can grow large over time as those unneeded files pile up.
Tip: Local snapshots are temporary Time Machine backups stored on your Mac for 24 hours. If you've been moving a lot of files around, this category may quickly inflate. But don't worry—these files will be gone if you come back tomorrow.
How to check System Data on Mac
The steps to check System Data on your Mac depend on which version of macOS you're using.
Here's how to do it on macOS Ventura and later:
- Open System Settings > General > Storage.
- Either wait for the colored graph to load and hover the mouse pointer over the dark gray color or scroll down until you see System Data.

If you have macOS Monterey or older, follow these steps:
- Go to the main Apple menu (Apple icon on top left) and choose About This Mac.
- Click Storage and wait for the graph to load.
- Hover the mouse pointer over the dark gray color. You can also click Manage and go to System Data (Other) in the sidebar of the open window.

How much System Data is normal on Mac?
The default size of the macOS system is 12 GB. This implies that having around 12GB of System Data is normal. Your operating system should automatically maintain and clear this category, but this doesn't always happen, resulting in a loss of precious disk space and often being the reason why "System Data" takes up so much storage.
However, if your "System Data" shows something around 14-20 GB, you have pretty good chances to slim it down to that original size. This is good news, but you'll have to delete some unimportant files.
How to clear System Data storage
1. Use the built-in Optimize Storage tool
One problem is that it's also tricky to manually identify all items categorized in "System Data" because when you go to Apple's Built-in Storage optimizing tool, you can't click "System Data" to investigate further. Take a look for yourself.
For older macOS versions, go to Apple Menu > About This Mac > Storage > Manage.
For macOS Ventura or later, follow these steps: Apple menu > About This Mac > More Info > Storage Settings. Under Recommendations, you may see the Optimize Storage tab. If you don't see one, it may mean that the macOS thinks that there is nothing there for you to optimize thus far.

The first three options (Store in iCloud, Optimize Storage, and Empty Trash) won't be a quick relief. But there is another option. If you review files by clicking the i icon on the list, you'll be able to scan through large files all across your drive.
Tip: If you choose to store your files in iCloud, make sure that your iCloud Drive is clutter-free so that you are not forced to upgrade your plan. The easiest way to do it is to use CleanMyMac and its Cloud Cleanup feature. Once you connect your iCloud Drive to it, this smart analyzer will show the largest files and their location and let you remove them in a click. Start your free CleanMyMac trial — check out how it works for 7 days at no charge. Once you've installed it, also run the Cleanup scan to reduce System Data with a click. We'll explain how it works in more detail further in the article.
But have you noticed? Apple suggests that you clean up only those files and documents that are created by you. This doesn't address the macOS System Data large problem. Luckily, there are workarounds.
2. Restart your Mac
Over time, your Mac collects temporary files, caches, and other unnecessary data that can take up valuable storage space. A quick restart helps clear out these files, reset your apps, and stop any unresponsive background processes.
If you’re using a Mac with Apple Silicon, restarting not only clears clutter but also frees up memory, giving you an extra boost in speed. Go to the Apple menu and click Restart to start from a clean slate.
3. Remove cache files
Doing this manually can be a bit of a tedious process. Just a heads-up: make sure to double-check any files or folders before deleting them — removing the wrong item could affect your system.
Here's how to check and delete storage "System Data" files:

-
Open a Finder window, and press Go > Go To Folder.
-
Paste the following command box ~/Library/Caches and press Return.
-
Scroll through your subfolders, press Command-I to see information on each folder, and send to the Trash/Bin what you no longer need.
You can also repeat this process for /Library/Caches to remove even more cache files and reclaim more space.
Tip: A simple Finder trick to see what’s taking space on Mac
System Data growing large is a common issue among Mac users, so in our search for the most effective solution, we’ve scoured a few forums. This post, shared on Reddit, got the most upvotes:
- Restart your Mac and let the system reindex your drive. Check if the size of the System Data category has changed. If it’s still the same, move on to the next step.
- Open Finder. Click on the Go menu, hold down the Option key, and click Library. Switch to List View if you’re not already using it. Press Command-J to open View Options and turn on Calculate All Sizes. Sort all your files by size. Give Finder a few minutes to calculate everything. Once it’s done, you’ll see which folders are using the most space inside your Library.
- Use the Command + Shift + Period shortcut in the Finder to release hidden files. You can then sort them by size and remove the largest ones. But make sure to first google what these files do to avoid deleting something really critical for the proper work of your macOS.
Be very careful when moving or deleting files in the Library folder. If you’re not sure what something does, it’s best to leave it alone — removing the wrong files can cause apps to break or even prevent your Mac from starting up.
4. Delete log files
So, you removed caches to trim the System Data storage. There is another location to check for even more spectacular results — log files. Here's how to access it:
- Open a new Finder window.
- Click Go > Go to folder.
- Type ~/Library/Logs/ and press Return.
- Find what you want to delete and send these files to Trash. Research everything before deletion.
- Repeat for /Library/Logs/

5. Remove old Time Machine backups
macOS stores local copies of your Time Machine backups. Typically, they are automatically deleted when your Mac runs low on space, but sometimes, they aren't.
If that happens, you can free up storage by removing them manually. Here's how:

-
Go to Finder > Applications > Utilities and open Terminal.
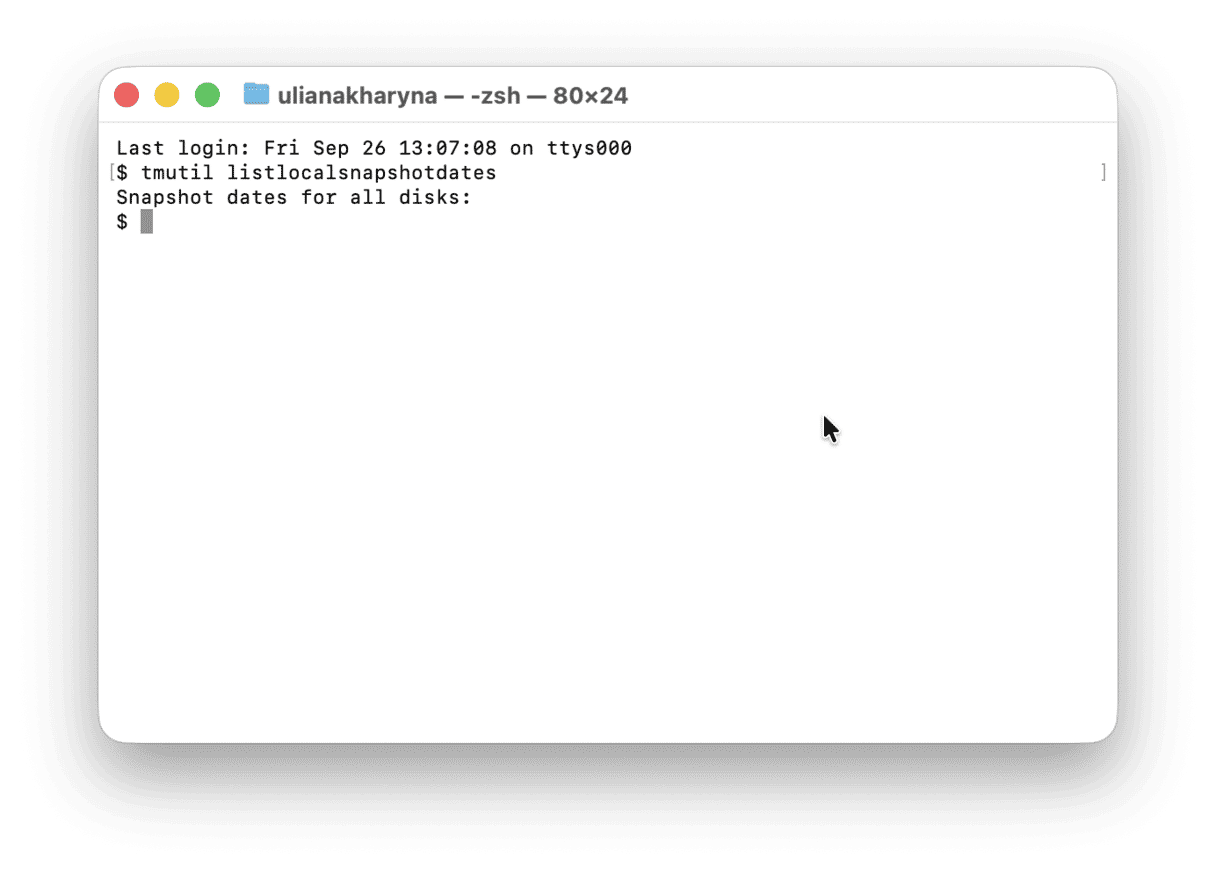
-
Copy and paste this command and press Return: tmutil listlocalsnapshotdates
If you see a list of backups sorted by date, here’s how to delete them:
-
Type the following in Terminal: tmutil deletelocalsnapshots XXXXXXX, replacing XXXXXXX with the name of one of the backups listed above, then press Return.
Repeat this for as many of the local backups as you want to remove. Once you're done, check back in the Storage tab to see how much space you've reclaimed.
If you are looking for an easier way to manage Time Machine snapshots, you'll be pleased to know that there is one — CleanMyMac's Performance feature. It comes with the Thin Time Machine Snapshots tool that does just that. Just click a button, and you won't have to run Terminal commands. Here's how:
- Open CleanMyMac — get your free trial here.
- Click Performance > Scan.
- Click Run under Thin Time Machine snapshots.

Tip: Don't delete your local copies if you think you might need them in the future.
6. Delete application leftovers
Applications often store logs, caches, and other data on your Mac, and sometimes these files stick around even after you've deleted the app. Here's how you can check for leftovers:
-
Open Finder.
-
Press Command-Shift-G and enter this location: ~/Library/ApplicationSupport
-
Look for folders named after the apps you've removed. Delete any that you no longer need.
Tracking down these app remnants manually can be a hassle. With CleanMyMac, you can uninstall apps and clean up their supporting files completely. Plus, its Applications tool helps keep your programs updated with the latest security patches.
Here's how to delete application leftovers the smart way:
- Get your free CleanMyMac trial.
- Open the app and click Applications > Scan > Manage My Applications.
- Check out the Leftovers tab.

7. Remove old iOS backups
If you use your Mac to back up your iOS devices, you may end up with unnecessary old backups. If you no longer need them, you can safely remove them. There are several different ways to do it, but the easiest one is within System Settings:
- Open System Settings > General > Storage.
- Next to iOS backups, click the i icon.
- Send anything you do not need to Trash by selecting it and clicking Delete. Make sure to keep the latest backup.

Or you can go to ~/Library/Application Support/MobileSync/Backup from the Finder > Go > Go to Folder and delete unneeded backups from there.
8. Delete screen savers
Have you already tried the outstanding dynamic screen savers feature introduced in macOS Sonoma? But did you know that they are downloaded as video files and can take up more than 20GB of space? You can remove them and re-download them later if needed. Here's how:
- In the Finder, click Go > Go to Folder.
- This time, use the following path and press Return: /Library/Application Support/com.apple.idleassetsd/Customer
- Check if there are any large files in there and send them to Trash.

9. Empty the Trash
This one may seem obvious, but emptying the Trash/Bin can significantly reduce the System Data volume on your Mac. The Trash/Bin usually becomes a graveyard of unnecessary files and apps even if you turn on the option of emptying it automatically.
You have several alternatives here:
- Click the Trash icon from Dock and select Empty Trash/Bin.
- Right-click the Trash icon and select Empty Trash/Bin.
- Use CleanMyMac and its Trash Bins feature in the Cleanup tool. In addition to emptying the Trash/Bin, it also clears out the photo library and Mail trash, thus freeing up even more space.

What to do if System Data keeps increasing?
Many users have noticed that Time Machine snapshots can cause System Data to grow. Usually, these snapshots are deleted automatically after 24 hours — only if Time Machine is running regularly, ideally every hour. If you suspect that snapshots are the issue, you can check and remove them manually: 
-
Press Command-Space, enter Disk Utility, and open it.
-
In the sidebar, choose your Macintosh HD - Data volume.
-
In the Disk Utility menu, click View > Show APFS snapshots.
-
Select the snapshots you want to remove and click the “–” button.
If cleaning up snapshots doesn’t help, try updating your Mac. Installing the latest macOS update can clear out old system files and refresh your System Data automatically.
Clean up system junk automatically
While it's possible to clear space manually, there's a much easier option: using CleanMyMac. This Mac cleaner makes it easy to remove caches, app leftover files, document versions, old system logs, and even Xcode junk helping free up space for what’s important to you.
You don't need to dig through system files manually: CleanMyMac scans your entire storage and finds junk files scattered across your Mac that are either obsolete or no longer needed. Here's how it works:
-
Open the app and select Cleanup from the sidebar.
-
Click Scan, then wait for it to complete.
Once the scan finishes, click Clean to remove unnecessary junk files. 

Hopefully, you're no longer wondering why "System Data" takes so much disk space on my Mac. Following these tips will help you get to the bottom of the huge storage conundrum of the macOS "System Data" and recover some space. And if you want more tips on how to free up System Data storage on Mac, check out this article.
Frequently asked questions
How much System Data is normal on a Mac?
Typically, it is around 12 GB. However, depending on usage, anything between 15 and 30 GB can also be normal. If it exceeds 50 GB, it's worth investigating with the tips above.
Why does System Data stay large even after I delete apps?
Deleting an app removes only the .app file; caches, logs, and support files remain in ~/Library until you clean them manually (see Tip #6) or with the help of a dedicated uninstaller.
What is the difference between "System" and "System Data" in Mac storage?
"System" is macOS itself, and so you cannot delete it. In some macOS versions, including Tahoe, it is named explicitly — macOS. "System Data" is user-generated junk like caches, backups, and temp files, and it can be safely reduced.
Can I delete System Data on Mac without third-party apps?
Yes. Follow the tips in this article to do it manually. We recommend backing up your MacBook first if you choose the manual way. And if you want to simply automate the process and reduce the risk of deleting something important, opt for a trusted third-party app instead of browsing the Library folder.